Thai Masam Flower Kolangal combines tradition with simplicity, making it one of the most rewarding designs to practice at home.
Thai Masam Flower Kolangal 6* 6 Dots | Beginners Rangoli Designs Pandaga Muggulu | Rangoli Thank you so much for watching Channel
My Rangoli Channel Contains : Rangoli Designs Sankranthi Muggulu
Diwali Rangoli Ratham Muggulu Kolam Designs
Muggulu Designs Chukkala Muggulu Easy Rangoli
Simple Rangoli Easy Rangoli Designs Dhanurmasam Muggulu
Melikala Muggulu Geethala Muggulu Sivarathri Muggulu
Tip: Work from the centre outward. It keeps the symmetry honest and prevents the design from drifting off-balance.
This design belongs to the broader tradition of rangoli and kolam art practised across South India. Explore more in our 6 to 6 dots Rangoli Designs collection.
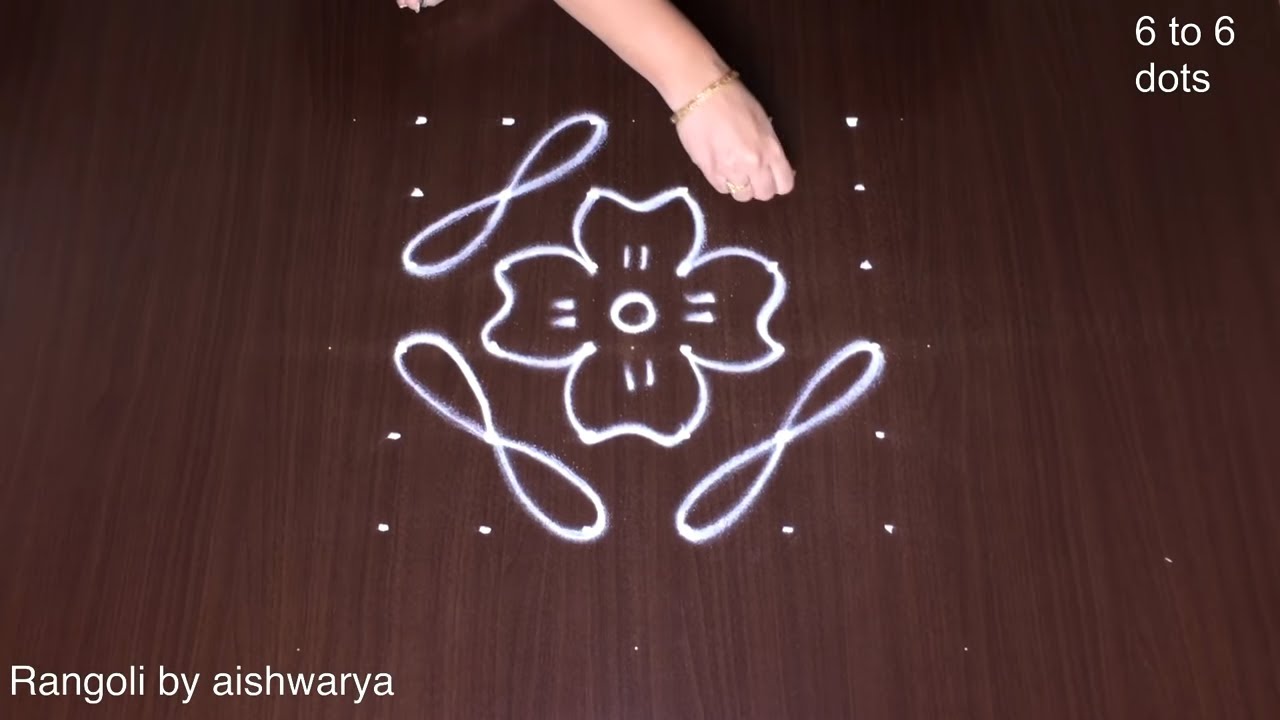
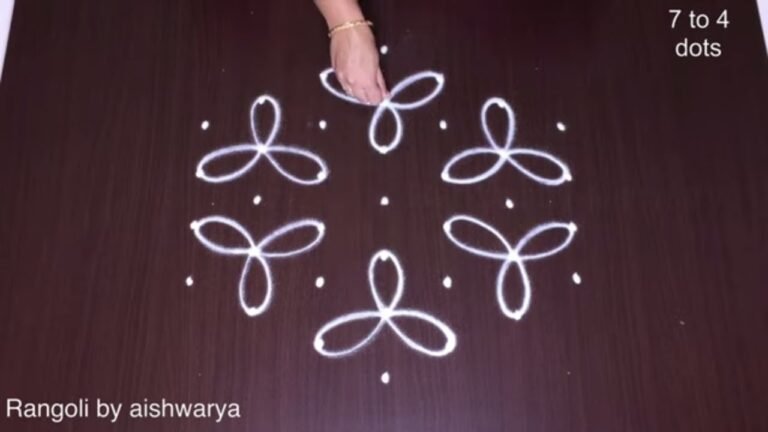
The Thai Masam Flower Kolangal is a delightful and intricate design that features a 6×6 dot grid, making it perfect for beginners to explore their creativity. This rangoli design is often created during festive occasions, adding a touch of elegance and charm to the celebration. The flower patterns beautifully symbolize joy and prosperity, making it an ideal addition to festive gatherings. For those interested in more floral designs, you might enjoy the Latest Flower Rangoli Designs 9 Dots, which can inspire new creations.
This kolangal style encourages artists to experiment with colors and patterns, allowing for personal expression. The simplicity of the 6-dots layout provides a solid foundation for beginners while still allowing for intricate embellishments. As you practice, you may also find joy in creating the Simple Pongal Pot Koalm, a similarly festive design that complements the Thai Masam theme. To learn more about the rich tradition of rangoli, you can visit this page.
Thai Masam Flower Kolangal — Step by Step Guide
Each step takes only a moment. The whole design comes together in just a few minutes once the grid is in place.
- Mark the 6-to-6 dot grid (a straight square field of dots).
- In the centre draw a plump flower of about five rounded petals around a small dotted core, and box it inside a slim diamond (rhombus) frame.
- From each of the four sides of the diamond send out a feathery leaf-spray — a central stem lined with fine comb-like leaflets — reaching toward the four corner dots.
- Curl a spiral scroll (kambi curl) at each corner where the leaf-sprays meet, and tuck small teardrop buds into the gaps.
- Double every outline with a parallel row of dots to give the lacy Thai-month look.
- Finish with a small hanging pendant (a bud on a short stem) dropping from the bottom point.
What You Will Learn
- Simple Rangoli Designs
- Rangoli
- Muggulu
- Rangoli Designs
- Rangoli Kolam
- Kolam
Frequently Asked Questions
How do I draw this rangoli?
Set down the dot grid in pencil or chalk, then follow the loops one petal at a time. If a curve goes off, wipe it and retry — kolam is forgiving.
Is this suitable for beginners?
Absolutely. You can pause and rewind the video at every step. The pattern is straightforward once you have the grid down.
What materials do I need?
Just three things: powder (white plus any colours you want), a flat dry surface, and a few minutes of focus. A small bowl per colour helps keep things tidy.
How long does it take?
A 7 min 34 sec video shows the complete sequence. On paper or floor, expect to spend around a quarter of an hour from grid to finished pattern.
Pin this for later or share with a friend learning kolam — and let us know in the comments which design you would like next.


Leave a Reply