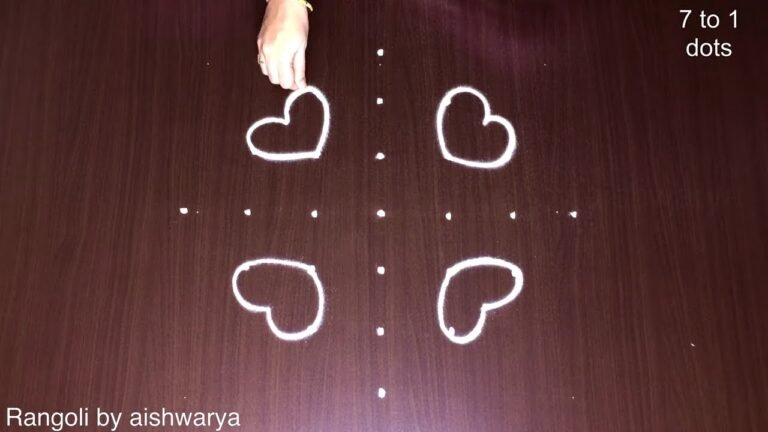
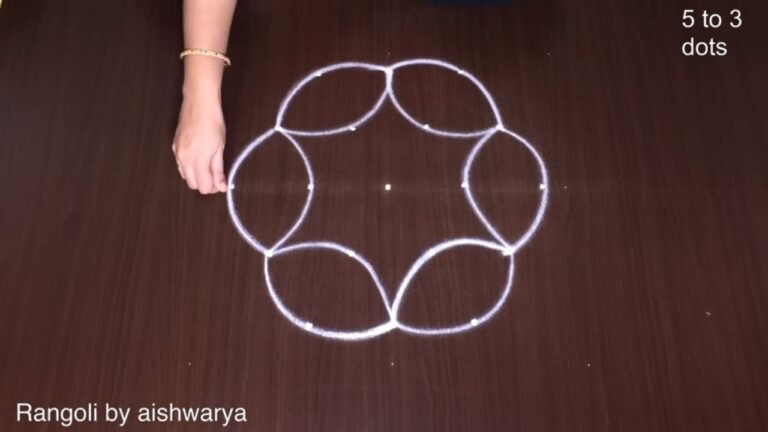
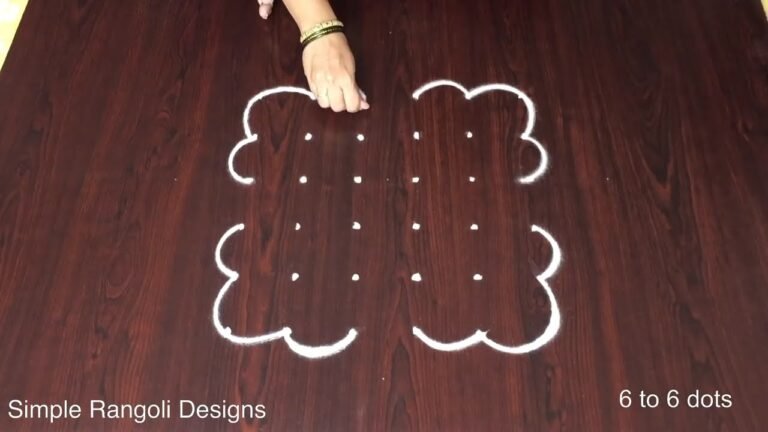
If you enjoy dot-grid muggulu, Friday Kolam With Dots is a satisfying pattern that comes together in just a few minutes.

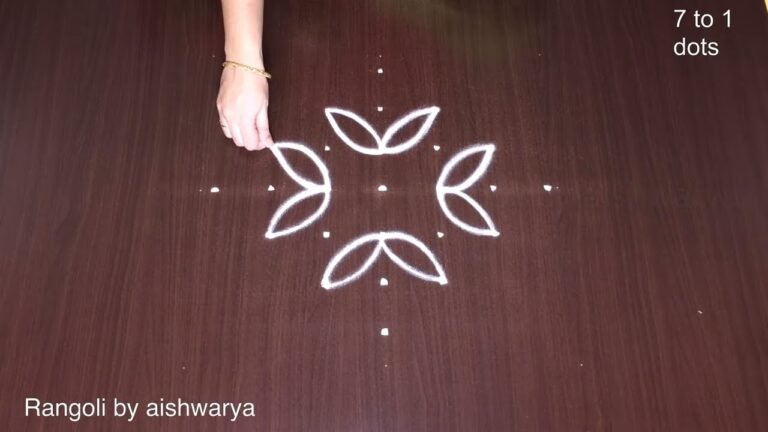
Friday Kolam With Dots | 5 to 3 dots New Rangoli | Muggulu Come. This tutorial will show you how to draw Beautiful Indian traditional art sankranthi muggulu patterns using materials such as dry rice flour, colored sand or flower petals Rangoli designs by Aishwarya. Simple rangoli designs with dots Kolam pattern is created on the floor in living rooms or courtyards. Draw the Lines step by step as it is shown in this video and will be awesome Rangoli Design. 😲 The rangoli design for diwali pattern here is one of the amazing latest simple kolam designs. Simple Rangoli Designs and easy rangoli designs by Aishwarya with dots for beginners and intermediate.
1. Diwali Rangoli 2. Pongal kolams 3. Easy rangoli designs
4. Rangoli design 5. Chukkala muggulu 6. Muggu designs
7. Rangoli for diwali 8. Rangoli Simple 9. Chukkala muggulu sankranthi
10. Kolam designs 11. Simple rangoli design 12. Muggulu designs
13. Navaratri pooja kolam 14. Puratasi madham kolam 15. Simple sankranthi muggulu
Tip: Practice on paper first if you are new to dot kolam. The grid is the same; only the surface changes.
This design belongs to the broader tradition of rangoli and kolam art practised across South India. Explore more in our 5 to 3 dots Rangoli Designs collection.
The Friday Kolam with dots is a delightful and simple design that often features 5 to 3 dots, making it accessible for beginners. This style of kolam is typically drawn at the entrance of homes or in courtyards to welcome guests and invite positivity. Using materials such as rice flour or colored sand adds a traditional touch, and the patterns can be embellished with flower petals for added beauty. For those interested in further exploring simple designs, Pongal Pot Rangoli Designs provide another charming option.
This kolam is especially popular during the festive season, as it symbolizes the spirit of celebration and community. The rhythmic patterns created with the dots can be modified and expanded upon, allowing for personal creativity while maintaining simplicity. For example, one might integrate elements from other designs, such as the intricate patterns seen in Amazing Big Peacock Muggulu. To learn more about the rich history and variations of this beautiful art form, check out the detailed information available on Rangoli.
Friday Kolam With Dots — Step by Step Guide
Pace yourself through the steps — kolam rewards patience more than speed.
- Clear a flat surface and set down your dot grid using rice flour or chalk.
- Confirm the dot spacing is even — uneven dots are the biggest cause of wobbly curves.
- Begin tracing from the centre outward, following the curves shown in the video above.
- Fill the petals and sections with your chosen colours, working one area at a time.
- Finish the edges with a fine line for a sharp, photograph-ready result.
What You Will Learn
- Simple Rangoli Designs
- Rangoli
- Muggulu
- Rangoli Designs
- Rangoli Kolam
- Kolam
Frequently Asked Questions
How do I draw this rangoli?
Begin with the dot grid — this is the skeleton of the design. With rice flour or chalk, place each dot at equal intervals. Then trace the curves slowly, one section at a time.
Is this suitable for beginners?
Yes, and it is one we recommend to first-timers. The small grid keeps the design manageable while still teaching the core technique.
What materials do I need?
Just three things: powder (white plus any colours you want), a flat dry surface, and a few minutes of focus. A small bowl per colour helps keep things tidy.
How long does it take?
The video clocks in at 2 min 49 sec. Allow about quarter of an hour to draw the design at a comfortable pace.
There is real pleasure in finishing a kolam at your own doorstep — even more so when the pattern is one you have practised before. Make this one of those.
Leave a Reply