How To Draw Rose combines tradition with simplicity, making it one of the most rewarding designs to practice at home.
How to Draw Beginners Rose Rangoli Designs | 2 Different Style Muggulu & Lotus Kolam | Rangoli Thank you so much for watching Channel
My Rangoli Channel Contains : Rangoli Designs Sankranthi Muggulu
Diwali Rangoli Ratham Muggulu Kolam Designs
Muggulu Designs Chukkala Muggulu Easy Rangoli
Simple Rangoli Easy Rangoli Designs Dhanurmasam Muggulu
Melikala Muggulu Geethala Muggulu Sivarathri Muggulu
Tip: Work from the centre outward. It keeps the symmetry honest and prevents the design from drifting off-balance.
This design belongs to the broader tradition of rangoli and kolam art practised across South India. Explore more in our 5 to 3 dots Rangoli Designs collection.
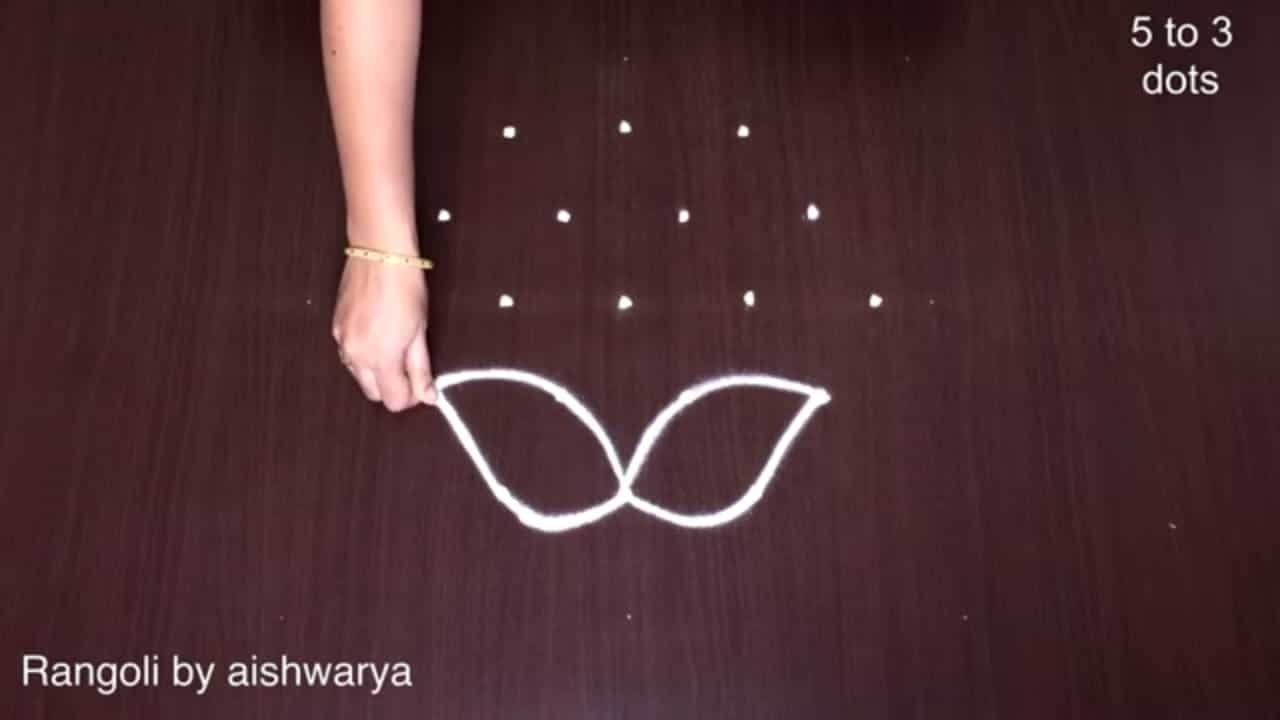
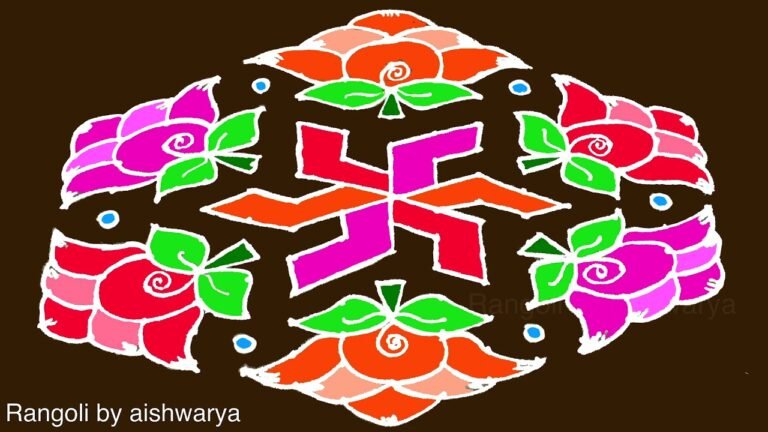
The rose rangoli design is a delightful way to add a touch of elegance to your home, especially during festivals. With a simple 5 to 3 dot pattern, this design is perfect for beginners looking to enhance their artistic skills in kolam creation. The intricate petals of the rose can be drawn using varied colors to create a vibrant and inviting atmosphere. If you’re interested in more floral patterns, consider exploring Basic Daily Flower Rangoli for additional inspiration.
Traditionally, this design is often created during auspicious occasions, symbolizing beauty and joy. Using the rose as a motif, you can express your creativity and celebrate the festive spirit, making it a perfect addition to your home decor. For those who enjoy experimenting with different styles, the lotus is another beautiful option, which you can find in our Lotus Flowers Rangoli Designs for Sankranti post. To learn more about the cultural significance of rangoli, visit this page.
About this design: How To Draw Rose is a beginner-friendly pattern that comes together in just a few minutes. Once you have practised the how to draw rose dot grid, you can scale it up for festival mornings or scale it down for a daily doorstep. Many learners on our channel make this how to draw rose their go-to design once they get the rhythm of the curves.
How To Draw Rose — Step by Step Guide
The video above shows the full sequence; the steps below summarise each stage so you can glance back as you draw.
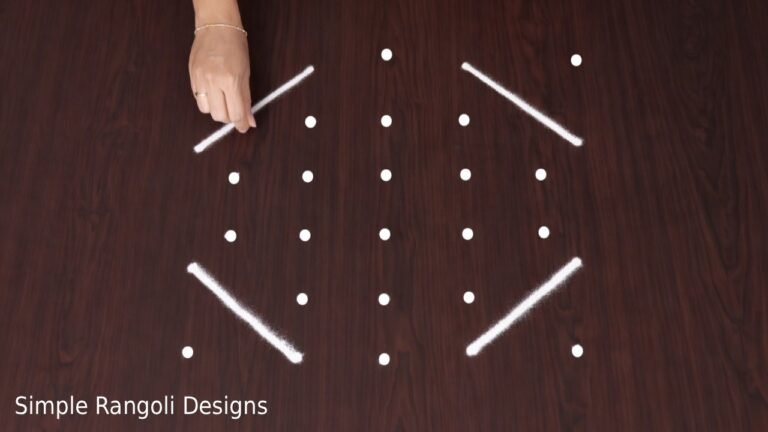
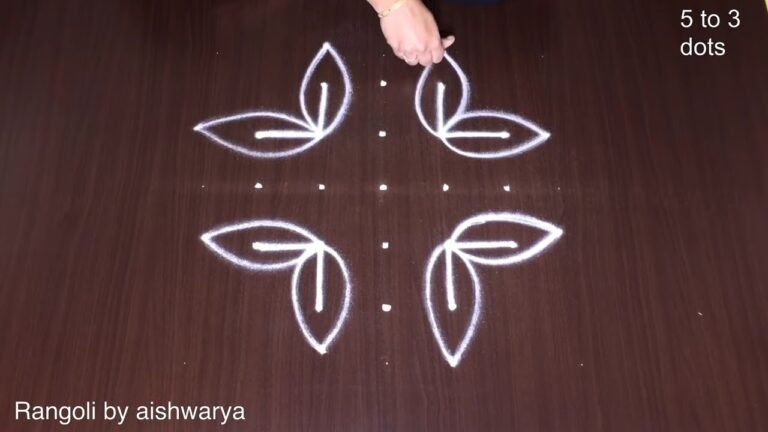
- Mark the 5-to-3 dot grid.
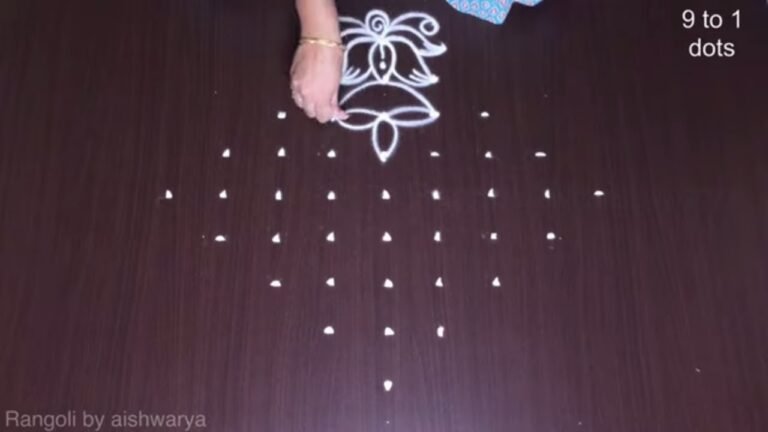
- In the centre draw a loose spiral coil, the heart of the rose bloom.
- Wrap the spiral with two or three curved teardrop petal outlines so it reads as a rose opening from the side.
- Above the bloom draw a fan of about five rounded overlapping petals (the rose's open outer crown), and tuck a pointed sepal-leaf on each side of the bloom's base.
- From the base sweep symmetric curling tendrils and pointed leaves outward to left and right, mirroring them.
- Trace dotted lines along the outer curls and add small accent dots to finish (plain white kolam, no colour).
What You Will Learn
- Simple Rangoli Designs
- Rangoli
- Muggulu
- Rangoli Designs
- Rangoli Kolam
- Kolam
Frequently Asked Questions
How do I draw this rangoli?
Start by marking an even dot grid on a flat, clean surface. Once the grid is in place, connect the dots following the curves shown in the video. Even spacing between dots is the single biggest factor for a clean finish.
Is this suitable for beginners?
It is one of the more forgiving designs in our collection. Beginners often pick it as a confidence-builder before moving on to larger grids.
What materials do I need?
Rice flour, coloured rangoli powders, and a clean stretch of floor or paper. Some draw with chalk first to set the grid before powdering over it.
How long does it take?
The video runs 6 min 10 sec. In practice, most learners take between 10 and 20 minutes — a little longer the first time, faster as the pattern becomes familiar.
If you draw this and would like a follow-up design at the same skill level, leave a comment on the video — we read every one and queue up requests.
Leave a Reply