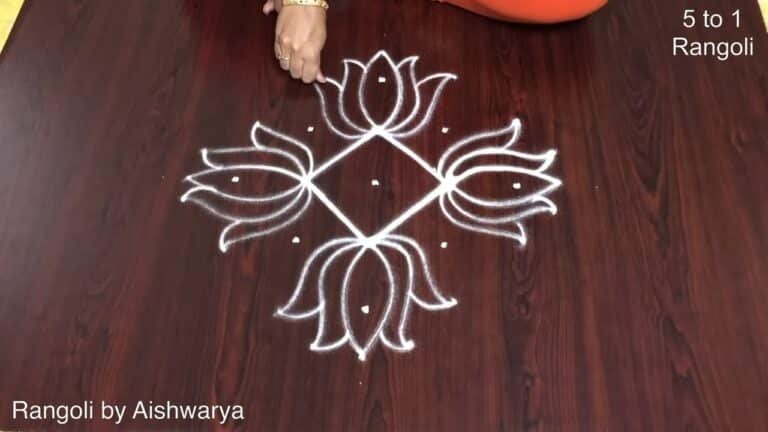
Add a touch of charm to your doorway with How To Draw Simple 2 — clean lines, balanced symmetry, and easy to scale.
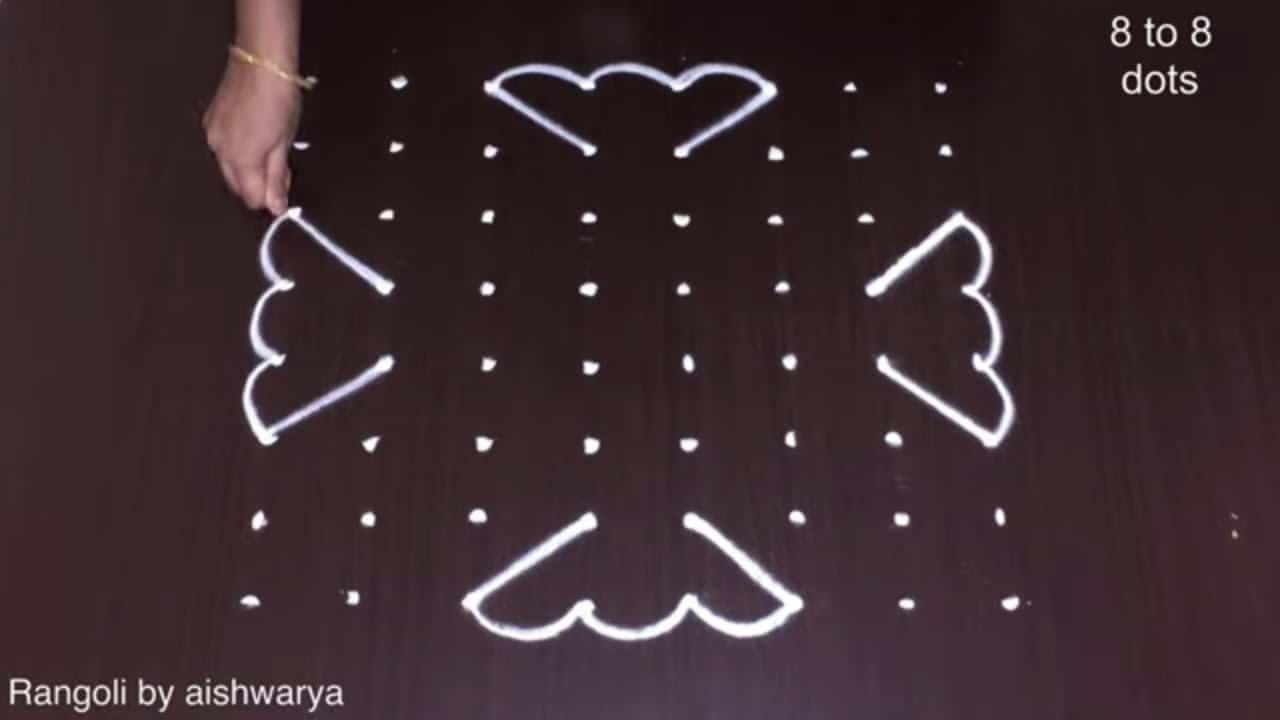
How to Draw Simple Kolam 8 into 8 | Cute & Small Rangoli Muggulu Easy Designs | RamRangoli Aishwarya Thank you so much for watching Channel
My Ram Rangoli Channel Contains : Rangoli Designs Sankranthi Muggulu
Diwali Rangoli Ratham Muggulu Kolam Designs
Muggulu Designs Chukkala Muggulu Easy Rangoli
Simple Rangoli Easy Rangoli Designs Dhanurmasam Muggulu
Melikala Muggulu Geethala Muggulu Sivarathri Muggulu
Tip: A slightly damp brush along the edges gives a sharper finish, especially for festival photographs.
The 8 to 8 dots kolam design is a delightful way to welcome guests during festivals like Pongal and Diwali. This design features a symmetrical pattern that is easy to create, making it perfect for beginners. The use of simple geometric shapes allows for creativity while still maintaining a classic look. Incorporating colors can enhance its beauty, transforming a basic kolam into a vibrant work of art. For those interested in similar designs, exploring Pandaga Muggulu Beautiful Deepam can provide further inspiration.
To draw this kolam, start by marking 8 dots in a grid formation, creating a foundation for your design. The process involves connecting these dots with curves and lines, often resulting in floral motifs or intricate patterns. This traditional form of art not only beautifies entrances but also serves as a form of meditation for many. For more advanced techniques, you might enjoy the Sankranthi Pedha Chukkala Muggulu post, which showcases additional styles. For a broader understanding of the cultural significance of such designs, you can visit this Wikipedia page on rangoli.
About this design: To Draw Simple Kolam is a beginner-friendly pattern that comes together in just a few minutes. Once you have practised the to draw simple kolam dot grid, you can scale it up for festival mornings or scale it down for a daily doorstep. Many learners on our channel make this to draw simple kolam their go-to design once they get the rhythm of the curves.
To Draw Simple Kolam — Step by Step Guide
Use the steps below as a reference card while the video plays. Most learners finish on the second attempt.
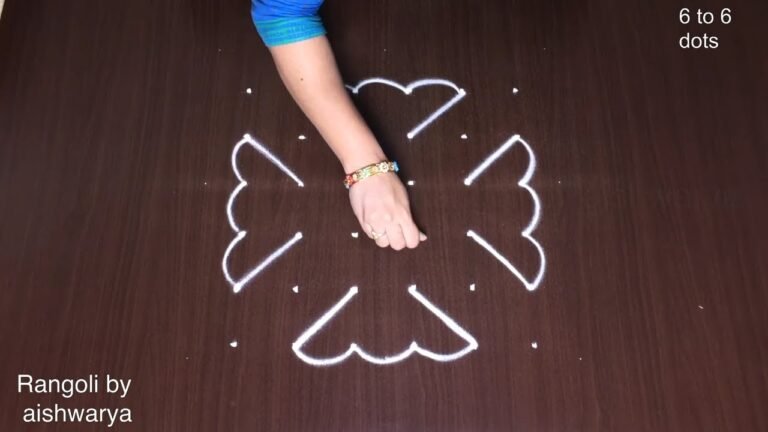
- Mark an 8-to-8 dot grid (an eight-by-eight square of dots).
- Draw the central eight-point star by overlaying two squares turned 45 degrees to each other around the middle dots, then mark a small dot inside the star's centre.
- Enclose the star in a square frame, joining the surrounding dots with straight lines to make the kolam's outer border.
- At the middle of each of the four sides, draw a tulip/leaf motif pointing inward — two curved leaves meeting at a point.
- Add small heart shapes beside the tulips and a single spiral curl at the two top corners to finish.
- Draw the whole kolam as a plain white line on the dark floor.
What You Will Learn
- Simple Rangoli Designs
- Rangoli
- Muggulu
- Rangoli Designs
- Rangoli Kolam
- Kolam
Frequently Asked Questions
How do I draw this rangoli?
Start by marking an even dot grid on a flat, clean surface. Once the grid is in place, connect the dots following the curves shown in the video. Even spacing between dots is the single biggest factor for a clean finish.
Is this suitable for beginners?
Absolutely. You can pause and rewind the video at every step. The pattern is straightforward once you have the grid down.
What materials do I need?
Rice flour, coloured rangoli powders, and a clean stretch of floor or paper. Some draw with chalk first to set the grid before powdering over it.
How long does it take?
Roughly 2 min 57 sec to watch end-to-end, and 10–20 minutes to draw yourself depending on grid size and how careful you are with the curves.
There is real pleasure in finishing a kolam at your own doorstep — even more so when the pattern is one you have practised before. Make this one of those.
Leave a Reply