Add a touch of charm to your doorway with Small Rangoli 5 To — clean lines, balanced symmetry, and easy to scale.
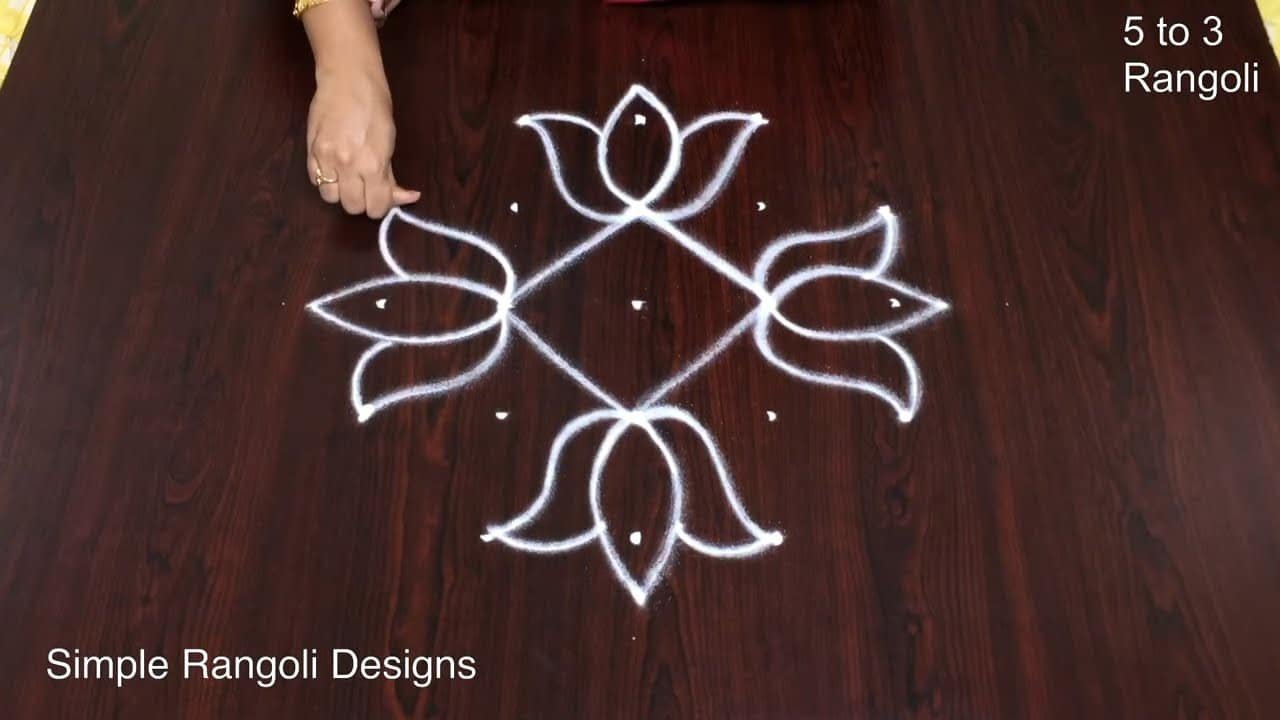
Small Rangoli 5 to 3 dots | Simple Chukkala Muggulu | Chinna Poo Kolam. This tutorial will show you how to draw Beautiful Indian traditional art Diwali Rangoli patterns using materials such as dry rice flour, colored sand or flower petals Rangoli designs by Aishwarya. Simple rangoli Kutti Kolam pattern is created on the floor in living rooms or courtyards. Draw the Lines step by step as it is shown in this video and will be awesome Rangoli Design. 😲 The Diwali rangoli pattern here is one of the amazing latest flower kolangal designs. Simple Rangoli Designs and easy rangoli designs by Aishwarya with dots for beginners and intermediate.
1. Diwali Rangoli 2. Pongal kolams 3. Pongal rangoli designs
4. Sankranthi designs 5. Easy rangoli for sankranthi 6. Pongal designs
7. Latest rangoli for sankranthi 8. Marzaghi kolams 9. Best kolangal
10. Easy rangoli designs 11. Rangoli Designs for Bhaubeej 12. Thipkyanchi Rangoli Designs
13. Simple Karthigai Kolam 14. Karthika Masam Chukkala Muggulu 15. Tulasi Kota Muggulu
Tip: Keep your powder bowl close to your dominant hand. Small movements give cleaner curves.
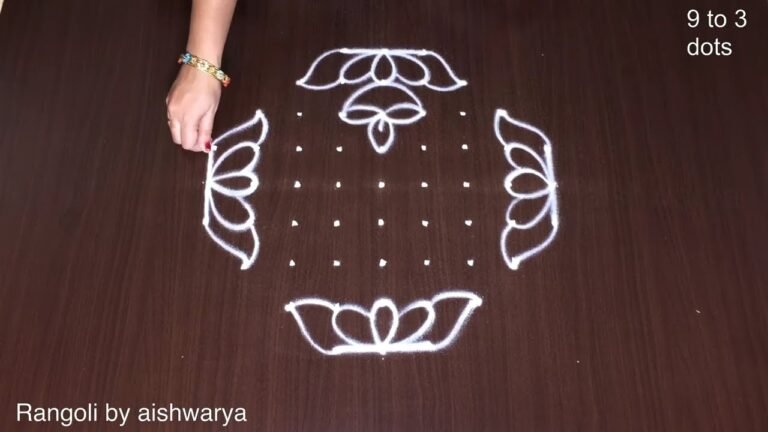
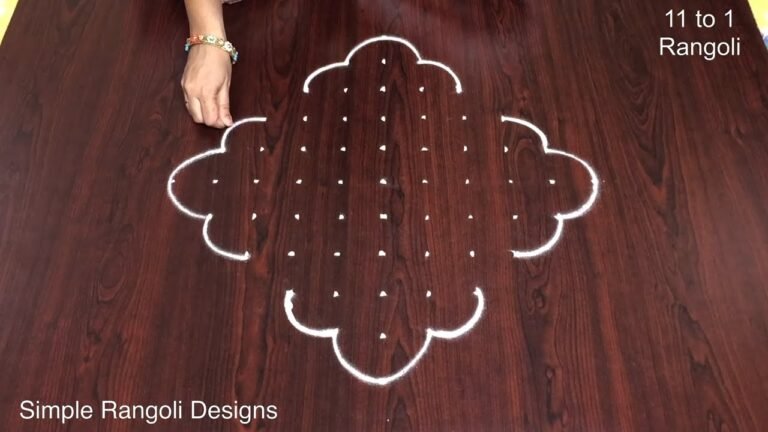
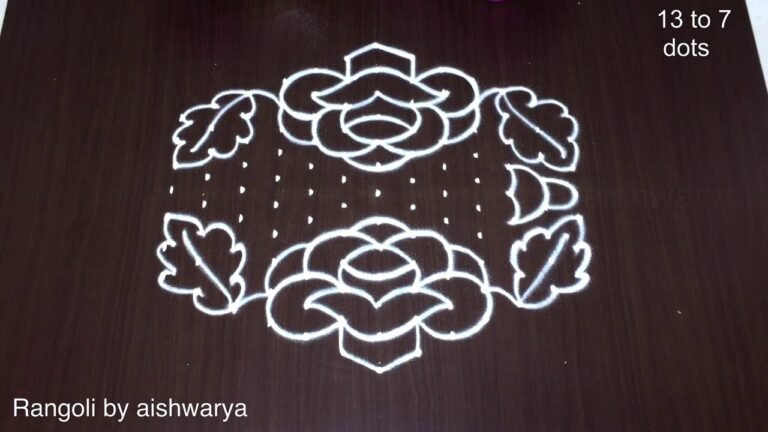
This design belongs to the broader tradition of rangoli and kolam art practised across South India. Explore more in our 5 to 3 dots Rangoli Designs collection.
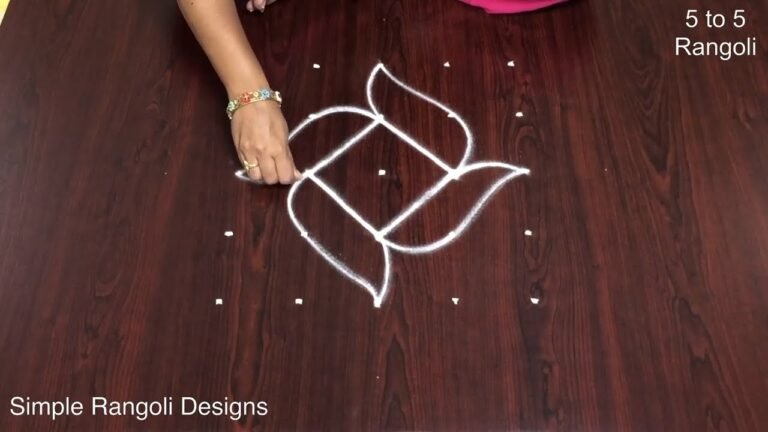
This small rangoli design featuring 5 to 3 dots is perfect for beginners looking to add a traditional touch to their festivities, especially during Diwali. The simplicity of the Chukkala Muggulu allows anyone to create intricate patterns using just rice flour or colored sand. By following the step-by-step guide in the tutorial, you can easily replicate this charming design in your living room or courtyard, bringing joy and vibrancy to your home during celebrations like Diwali Rangoli.
The beauty of this small rangoli lies in its versatility; it can be adapted for various occasions beyond Diwali, such as Pongal or Sankranthi. The use of 5 to 3 dots creates a balanced and harmonious look, making it suitable for both experienced artists and newcomers alike. For those who wish to explore more creative designs, the Big Dot Rangoli Muggulu and other styles can provide inspiration. To learn more about the rich history of this art form, you can visit Rangoli on Wikipedia.
Small Rangoli — Step by Step Guide
Read through the steps before you begin so the sequence feels familiar when you start drawing.
- Mark the 5-to-3 dot grid (a middle row of 5 dots stepping down by one each row to 3 at the top and bottom, forming a diamond).
- In the very centre draw a small six-petal flower enclosed in a little diamond outline.
- Out along the two diagonals draw four triangles and fill each with a fine criss-cross net/mesh so they read as woven pyramids pointing to the corners.
- At the top and bottom points draw a lotus-style petal fan (a row of rounded petals fanning outward), then repeat the same fan on the left and right so all four sides match.
- At the four diagonal corners add curling spirals and edge them with a line of small dots.
- Retrace every outline to thicken it, leaving the mesh-filled triangles as the darker accents.
What You Will Learn
- Simple Rangoli Designs
- Rangoli
- Muggulu
- Rangoli Designs
- Rangoli Kolam
- Kolam
Frequently Asked Questions
How do I draw this rangoli?
Start by marking an even dot grid on a flat, clean surface. Once the grid is in place, connect the dots following the curves shown in the video. Even spacing between dots is the single biggest factor for a clean finish.
Is this suitable for beginners?
It is one of the more forgiving designs in our collection. Beginners often pick it as a confidence-builder before moving on to larger grids.
What materials do I need?
Just three things: powder (white plus any colours you want), a flat dry surface, and a few minutes of focus. A small bowl per colour helps keep things tidy.
How long does it take?
You will see a 6 min 10 sec walkthrough above. Drawing it yourself is usually a 12–18 minute affair, slightly slower the first time.
Drawing kolam is as much about the practice as the result. Set aside ten minutes, follow the video, and enjoy the process.


Leave a Reply