Kolam Designs 5 To combines tradition with simplicity, making it one of the most rewarding designs to practice at home.
How to Make Easy and Beautiful Rangoli 🌺 Kolam Designs 5 to 3 Dots 🌺 Traditional Chukkala Muggulu Thank you so much for watching Channel
Chapters: 0:00 Intro 0:05 How to Make Easy and Beautiful Rangoli
2:42 Kolam Designs 5 to 3 Dots My Rangoli Channel Contains : Rangoli Designs
Sankranthi Muggulu Diwali Rangoli Ratham Muggulu
Kolam Designs Muggulu Designs Chukkala Muggulu
Easy Rangoli Simple Rangoli Easy Rangoli Designs
Tip: Work from the centre outward. It keeps the symmetry honest and prevents the design from drifting off-balance.
This design belongs to the broader tradition of rangoli and kolam art practised across South India. Explore more in our 5 to 3 dots Rangoli Designs collection.
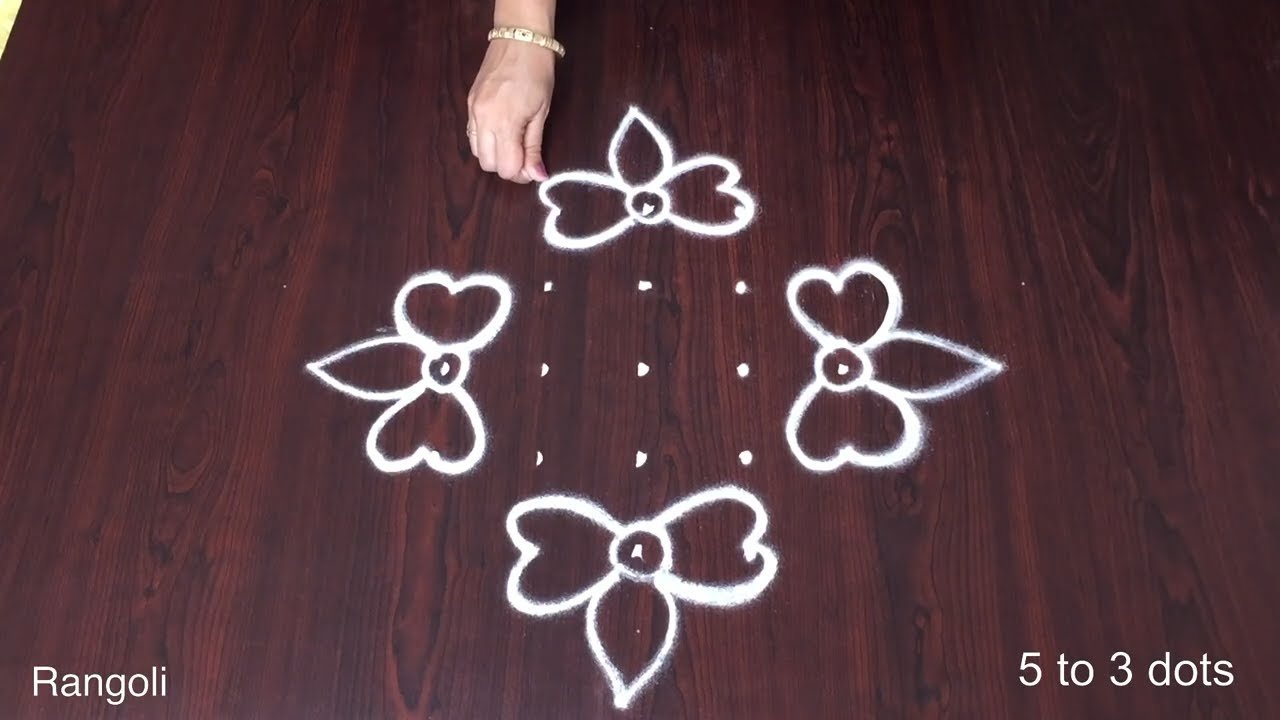
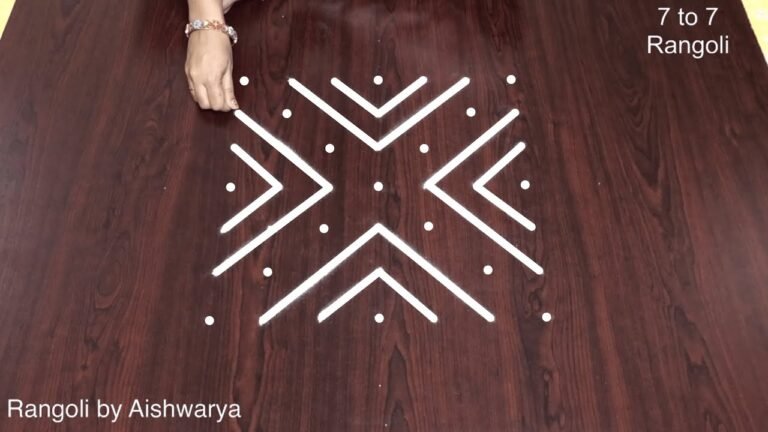
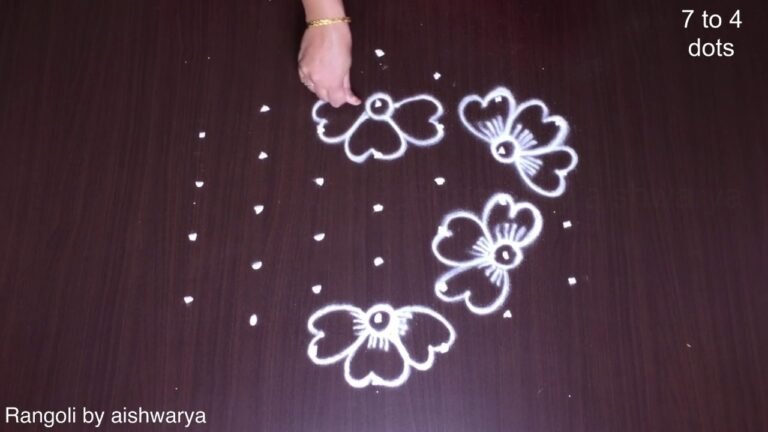
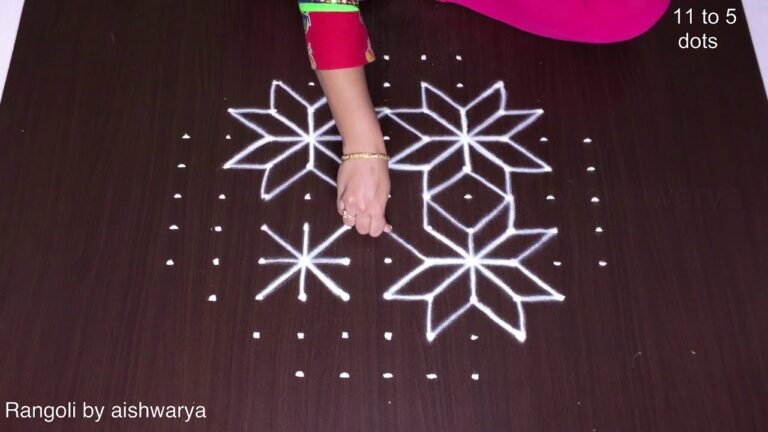
The kolam design featuring 5 to 3 dots is a delightful representation of traditional art that is often created during festivals and special occasions. This design typically consists of intricate patterns that vary in complexity, making it suitable for beginners. The simplicity of the 5 to 3 dots allows for creativity to shine through, as you can experiment with various colors and patterns. For an interesting variation, you might want to explore the Big Creative Deepam Rangoli, which also uses a unique dot format.
This kolam style is particularly popular during celebrations like Pongal and Diwali, where vibrant decorations enhance the festive spirit. The appeal lies in its ability to bring families together, as creating kolams is often a communal activity. If you’re looking for more designs that utilize a similar dot structure, the 9 to 3 Dots Roja Puvvula Muggulu is another lovely option to consider. To learn more about the rich history of this art form, you can visit this page on Rangoli.
Kolam Designs 5 To — Step by Step Guide
These steps are written for absolute beginners. Watch once, draw once, then watch again — that is how the pattern locks in.
- Clear a flat surface and set down your dot grid using rice flour or chalk.
- Confirm the dot spacing is even — uneven dots are the biggest cause of wobbly curves.
- Begin tracing from the centre outward, following the curves shown in the video above.
- Fill the petals and sections with your chosen colours, working one area at a time.
- Finish the edges with a fine line for a sharp, photograph-ready result.
What You Will Learn
- Simple Rangoli Designs
- Rangoli
- Muggulu
- Rangoli Designs
- Rangoli Kolam
- Kolam
Frequently Asked Questions
How do I draw this rangoli?
It looks complex but follows a simple rhythm: dots first, then loops. Mark the grid, take a breath, and trace the curves at a steady pace. The pattern emerges on its own.
Is this suitable for beginners?
Yes — this design is shaped specifically with newcomers in mind. The dot grid is small enough to manage, and the curves are gentle. Most learners get it right by the second try.
What materials do I need?
You will need rice flour or rangoli powder (white, plus your choice of colours), a flat surface like a clean floor or courtyard, and optionally a dot stencil if you are new to grid-drawing.
How long does it take?
Plan for roughly 4 min 53 sec to watch and 15 minutes to draw. The second attempt is always cleaner than the first — that is the nature of dot kolam.
After you draw this, take a picture before the day blows it away. Kolam is impermanent by design, but a photo lets you revisit the version you drew.
Leave a Reply