Whether you are decorating for a festival or your daily morning ritual, Kolam Designs For Pongal is an excellent design to keep handy.
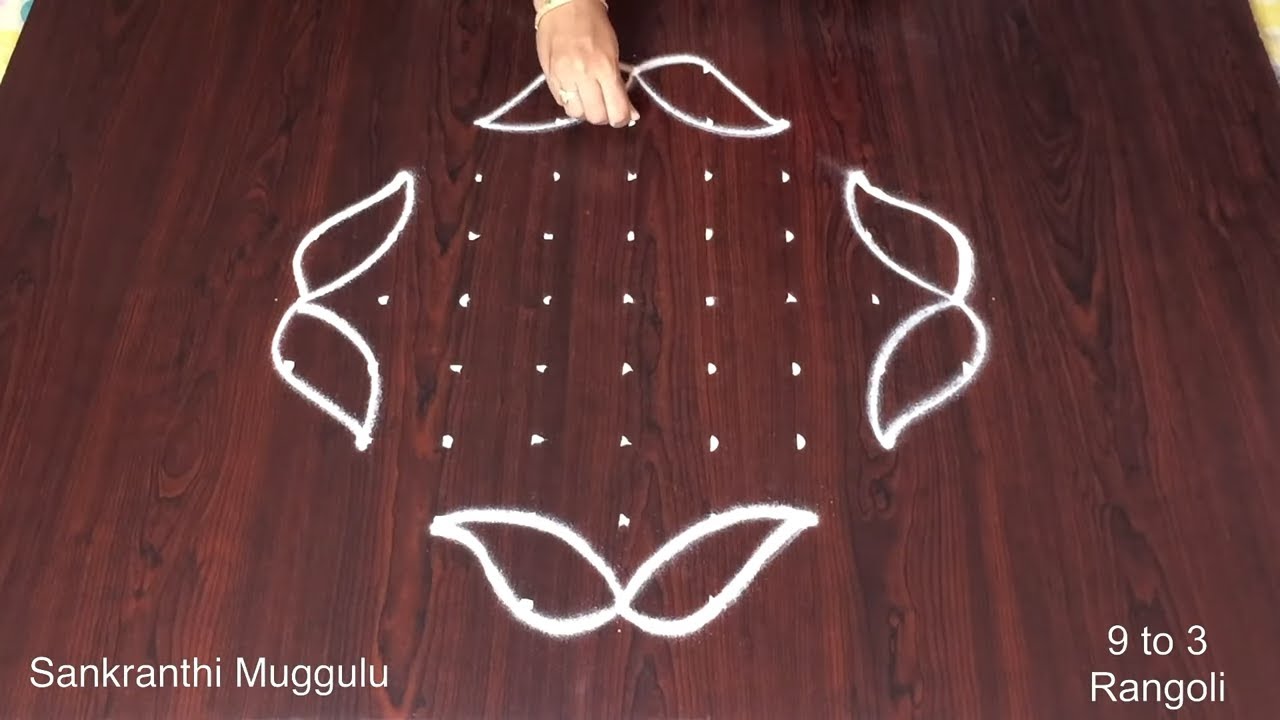
Kolam Designs for Pongal 🌼 Rangoli Designs for Sankranthi with dots 🌼 9 to 3 Chukkala Muggulu Thank you so much for watching Channel
My Rangoli Channel Contains : Rangoli Designs Sankranthi Muggulu
Diwali Rangoli Ratham Muggulu Kolam Designs
Muggulu Designs Chukkala Muggulu Easy Rangoli
Simple Rangoli Easy Rangoli Designs Dhanurmasam Muggulu
Melikala Muggulu Geethala Muggulu Sivarathri Muggulu
Tip: Use chalk to lightly mark your dot grid first — it wipes away cleanly once your rangoli is finished.
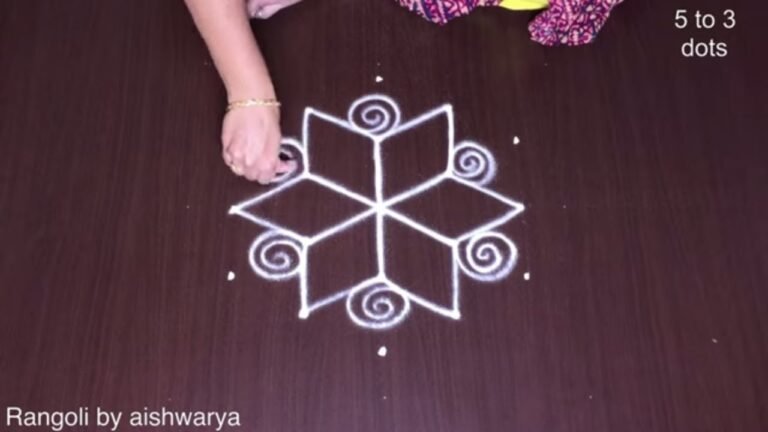
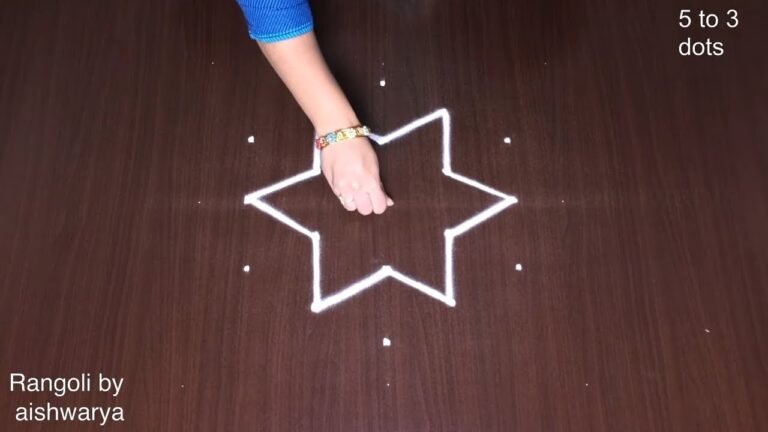
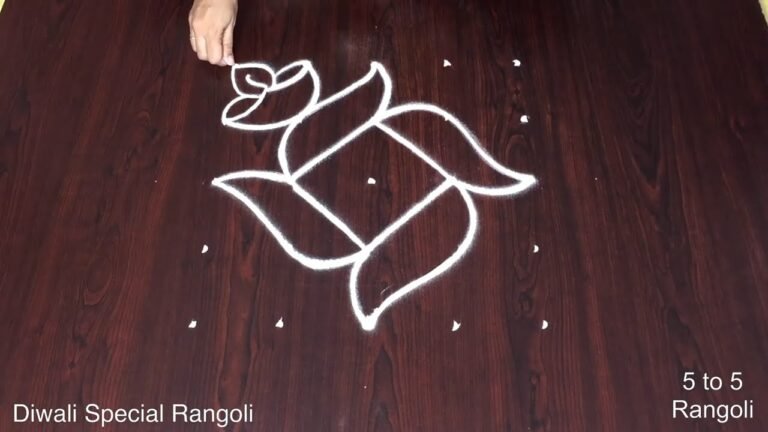
The kolam designs for Pongal, especially those featuring a 9 to 3 dot pattern, beautifully embody the festive spirit of this harvest celebration. These intricate patterns often incorporate traditional motifs like sun, sugarcane, and rice, symbolizing prosperity and abundance. Creating such kolams not only beautifies the entrance of homes but also serves as a warm welcome to family and guests during this joyous occasion. For more inspiration, you can explore Kolam Pongal Flower designs that complement these festive themes.
Beginners may find the 9 to 3 dot kolam designs approachable and enjoyable, as they offer a great way to practice basic patterns while celebrating Pongal. These designs can vary in complexity, allowing artists to express their creativity while adhering to traditional styles. For those interested in expanding their skills, a look at 9 Dots Chukkala Muggulu for Festivals can provide further insights into similar designs. To learn more about the cultural significance of these beautiful patterns, visit this Wikipedia page.
Kolam Designs For Pongal — Step by Step Guide
These steps are written for absolute beginners. Watch once, draw once, then watch again — that is how the pattern locks in.
- Clear a flat surface and set down your dot grid using rice flour or chalk.
- Confirm the dot spacing is even — uneven dots are the biggest cause of wobbly curves.
- Begin tracing from the centre outward, following the curves shown in the video above.
- Fill the petals and sections with your chosen colours, working one area at a time.
- Finish the edges with a fine line for a sharp, photograph-ready result.
What You Will Learn
- Simple Rangoli Designs
- Rangoli
- Muggulu
- Rangoli Designs
- Rangoli Kolam
- Kolam
Frequently Asked Questions
How do I draw this rangoli?
The grid comes first. Use a soft chalk to dot the surface, count twice to confirm the spacing, then start connecting them following the video. Work from the centre outward.
Is this suitable for beginners?
It is one of the more forgiving designs in our collection. Beginners often pick it as a confidence-builder before moving on to larger grids.
What materials do I need?
Powder (white for outlines, colours for filling), a flat surface, and a dot stencil if you want absolute precision. Beyond that, just your hand and a steady pace.
How long does it take?
Plan for roughly 3 min 21 sec to watch and 15 minutes to draw. The second attempt is always cleaner than the first — that is the nature of dot kolam.
We rotate festival designs through the year — bookmark the homepage and you will find a new pattern every morning.
Leave a Reply