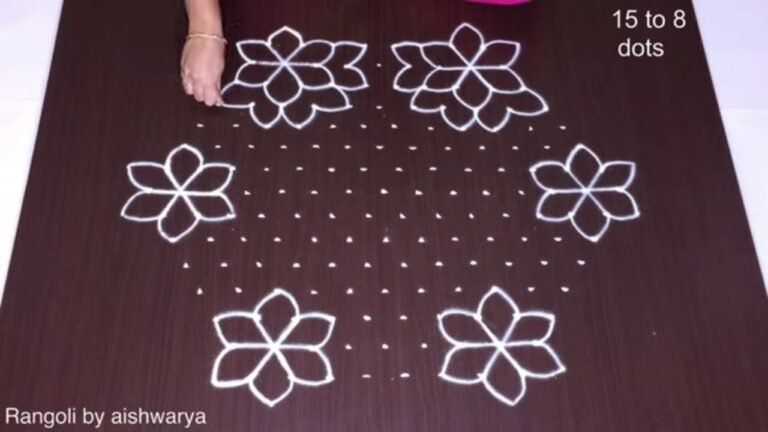
Kolam Pongal Flower is the kind of design that looks intricate but is genuinely beginner-friendly once you follow the dot grid.

For another beginner-friendly variation, try 7 To 4 Diya Kolam For Pooja Room At Home.
Learn more about the tradition of Rangoli on Wikipedia.
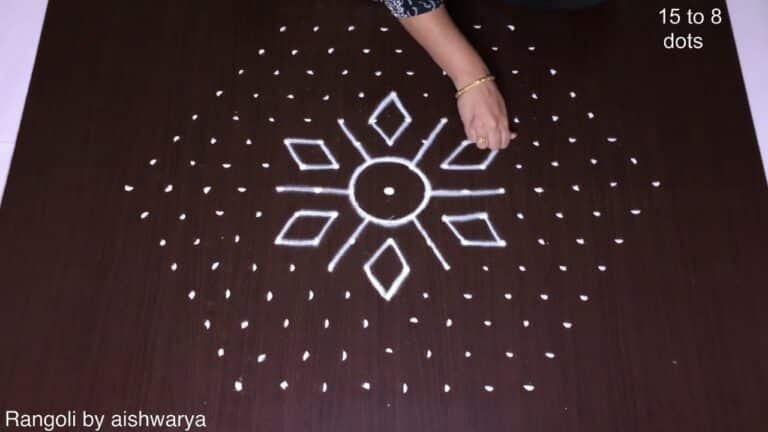
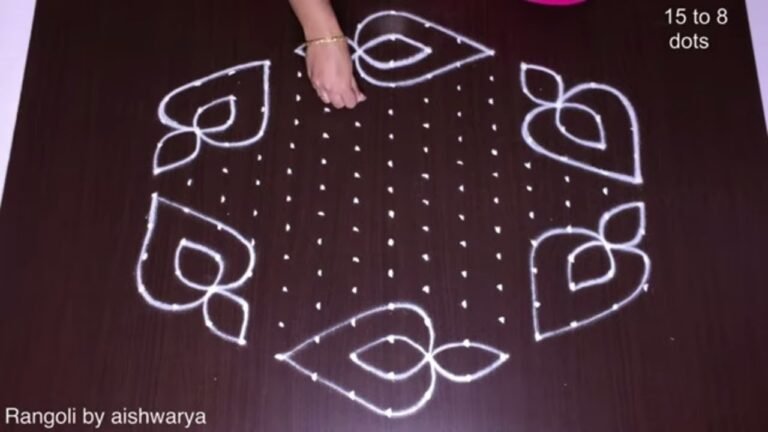
Looking for a grand and symmetrical 15×8 dots kolam for your entrance? This large dot rangoli is perfect for festivals, competitions, and traditional celebrations. In this video, I guide you step by step to create a beautiful 15×8 dots rangoli using a structured large grid. If you are searching for 15×8 rangoli designs with dots that look balanced and impressive, this tutorial will help you master spacing and smooth curves.
We begin by placing the full 15 into 8 rangoli dot layout carefully to form a strong foundation. Then the framework develops gradually into an elegant pattern, making it ideal for those looking for large kolam designs with dots. How to construct a perfect 15×8 rangoli dot grid How to create symmetrical 15 8 chukki rangoli designs
How to enhance patterns into 15 te 8 rangoli with colours How to draw clean and structured dot rangoli designs 15-8 This design works beautifully as 15×8 dots rangoli for diwali, festive decoration, and even muggula poti rangoli competitions. The large layout gives it a bold presence, making it perfect for muggula poti rangoli muggulu events and temple entrances.
If you are searching for rangoli designs 15 to 8 dots, 15 chukki rangoli, or even 15 te 8 rangoli dakhva, this structured design will help you recreate it confidently. Because of its size, this is one of the most popular large dots kolam layouts for festivals and grand occasions. Watch till the end to see how the complete 15×8 grid transforms into a stunning and symmetrical rangoli.
If you enjoy large dot patterns, explore more dot kolam and grand entrance rangoli tutorials on the channel.
Tip: Use chalk to lightly mark your dot grid first — it wipes away cleanly once your rangoli is finished.
About this design: Kolam Pongal Flower is a beginner-friendly pattern that comes together in just a few minutes. Once you have practised the kolam pongal flower dot grid, you can scale it up for festival mornings or scale it down for a daily doorstep. Many learners on our channel make this kolam pongal flower their go-to design once they get the rhythm of the curves.
Kolam Pongal Flower — Step by Step Guide
If you have drawn dot rangoli before, this will feel familiar. If you have not, the dot grid will guide you.
- Mark the 15-to-8 dot grid (a diamond, fifteen dots across the middle tapering to eight).
- Draw the central flower: a small dotted circle for the seed-centre, ringed by five or six rounded petals to make a full bloom.
- Repeat the same bloom at six points around the centre, spacing them evenly so the flowers form a hexagonal spread.
- Between and beside the blooms, add pairs of pointed leaves (curved lens shapes on short stems) to link them.
- Trace a second parallel outline around every petal and leaf to give the raised, doubled look.
- Dot each flower centre to finish; keep the whole kolam in white powder.
What You Will Learn
- 15X8 Dots Kolam
- 15X8 Dots Rangoli
- 15X8 Dots Rangoli Simple
- 15X8 Rangoli Designs
- Muggula Poti Rangoli Muggulu
- 15X8 Rangoli Designs With Dots
Frequently Asked Questions
How do I draw this rangoli?
It looks complex but follows a simple rhythm: dots first, then loops. Mark the grid, take a breath, and trace the curves at a steady pace. The pattern emerges on its own.
Is this suitable for beginners?
Yes, and it is one we recommend to first-timers. The small grid keeps the design manageable while still teaching the core technique.
What materials do I need?
White rice flour for the outline, coloured powders for the fill, and a clean dry floor. That is the essentials list — you can add a stencil if you prefer.
How long does it take?
A 5 min 56 sec video shows the complete sequence. On paper or floor, expect to spend around a quarter of an hour from grid to finished pattern.
A reminder that beautiful art does not need expensive materials — just a steady hand, a clean surface, and a few pinches of rice flour.

Leave a Reply