This pongal sankranti 5×3 beginners tutorial walks you through every step from the dot grid to the final pattern.
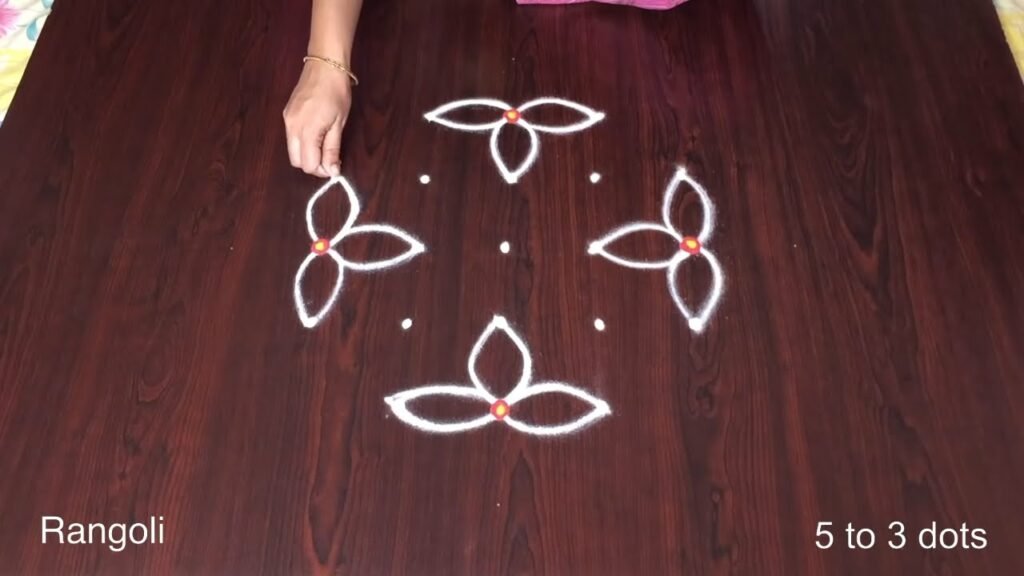
If you enjoy dot-grid muggulu, Rangoli 4 is a satisfying pattern that comes together in just a few minutes.
New Pongal Rangoli — what you will learn
This new pongal rangoli tutorial walks you through every step: setting up the dot grid, connecting the outline, filling colour, and finishing details. Each phase is shown in the video below — pause, rewind, and try it at your own pace.
Techniques for Creating Elegant and Simple Sankranti Muggulu
In this section, we will explore various techniques for creating beautiful and simple sankranti muggulu designs that are perfect for beginners. Using just a few materials like colored powders, rice flour, and a steady hand, you can craft stunning patterns that celebrate the joyous occasion of Pongal. These designs not only enhance the festive spirit but also allow you to express your creativity while embracing the cultural significance of rangoli during Sankranti.
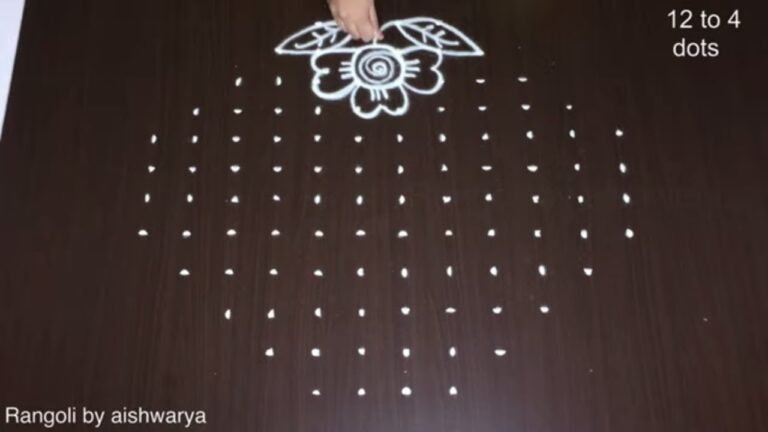
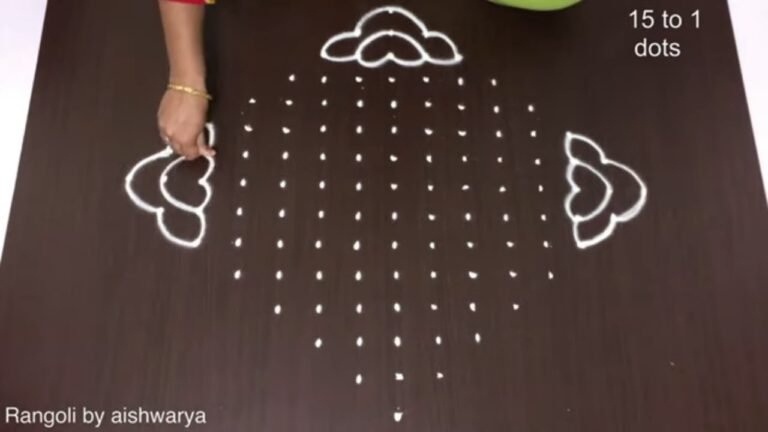
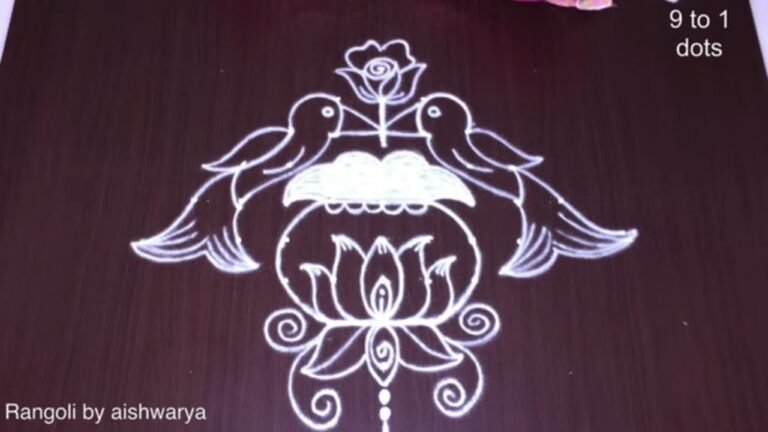
Looking for a beautiful New Pongal Rangoli to decorate your entrance? This 5×3 dots Sankranti muggulu design is simple, traditional, and perfect for beginners. In this video, I guide you step by step to create a neat 5×3 dots rangoli design inspired by traditional Pongal kolam patterns. If you enjoy drawing rangoli with dots, this tutorial will help you understand dot placement and symmetry easily.
We start by placing the 5×3 dot grid clearly to build a balanced base. Then the curved framework develops gradually into a graceful Sankranti muggulu kolam design.
Tip: A slightly damp brush along the edges gives a sharper finish, especially for festival photographs.
This design belongs to the broader tradition of rangoli and kolam art practised across South India. Explore more in our 5 to 3 dots Rangoli Designs collection.
The 5×3 dots rangoli design is a delightful choice for celebrating Pongal, a festival that honors the harvest and the sun god. This simple yet elegant muggulu is perfect for beginners, as it offers a clear framework to understand the principles of dot placement and symmetry. The design flows seamlessly, reflecting the essence of traditional kolam patterns that are often seen during festive occasions. For those interested in more festive designs, check out our Happy Pongal Kolam for additional inspiration.
As you create this design, you’ll find that the gentle curves and balanced shapes come together beautifully, making it a charming addition to your entrance. The process encourages creativity while keeping it accessible for newcomers to rangoli. If you’re looking for more elaborate options, consider exploring our Diwali Festival Muggulu Rangoli for a stunning range of patterns to enhance your festive decorations. For a broader understanding of this art form, you can read more about it on Wikipedia.
About this design: And Simple Sankranti Muggulu is a beginner-friendly pattern that comes together in just a few minutes. Once you have practised the and simple sankranti muggulu dot grid, you can scale it up for festival mornings or scale it down for a daily doorstep. Many learners on our channel make this and simple sankranti muggulu their go-to design once they get the rhythm of the curves.
Pongal Sankranti 5X3 Beginners — Step by Step Guide
Pace yourself through the steps — kolam rewards patience more than speed.
- Clear a flat surface and set down your dot grid using rice flour or chalk.
- Confirm the dot spacing is even — uneven dots are the biggest cause of wobbly curves.
- Begin tracing from the centre outward, following the curves shown in the video above.
- Fill the petals and sections with your chosen colours, working one area at a time.
- Finish the edges with a fine line for a sharp, photograph-ready result.
What You Will Learn
- Rangoli
- Muggulu
- Rangoli Designs
- Kolam
- Chukkala Muggulu
- Simple Rangoli
Frequently Asked Questions
How do I draw this rangoli?
Begin with the dot grid — this is the skeleton of the design. With rice flour or chalk, place each dot at equal intervals. Then trace the curves slowly, one section at a time.
Is this suitable for beginners?
Yes, and it is one we recommend to first-timers. The small grid keeps the design manageable while still teaching the core technique.
What materials do I need?
Just three things: powder (white plus any colours you want), a flat dry surface, and a few minutes of focus. A small bowl per colour helps keep things tidy.
How long does it take?
The video runs 4 min 2 sec. In practice, most learners take between 10 and 20 minutes — a little longer the first time, faster as the pattern becomes familiar.
When you draw this, focus on the first three dots — get those right and the whole pattern follows. The rest is just patience and a steady hand.
Leave a Reply