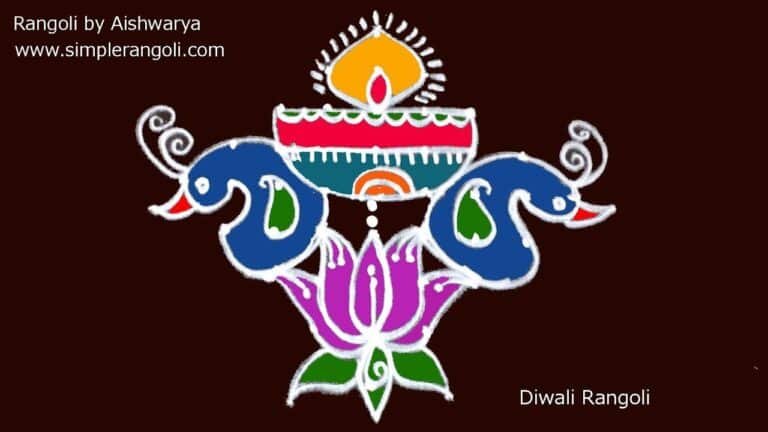
Whether you are decorating for a festival or your daily morning ritual, Peacock Rangoli For New is an excellent design to keep handy.
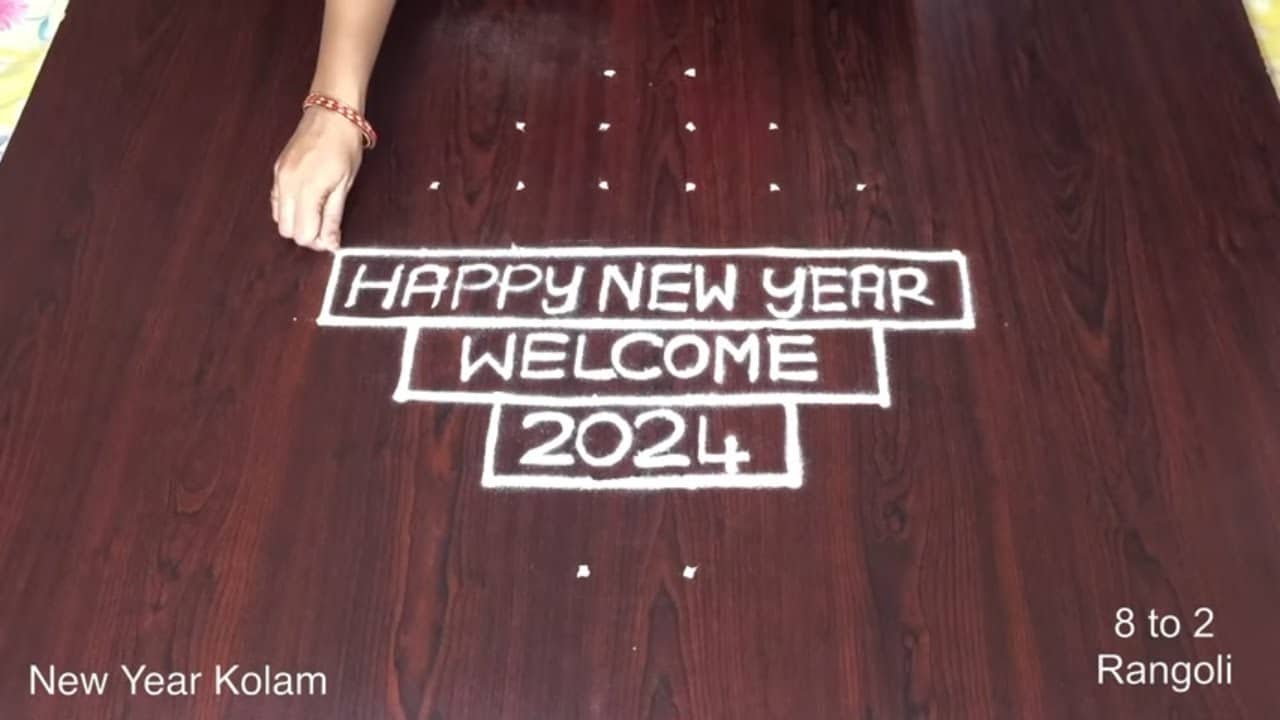
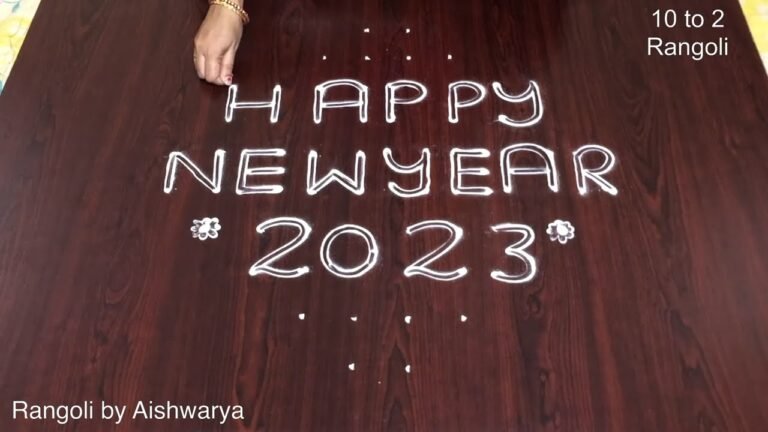
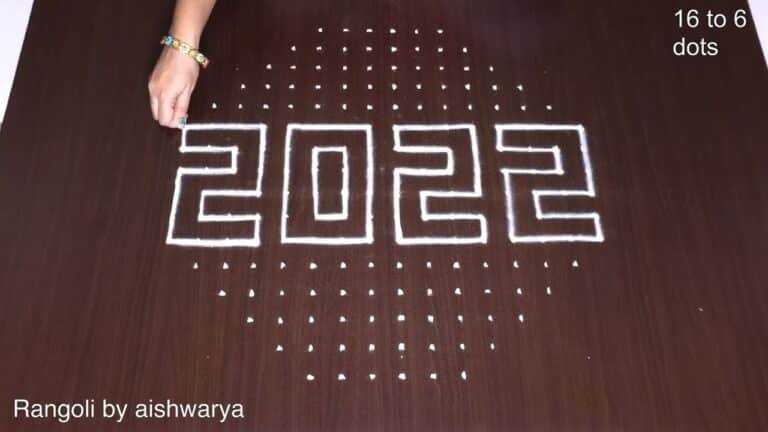
This tutorial will show you how to draw peacock rangoli for new year using materials such as dry rice flour, colored sand or flower petals Rangoli designs by Aishwarya. Simple rangoli designs with dots Kolam pattern is created on the floor in living rooms or courtyards. Draw the Lines step by step as it is shown in this video and will be awesome rangoli de. 😲 The artistic design for bindu wali kolam here is one of the creative new year rangoli. Simple Rangoli Designs Aishwarya and 2024 kolangal with 8 to 2 dots by Aishwarya with dots for beginners and intermediate.
1. Happy New Year 2024 Muggulu 2. New Year Kolam 2024 3. Happy New Year Kolam
4. Thipkyanchi Rangoli Designs 5. New Year Design 6. Happy New Year 2024 Design
7. 2024 New Year Muggulu 8. Karthigai Deepam Kolam 9. New Year Muggulu
10. ठिपक्यांची रांगोळी ****************************************************** a) 1 Million Views Crossed Rangoli/Kolam/Muggula dizain:
b) Simple rangoli designs for Diwali at home: c) 9×1 dots Rangoli: ******************************************************
Tip: Use chalk to lightly mark your dot grid first — it wipes away cleanly once your rangoli is finished.
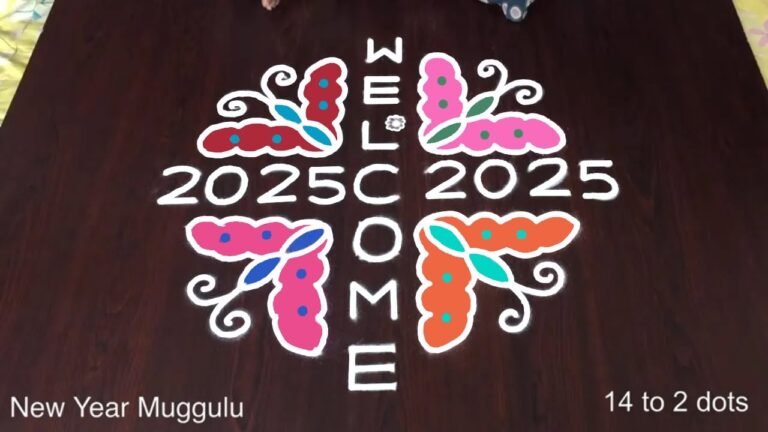
The peacock rangoli design is a vibrant and auspicious way to celebrate the New Year, symbolizing grace and beauty. This design often incorporates a variety of bright colors, making it an eye-catching addition to any home during the festive season. Using a simple 8 to 2 dot pattern, beginners can easily create this intricate design. For those looking to explore more, the 9 Dots Chukkala Muggulu for Festivals offers additional inspiration suitable for various celebrations.
Traditionally, rangoli is created using rice flour, colored sand, or flower petals, and the peacock design can be adapted for different occasions. As families gather to welcome the New Year, this colorful art form enhances the festive atmosphere. If you’re interested in exploring other designs, you might enjoy the Occasional Kolam Designs, which provide a wonderful variety of patterns for different celebrations. Learn more about the rich heritage of this art form by visiting this link.
About this design: Peacock Rangoli For New is a beginner-friendly pattern that comes together in just a few minutes. Once you have practised the peacock rangoli for new dot grid, you can scale it up for festival mornings or scale it down for a daily doorstep. Many learners on our channel make this peacock rangoli for new their go-to design once they get the rhythm of the curves.
Peacock Rangoli For New — Step by Step Guide
Follow the steps below to recreate this design at home. Pause the video whenever you need — there is no hurry.
- Clear a flat surface and set down your dot grid using rice flour or chalk.
- Confirm the dot spacing is even — uneven dots are the biggest cause of wobbly curves.
- Begin tracing from the centre outward, following the curves shown in the video above.
- Fill the petals and sections with your chosen colours, working one area at a time.
- Finish the edges with a fine line for a sharp, photograph-ready result.
What You Will Learn
- Rangoli For New Year
- New Year Rangoli Designs
- Happy New Year Rangoli
- New Year Muggulu
- Kolam For New Year
- Rangoli For Festivals
Frequently Asked Questions
How do I draw this rangoli?
Begin with the dot grid — this is the skeleton of the design. With rice flour or chalk, place each dot at equal intervals. Then trace the curves slowly, one section at a time.
Is this suitable for beginners?
Yes — this design is shaped specifically with newcomers in mind. The dot grid is small enough to manage, and the curves are gentle. Most learners get it right by the second try.
What materials do I need?
White rice flour for the outline, coloured powders for the fill, and a clean dry floor. That is the essentials list — you can add a stencil if you prefer.
How long does it take?
You will see a 5 min 3 sec walkthrough above. Drawing it yourself is usually a 12–18 minute affair, slightly slower the first time.
Whenever you finish your version, share a photo with us. Seeing your work is the best part of running this channel.


Leave a Reply