There is something timeless about Rangoli Border Designs — the symmetry, the rhythm of the dots, and the soft curves it produces.

Rangoli Border Designs 🌼 Butterfly Muggulu 7 to 1 dots 🌼 Kolam Easy Pongal Thank you so much for watching Channel
Chapters: 0:00 Intro 0:05 Rangoli Border Designs
2:56 Kolam Easy Pongal My Simple Rangoli Designs Channel Contains : Rangoli designs
Sankranthi muggulu Diwali rangoli Kolam designs
Simple rangoli Easy rangoli designs Pongal kolams
New year rangoli designs Ratham muggulu Muggulu designs
Tip: Keep your powder bowl close to your dominant hand. Small movements give cleaner curves.
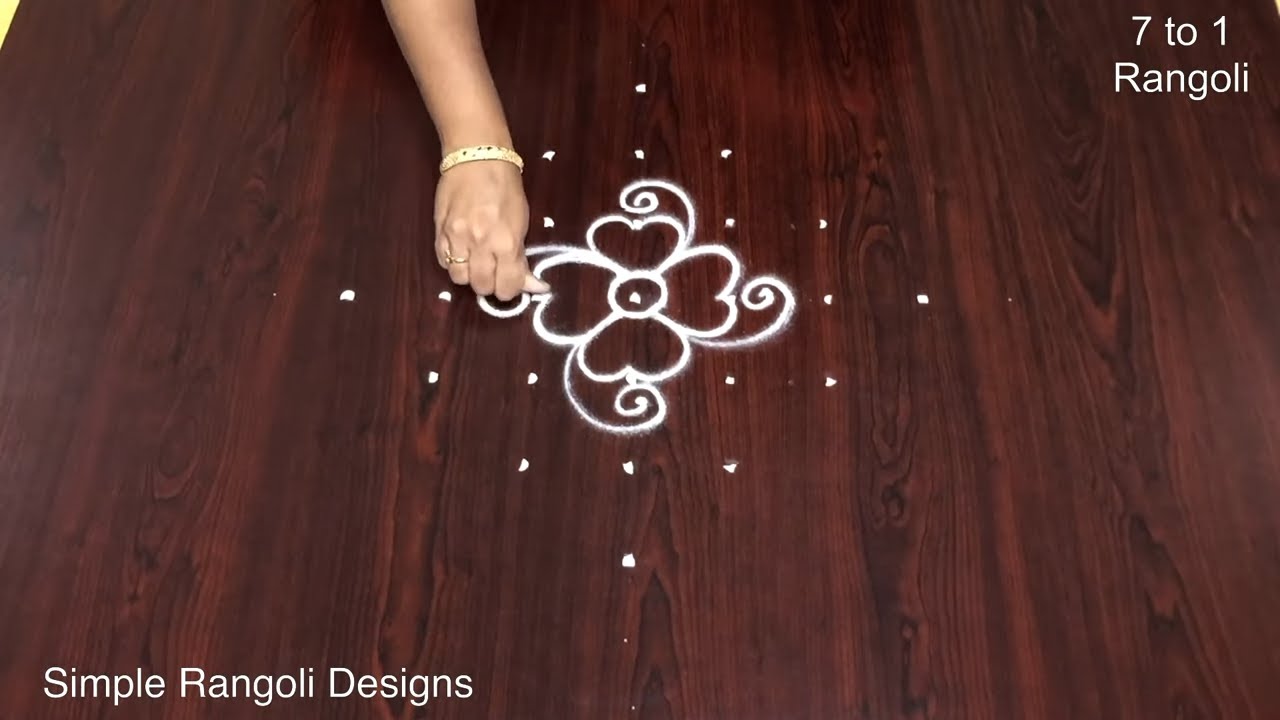
Rangoli border designs are a delightful way to add elegance to your traditional kolams. This particular design utilizes a 7 to 1 dot grid, making it approachable for beginners while still offering a stunning visual effect. The intricate patterns can serve as a beautiful frame for central motifs, ideal for festive occasions such as Pongal. For more inspiration, you might enjoy exploring Pongal Panaai Kolam Designs or Happy New Year 21 To 11 Beautiful Rangoli.
When creating rangoli border designs, the choice of colors is essential to enhance the overall appeal. Using vibrant hues can make the borders pop, drawing attention to the entire composition. These designs not only beautify your home but also celebrate the rich cultural heritage of India, where rangoli has deep-rooted significance. To learn more about the history and significance of this art form, visit this link for a comprehensive overview.
Rangoli Border Designs — Step by Step Guide
Each step takes only a moment. The whole design comes together in just a few minutes once the grid is in place.
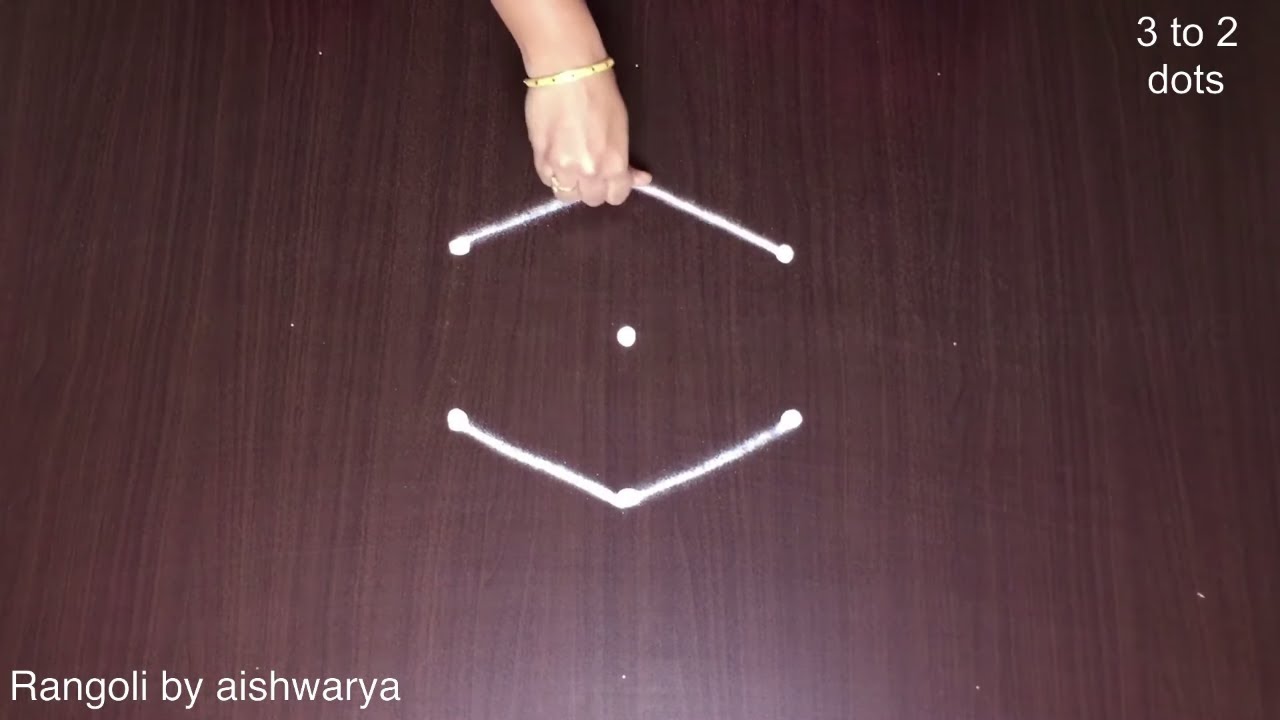
- Clear a flat surface and set down your dot grid using rice flour or chalk.
- Confirm the dot spacing is even — uneven dots are the biggest cause of wobbly curves.
- Begin tracing from the centre outward, following the curves shown in the video above.
- Fill the petals and sections with your chosen colours, working one area at a time.
- Finish the edges with a fine line for a sharp, photograph-ready result.
What You Will Learn
- Simple Rangoli Designs
- Rangoli
- Muggulu
- Rangoli Designs
- Rangoli Kolam
- Kolam
Frequently Asked Questions
How do I draw this rangoli?
Start by marking an even dot grid on a flat, clean surface. Once the grid is in place, connect the dots following the curves shown in the video. Even spacing between dots is the single biggest factor for a clean finish.
Is this suitable for beginners?
Yes, and it is one we recommend to first-timers. The small grid keeps the design manageable while still teaching the core technique.
What materials do I need?
Powder (white for outlines, colours for filling), a flat surface, and a dot stencil if you want absolute precision. Beyond that, just your hand and a steady pace.
How long does it take?
About 6 min 19 sec on screen, perhaps 15 minutes for a relaxed first attempt. By the second try most people are noticeably quicker.
Pin this for later or share with a friend learning kolam — and let us know in the comments which design you would like next.


Leave a Reply