Looking to learn Rangoli Designs With 5? This step-by-step guide walks you through every line, dot, and curve.

For another beginner-friendly variation, try 15 Se 1 Pongal Pot Kolam Colourful.
Learn more about the tradition of Rangoli on Wikipedia.
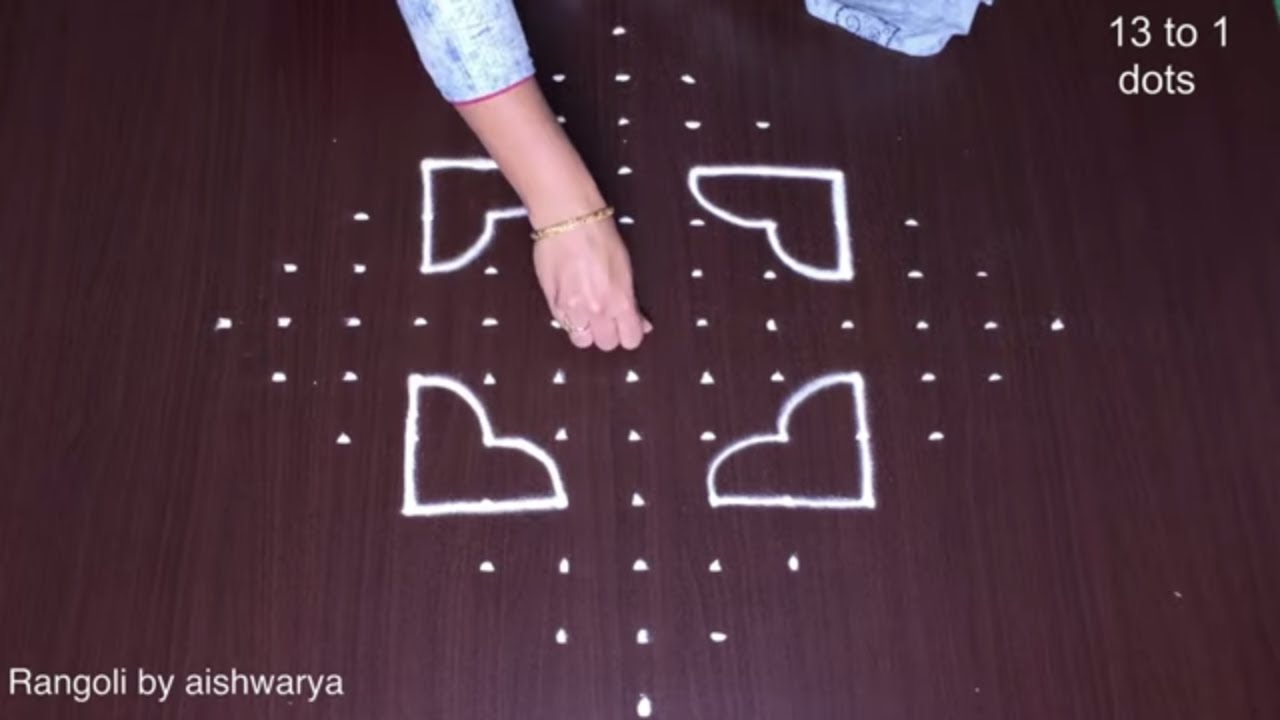
Looking for a stylish 5-3 dots kolam with a modern touch? This superb and simple rangoli design blends structure with contemporary creativity. In this video, we create a 5-3 dots modern art kolam, built on a compact decreasing grid that forms a clean and balanced layout. The 5 to 3 format is ideal for small entrances and apartment thresholds where you want something neat yet eye-catching.
Proper placement of the 5-3 decreasing dot grid Forming smooth and symmetrical curves Maintaining balance along the central axis
Clean finishing techniques for a modern look The 5-3 grid is beginner-friendly while still allowing innovative variations. Its compact structure makes it easy to complete quickly without compromising symmetry or elegance. This modern-style kolam works beautifully for home entrances, small spaces, and creative decoration ideas where simplicity meets style.
Watch till the end to see the complete transformation — the final reveal highlights how the 5-3 dot structure turns into a sleek and attractive kolam. If you enjoy compact creative grids, explore other formats like 7-4 and 6-6 to expand your contemporary rangoli collection. Save this design and recreate it to enhance your entrance beautifully.
Tip: A slightly damp brush along the edges gives a sharper finish, especially for festival photographs.
This design belongs to the broader tradition of rangoli and kolam art practised across South India. Explore more in our 5 to 3 dots Rangoli Designs collection.
3 Dots — Step by Step Guide
Use the steps below as a reference card while the video plays. Most learners finish on the second attempt.
- Clear a flat surface and set down your dot grid using rice flour or chalk.
- Confirm the dot spacing is even — uneven dots are the biggest cause of wobbly curves.
- Begin tracing from the centre outward, following the curves shown in the video above.
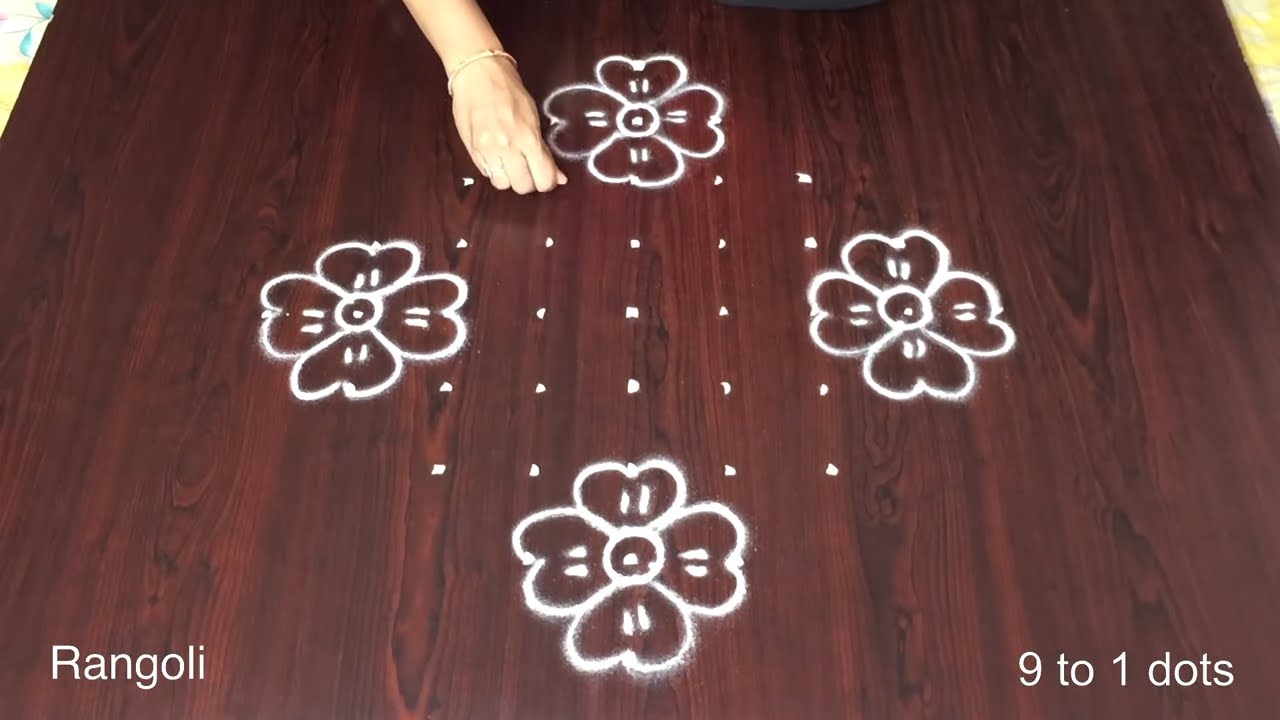
- Fill the petals and sections with your chosen colours, working one area at a time.
- Finish the edges with a fine line for a sharp, photograph-ready result.
What You Will Learn
- 5-3 Dots Modern Kolam
- Superb Simple Rangoli 5-3
- Modern Art Dot Kolam Design
- 5-3 Dots Kolam Pattern
- Small Entrance Rangoli 5-3
- 5-3 Pulli Kolam
Frequently Asked Questions
How do I draw this rangoli?
It looks complex but follows a simple rhythm: dots first, then loops. Mark the grid, take a breath, and trace the curves at a steady pace. The pattern emerges on its own.
Is this suitable for beginners?
Beginner-friendly is exactly the right description. The video walks through every line clearly and you can match the pace.
What materials do I need?
Rice flour, coloured rangoli powders, and a clean stretch of floor or paper. Some draw with chalk first to set the grid before powdering over it.
How long does it take?
Roughly 4 min 48 sec to watch end-to-end, and 10–20 minutes to draw yourself depending on grid size and how careful you are with the curves.
Save this design for your next festival morning. The pattern is small enough to draw quickly but striking enough to make a real impression at the doorstep.


Leave a Reply