Whether you are decorating for a festival or your daily morning ritual, Rangoli For Beginners 7 is an excellent design to keep handy.

Rangoli for Beginners: 7 Simple Dot Kolam Thank you so much for watching Channel
Chapters: 0:00 Intro 0:05 Rangoli for Beginners
3:09 7 Simple Dot Kolam My Simple Rangoli Designs Channel Contains : Rangoli designs
Sankranthi muggulu Diwali rangoli Kolam designs
Simple rangoli Easy rangoli designs Pongal kolams
New year rangoli designs Ratham muggulu Muggulu designs
Tip: Use chalk to lightly mark your dot grid first — it wipes away cleanly once your rangoli is finished.
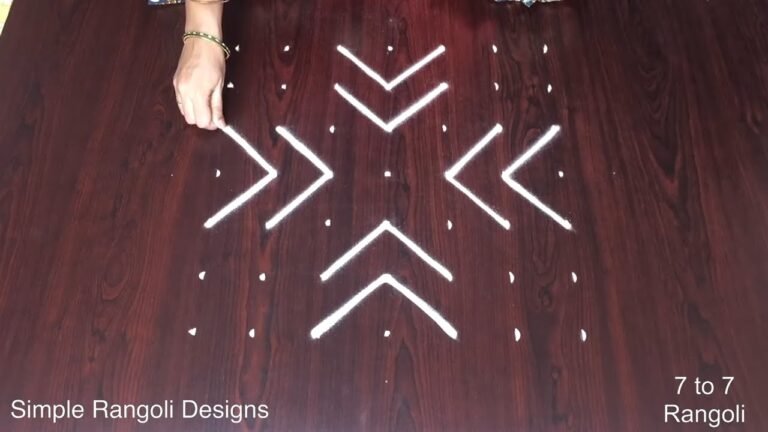
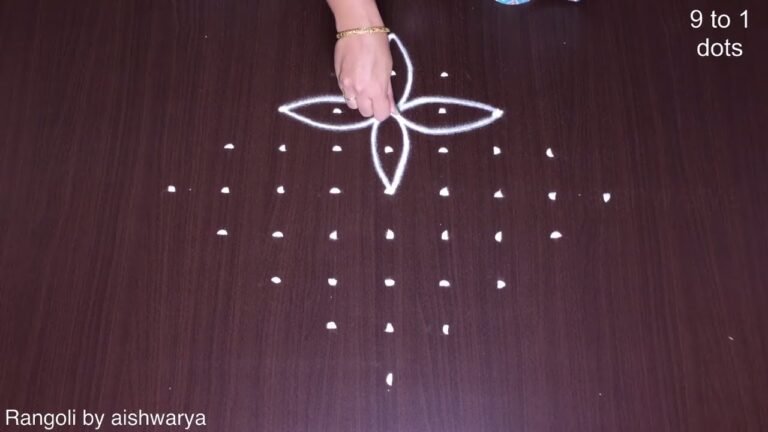
This charming rangoli design, suitable for beginners, features a simple arrangement of 7 dots. It is perfect for festive occasions or daily decorations, allowing you to express creativity without overwhelming complexity. The design often incorporates floral patterns or geometric shapes, bringing color and vibrancy to your entrance. For those interested in expanding their skills, you might enjoy exploring the Attractive Simple Kolam Design for more inspiration.
The versatility of this 7-dot kolam makes it an excellent choice for various festivals, including Pongal and Diwali. Beginners can easily adapt the design with different colors and motifs, enhancing their artistic flair. As you create your rangoli, remember that the beauty lies in the process of making it. For a more intricate approach, consider trying out the Trendy Creative Kolam Designs. To learn more about the cultural significance of these art forms, visit this Wikipedia page.
Rangoli For Beginners — Step by Step Guide
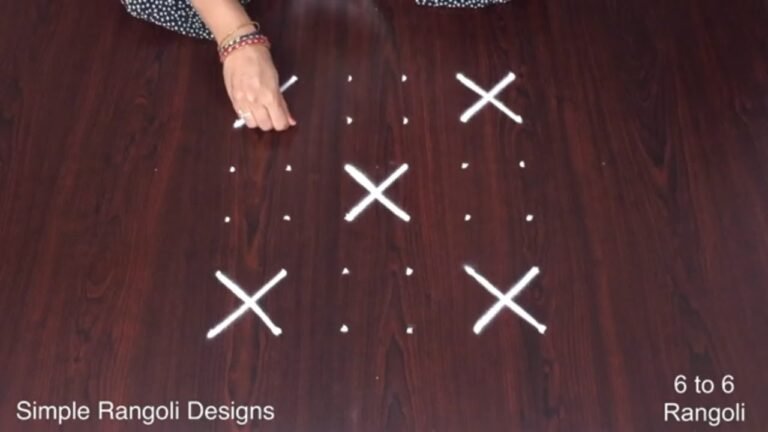
The video above shows the full sequence; the steps below summarise each stage so you can glance back as you draw.
- Clear a flat surface and set down your dot grid using rice flour or chalk.
- Confirm the dot spacing is even — uneven dots are the biggest cause of wobbly curves.
- Begin tracing from the centre outward, following the curves shown in the video above.
- Fill the petals and sections with your chosen colours, working one area at a time.
- Finish the edges with a fine line for a sharp, photograph-ready result.
What You Will Learn
- Simple Rangoli Designs
- Rangoli
- Muggulu
- Rangoli Designs
- Rangoli Kolam
- Kolam
Frequently Asked Questions
How do I draw this rangoli?
Start by marking an even dot grid on a flat, clean surface. Once the grid is in place, connect the dots following the curves shown in the video. Even spacing between dots is the single biggest factor for a clean finish.
Is this suitable for beginners?
Absolutely. You can pause and rewind the video at every step. The pattern is straightforward once you have the grid down.
What materials do I need?
White rice flour for the outline, coloured powders for the fill, and a clean dry floor. That is the essentials list — you can add a stencil if you prefer.
How long does it take?
The video clocks in at 6 min 16 sec. Allow about quarter of an hour to draw the design at a comfortable pace.
Whenever you finish your version, share a photo with us. Seeing your work is the best part of running this channel.
Leave a Reply