Looking to learn Simple Muggulu Borders? This step-by-step guide walks you through every line, dot, and curve.

For another beginner-friendly variation, try 14 To 2 Pongal Special Pot Kolam.
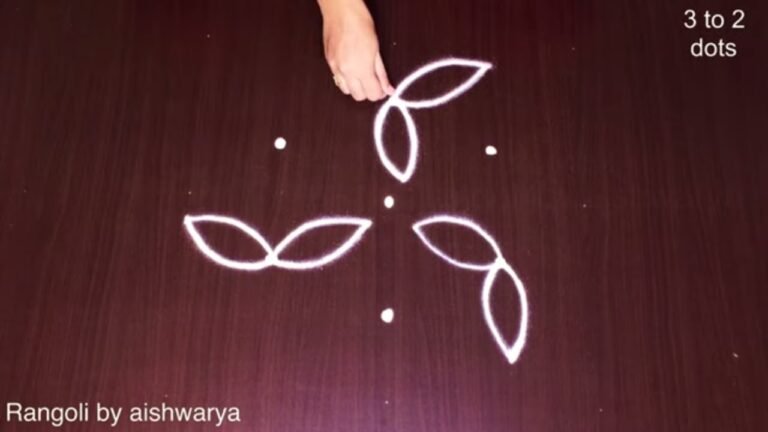
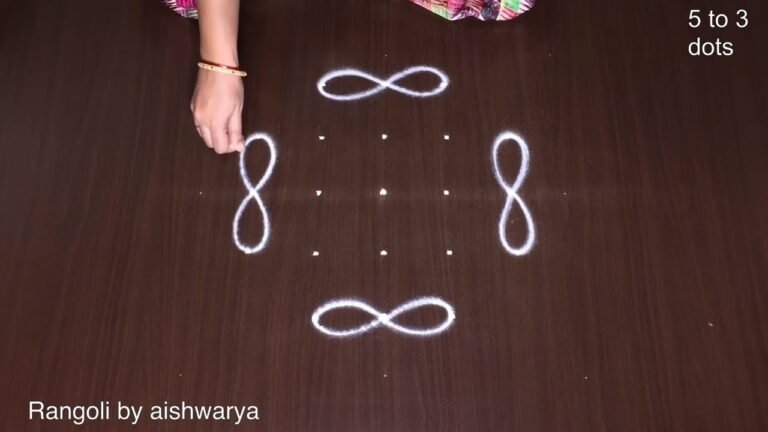
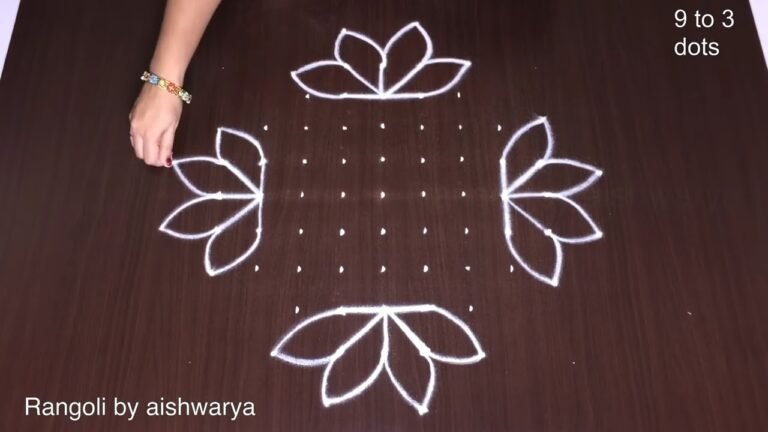
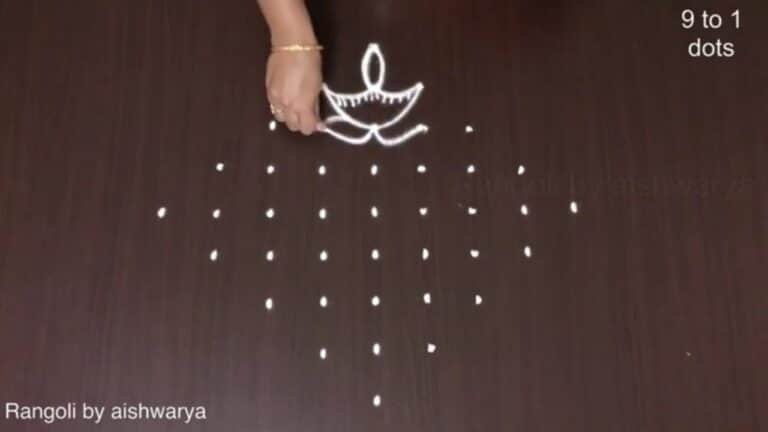
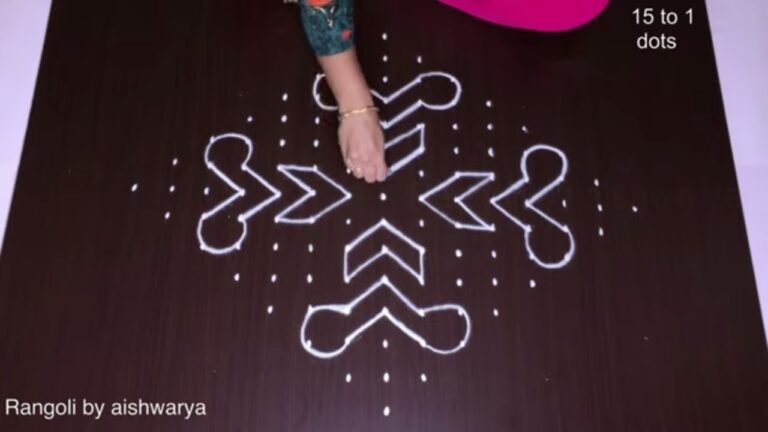
How to Draw Rangoli with dots | 5×5 Small Rangoli Designs | Simple Muggulu Borders. This tutorial will show you how to draw Beautiful Indian traditional art sankranthi muggulu patterns using materials such as dry rice flour, colored sand or flower petals Rangoli designs by Aishwarya. Simple rangoli designs with dots Kolam pattern is created on the floor in living rooms or courtyards. Draw the Lines step by step as it is shown in this video and will be awesome Rangoli Design. 😲 The rangoli design for diwali pattern here is one of the amazing latest simple kolam designs. Simple Rangoli Designs and easy rangoli designs by Aishwarya with dots for beginners and intermediate.
1. Diwali Rangoli 2. Pongal kolams 3. Easy rangoli designs
4. Rangoli design 5. Chukkala muggulu 6. Muggu designs
7. Rangoli for diwali 8. Thai madam rangoli 9. Chukkala muggulu sankranthi
10. Kolam designs 11. Simple rangoli design 12. Muggulu designs
13. Navaratri pooja kolam 14. Puratasi madham kolam 15. Simple sankranthi muggulu
Tip: Keep your powder bowl close to your dominant hand. Small movements give cleaner curves.
Simple muggulu borders using a 5×5 dot grid are a delightful way to enhance your home, especially during festive occasions like Sankranthi. These designs can be created with minimal materials, typically using rice flour or colored powders, making them accessible for beginners. The patterns often involve repetitive shapes and flowing lines that add a traditional touch to courtyards and living rooms. For those looking to expand their repertoire, exploring other simple rangoli designs can provide inspiration for various celebrations throughout the year, including Pongal.
This muggulu design is not only easy to create but also allows for personal touches, such as adding colors or embellishing with flowers, which can brighten up any space. The step-by-step approach of drawing the lines encourages creativity while maintaining the essence of traditional art. As you practice, you might find joy in creating different variations, much like the intricate Navratri Kolams that transform homes during festivities. To learn more about the history and cultural significance of rangoli, you can visit this Wikipedia page.
Simple Muggulu Borders — Step by Step Guide
Use the steps below as a reference card while the video plays. Most learners finish on the second attempt.
- Clear a flat surface and set down your dot grid using rice flour or chalk.
- Confirm the dot spacing is even — uneven dots are the biggest cause of wobbly curves.
- Begin tracing from the centre outward, following the curves shown in the video above.
- Fill the petals and sections with your chosen colours, working one area at a time.
- Finish the edges with a fine line for a sharp, photograph-ready result.
What You Will Learn
- Simple Rangoli Designs
- Rangoli
- Muggulu
- Rangoli Designs
- Rangoli Kolam
- Kolam
Frequently Asked Questions
How do I draw this rangoli?
Start by marking an even dot grid on a flat, clean surface. Once the grid is in place, connect the dots following the curves shown in the video. Even spacing between dots is the single biggest factor for a clean finish.
Is this suitable for beginners?
It is one of the more forgiving designs in our collection. Beginners often pick it as a confidence-builder before moving on to larger grids.
What materials do I need?
Just three things: powder (white plus any colours you want), a flat dry surface, and a few minutes of focus. A small bowl per colour helps keep things tidy.
How long does it take?
Plan for roughly 3 min 22 sec to watch and 15 minutes to draw. The second attempt is always cleaner than the first — that is the nature of dot kolam.
Once this design feels familiar, switch the colours or rotate the grid by a step. Small tweaks keep daily kolam practice interesting.

Leave a Reply