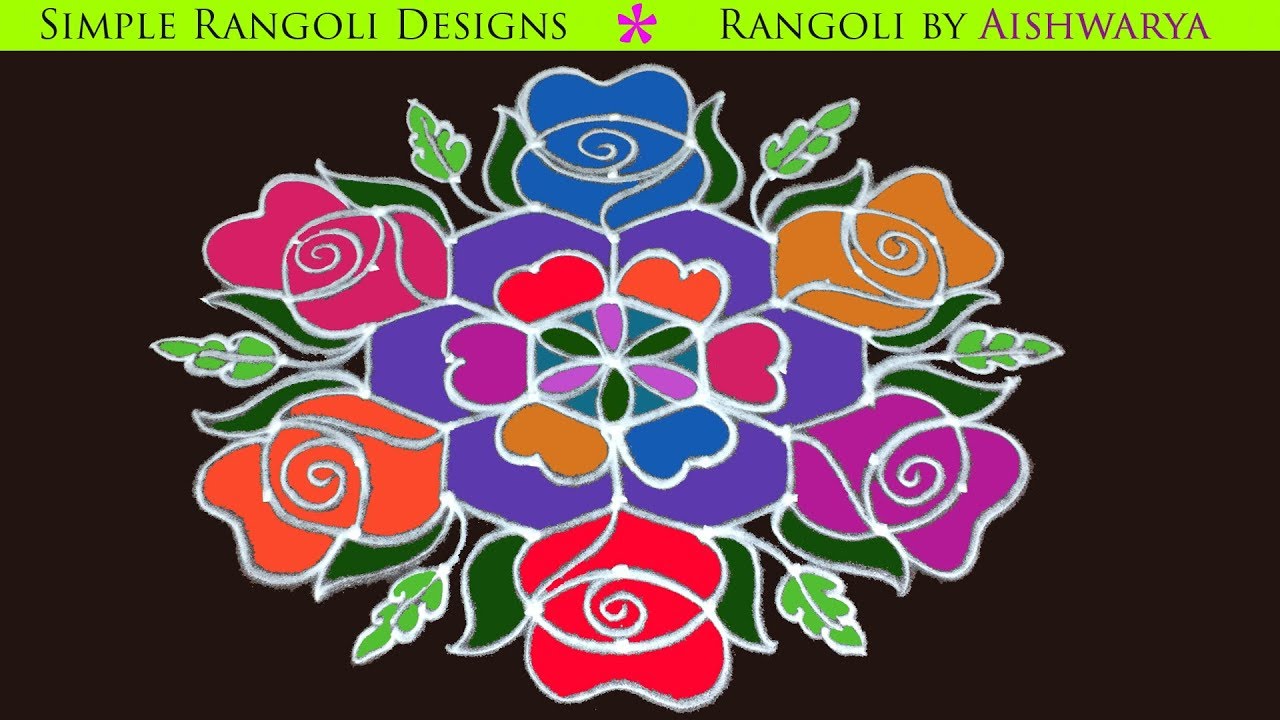
Add a touch of charm to your doorway with Small Muggulu With Dots — clean lines, balanced symmetry, and easy to scale.

This tutorial will show you how to draw small muggulu with dots side designs patterns using materials such as dry rice flour, colored sand or flower petals Rangoli designs by Aishwarya. Simple rangoli Pulli Kolam pattern is created on the floor in living rooms or courtyards. Draw the Lines step by step as it is shown in this video and will be awesome Rangoli Design. 😲 The 7 to 1 Rangoli pattern here is one of the amazing latest kolam designs. Simple Rangoli Designs and Amazing Kolam by Aishwarya with dots for beginners and intermediate.
4. Muggulu 5. Rangoli Kolam 6. Kolam and Rangoli
7. Muggulu Sankranthi Muggulu 8. Rangoli Designs 9. Designer Rangoli Design
10. Rangoli De 11. Sankranthi Muggulu 12. Rangoli Design Rangoli
13. Simple Rangoli Designs 14. Thipkyanchi Rangoli Designs 15. Easy Rangoli Design
16. Kolam Designs 17. ठिपक्यांची रांगोळी 18. Diwali Rangoli
Tip: Use chalk to lightly mark your dot grid first — it wipes away cleanly once your rangoli is finished.
The small muggulu with dots design is a charming way to embrace the beauty of traditional Indian art, especially during festive occasions like Sankranti. This particular design typically uses a 7 to 1 dot layout, allowing beginners to create intricate patterns with relative ease. By utilizing materials like rice flour or colored sand, you can bring life to your living space or courtyard. If you’re looking for more inspiration, check out Rangoli Designs For Sankranti With 13 To 7 Dots for additional festive ideas.
Creating small muggulu with dots not only enhances the aesthetic appeal of your home but also provides a wonderful opportunity to engage in a meditative and creative process. As you draw the lines and fill in the patterns, you can explore different styles and colors, making each design uniquely yours. For further exploration of muggulu styles, consider looking at 7 3 Simple Apartment Muggulu, which showcases easy designs suitable for any space. To learn more about the history and significance of this beautiful art form, visit this Wikipedia page.
Small Muggulu With Dots — Step by Step Guide
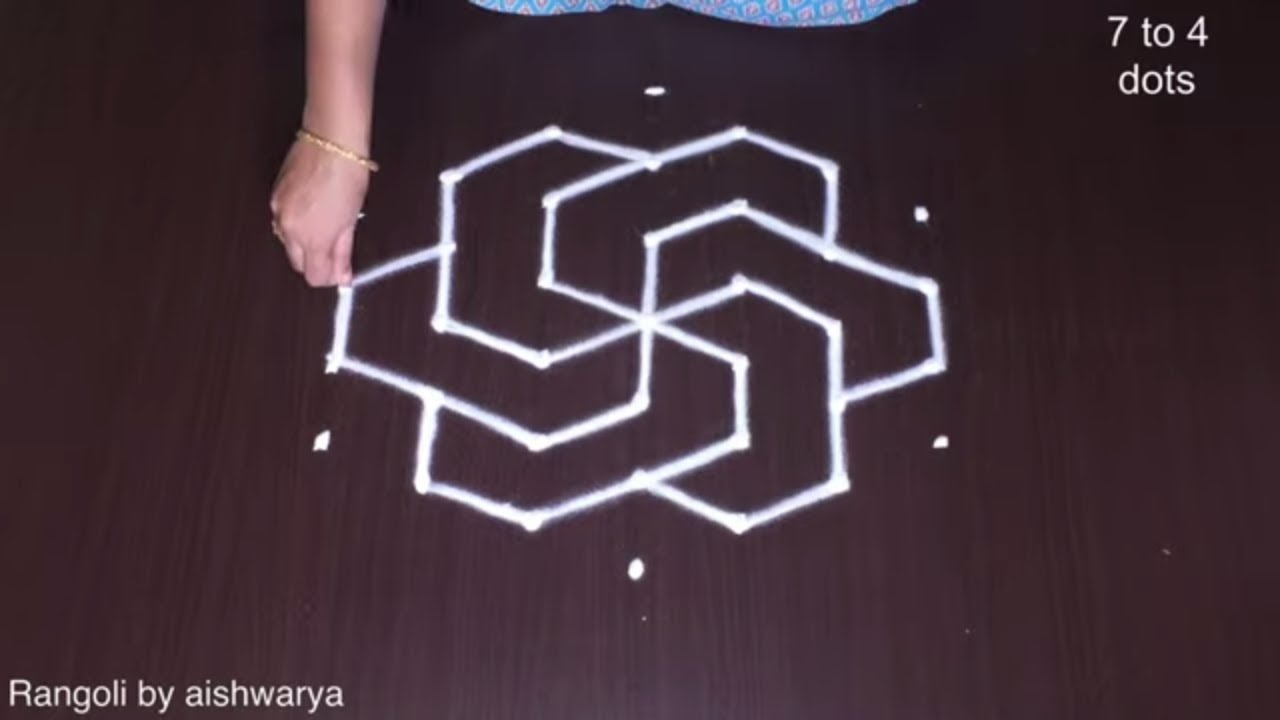
Here is how to draw it, line by line. Take your time on the corners and the symmetry will take care of itself.
- Clear a flat surface and set down your dot grid using rice flour or chalk.
- Confirm the dot spacing is even — uneven dots are the biggest cause of wobbly curves.
- Begin tracing from the centre outward, following the curves shown in the video above.
- Fill the petals and sections with your chosen colours, working one area at a time.
- Finish the edges with a fine line for a sharp, photograph-ready result.
What You Will Learn
- Simple Rangoli Designs
- Rangoli
- Muggulu
- Rangoli Designs
- Rangoli Kolam
- Kolam
Frequently Asked Questions
How do I draw this rangoli?
The grid comes first. Use a soft chalk to dot the surface, count twice to confirm the spacing, then start connecting them following the video. Work from the centre outward.
Is this suitable for beginners?
Beginner-friendly is exactly the right description. The video walks through every line clearly and you can match the pace.
What materials do I need?
You will need rice flour or rangoli powder (white, plus your choice of colours), a flat surface like a clean floor or courtyard, and optionally a dot stencil if you are new to grid-drawing.
How long does it take?
The video clocks in at 2 min 31 sec. Allow about quarter of an hour to draw the design at a comfortable pace.
Half the skill of kolam is learning to slow down. Put on some music, give yourself the time, and let the curves come naturally.


Leave a Reply