Add a touch of charm to your doorway with Straight Dots Rangoli — clean lines, balanced symmetry, and easy to scale.
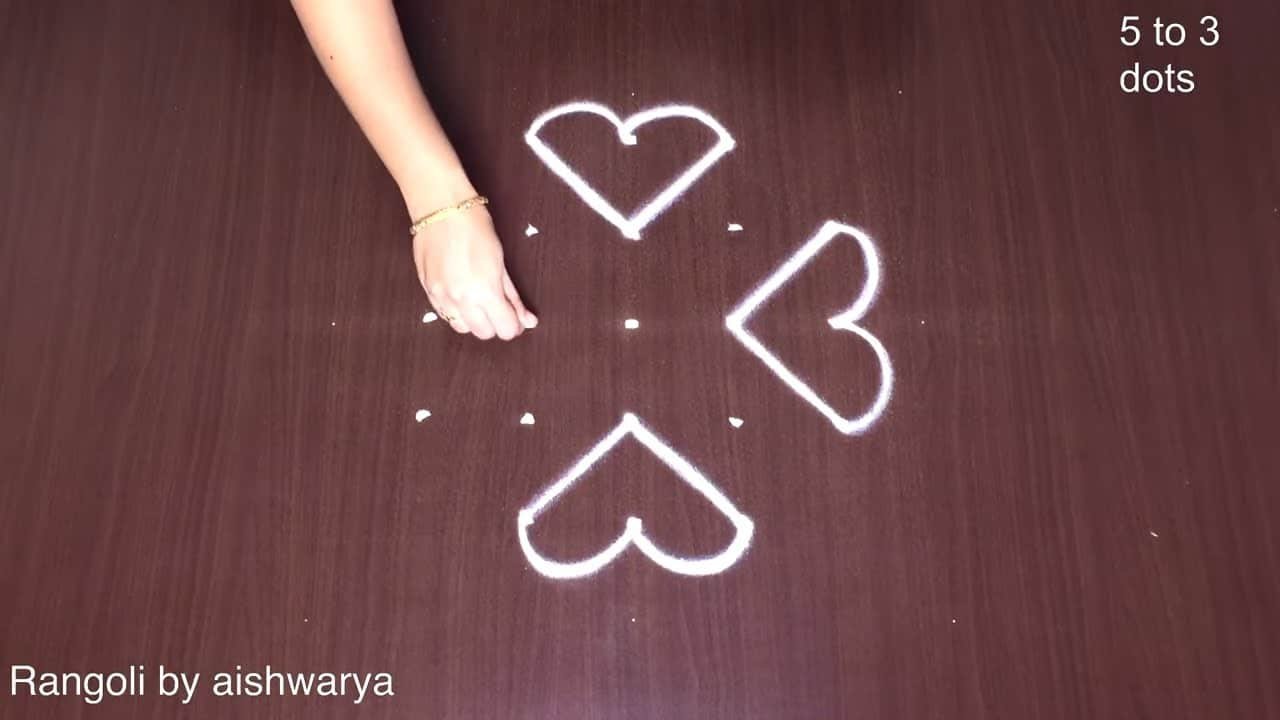
5*3*3 Straight Dots Rangoli Gummam Mundu | Muggulu Lakshmi Kataksham Kolam. This tutorial will show you how to draw Beautiful Indian traditional art Diwali Rangoli patterns using materials such as dry rice flour, colored sand or flower petals Rangoli designs by Aishwarya. Simple rangoli Kutti Kolam pattern is created on the floor in living rooms or courtyards. Draw the Lines step by step as it is shown in this video and will be awesome Rangoli Design. 😲 The Diwali rangoli pattern here is one of the amazing latest kolam designs. Simple Rangoli Designs and easy rangoli designs by Aishwarya with dots for beginners and intermediate.
1. Diwali Rangoli 2. Pongal kolams 3. Easy rangoli designs
4. Rangoli design 5. Chukkala muggulu 6. Dot rangoli designs
7. Dots rangoli 8. Easy rangoli 9. Easy rangoli designs
10. Kolam designs 11. Kolam with dots 12. Muggulu designs
13. Muggulu designs with dots 14. Small rangoli designs 15. Muggulu chukkala muggulu
Tip: Work from the centre outward. It keeps the symmetry honest and prevents the design from drifting off-balance.
This design belongs to the broader tradition of rangoli and kolam art practised across South India. Explore more in our 5 to 3 dots Rangoli Designs collection.
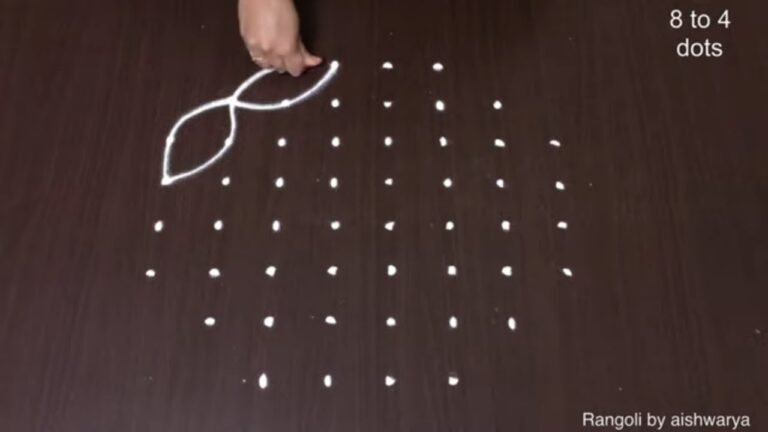
The straight dots rangoli, typically created using a 5 to 3 dot pattern, is a beautiful representation of Indian tradition, especially during festivals like Diwali. This design usually features intricate lines and shapes that connect the dots, resulting in a visually appealing pattern that can be adorned with colors from rice flour, sand, or flower petals. The simplicity of this design makes it an excellent choice for beginners eager to learn the art of rangoli. For those interested in exploring other festive designs, the Pongal Pot Rangoli Designs offer unique inspirations.
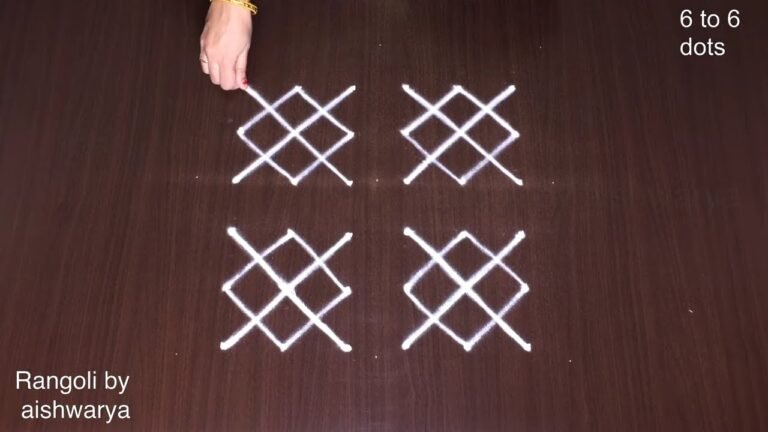
This kolam style emphasizes symmetry and fluidity, making it a delightful addition to living rooms or courtyards during celebrations. The straight dots rangoli encourages creativity while providing a structured approach to design, allowing even novices to produce stunning artwork. To further expand your rangoli repertoire, consider trying the Amazing Big Peacock Muggulu, which showcases the versatility and beauty of this traditional art form.
Straight Dots Rangoli — Step by Step Guide
Read through the steps before you begin so the sequence feels familiar when you start drawing.
- Clear a flat surface and set down your dot grid using rice flour or chalk.
- Confirm the dot spacing is even — uneven dots are the biggest cause of wobbly curves.
- Begin tracing from the centre outward, following the curves shown in the video above.
- Fill the petals and sections with your chosen colours, working one area at a time.
- Finish the edges with a fine line for a sharp, photograph-ready result.
What You Will Learn
- Simple Rangoli Designs
- Rangoli
- Muggulu
- Rangoli Designs
- Rangoli Kolam
- Kolam
Frequently Asked Questions
How do I draw this rangoli?
Set down the dot grid in pencil or chalk, then follow the loops one petal at a time. If a curve goes off, wipe it and retry — kolam is forgiving.
Is this suitable for beginners?
Yes, and it is one we recommend to first-timers. The small grid keeps the design manageable while still teaching the core technique.
What materials do I need?
Just three things: powder (white plus any colours you want), a flat dry surface, and a few minutes of focus. A small bowl per colour helps keep things tidy.
How long does it take?
The full demonstration takes 7 min 45 sec. Most people find their own drawing time settles to about 15 minutes once the grid is familiar.
This is one of those designs that grows on you. The first attempt is for learning; the second is for muscle memory; the third is when it starts to feel like your own.

Leave a Reply