Drawing 11 Pulli Kolam is a relaxing, almost meditative practice. The dots guide your hand and the design unfolds naturally.

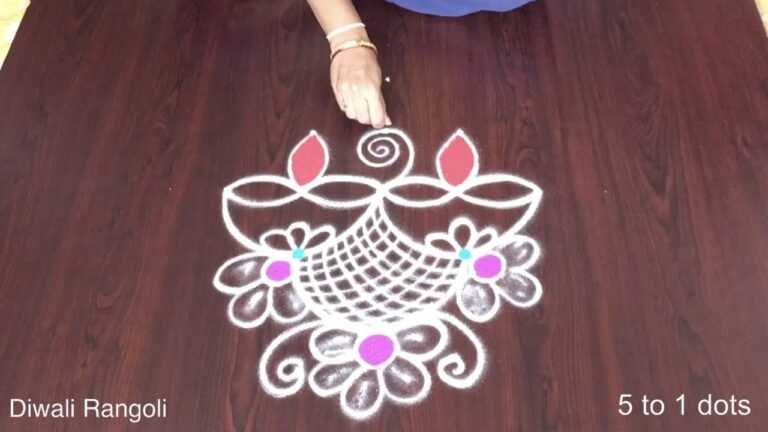
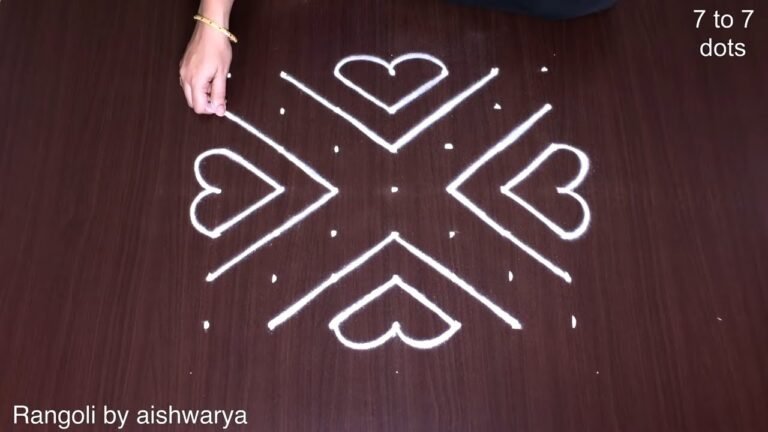
This tutorial will show you how to draw Butterfly Rangoli Designs With Colours patterns using materials such as dry rice flour, colored sand or flower petals Rangoli designs by Aishwarya. Simple rangoli Pulli Kolam pattern is created on the floor in living rooms or courtyards. Draw the Lines step by step as it is shown in this video and will be awesome Rangoli Design. 😲 The 11 Pulli Kolam pattern here is one of the amazing latest kolam designs. Simple Rangoli Designs and Easy Sankranthi Muggulu by Aishwarya with dots for beginners and intermediate.
For another beginner-friendly variation, try Birds Kolam Design Simple Steps.
1. Sankranthi Rangoli Designs 2. Pongal Kolam 2025 3. Sankranti Rangoli Designs
4. Pongal Kolam Rangoli 5. New Year Special Rangoli 6. Pongal Kolam
7. Radham Muggulu 8. Sankranthi Special Rangoli 9. Bhogi Muggulu
10. Pongal Kolam With Dots 11. Sankranthi Muggulu 12. Thipkyanchi Rangoli Designs
13. Mattu Pongal Kolam 14. Sankranthi Muggulu 2025 15. ठिपक्यांची रांगोळी
Tip: Keep your powder bowl close to your dominant hand. Small movements give cleaner curves.
The 11 pulli kolam is a charming design that beautifully showcases the cultural richness of Indian traditions. This pattern is typically drawn on festive occasions, such as Pongal or Sankranti, where families come together to celebrate the harvest. With its 11 dots as the foundation, this kolam allows for intricate patterns that can be customized with colors or left in the classic white rice flour. For those interested in exploring similar designs, the 16 to 6 Amazing Panduga Pedda Muggulu offers inspiration for festive celebrations.
Creating the 11 pulli kolam can be a delightful experience, especially for beginners who are learning the art of kolam. The simplicity of this design makes it accessible, while still allowing for creativity and personal expression. As you practice, consider incorporating elements from other kolam styles, such as the 9 Dots Chukkala Muggulu for Festivals, to enhance your skills. For those curious about the history and significance of this beautiful art form, the Wikipedia page on Rangoli provides a wealth of information.
11 Pulli Kolam — Step by Step Guide
Below is the step-by-step breakdown. The video covers the same sequence in real time.
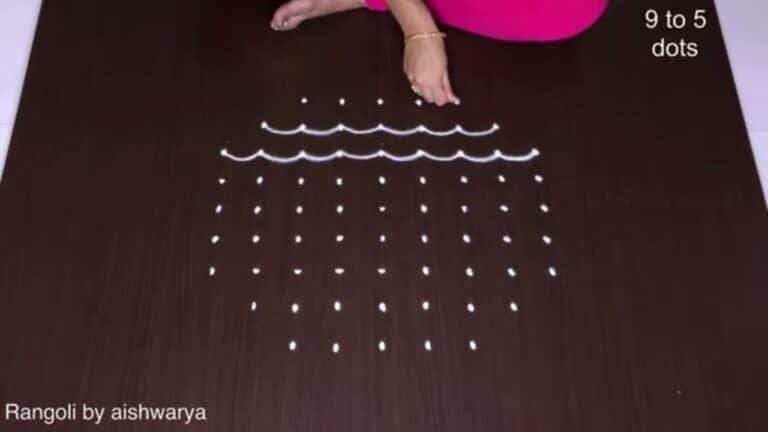
- Clear a flat surface and set down your dot grid using rice flour or chalk.
- Confirm the dot spacing is even — uneven dots are the biggest cause of wobbly curves.
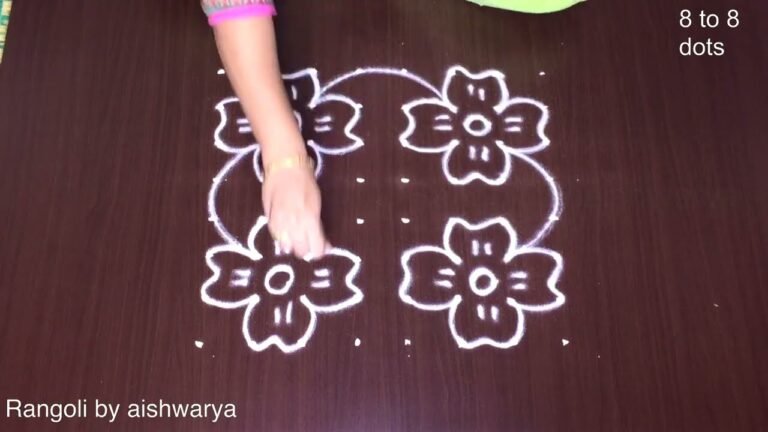
- Begin tracing from the centre outward, following the curves shown in the video above.
- Fill the petals and sections with your chosen colours, working one area at a time.
- Finish the edges with a fine line for a sharp, photograph-ready result.
What You Will Learn
- Simple Rangoli Designs
- Rangoli
- Muggulu
- Rangoli Designs
- Rangoli Kolam
- Kolam
Frequently Asked Questions
How do I draw this rangoli?
Start by marking an even dot grid on a flat, clean surface. Once the grid is in place, connect the dots following the curves shown in the video. Even spacing between dots is the single biggest factor for a clean finish.
Is this suitable for beginners?
Absolutely. You can pause and rewind the video at every step. The pattern is straightforward once you have the grid down.
What materials do I need?
White rice flour for the outline, coloured powders for the fill, and a clean dry floor. That is the essentials list — you can add a stencil if you prefer.
How long does it take?
Plan for roughly 3 min 58 sec to watch and 15 minutes to draw. The second attempt is always cleaner than the first — that is the nature of dot kolam.
If you draw this and would like a follow-up design at the same skill level, leave a comment on the video — we read every one and queue up requests.

Leave a Reply