If you enjoy dot-grid muggulu, 3 Into 3 Dots is a satisfying pattern that comes together in just a few minutes.
Small Border Rangoli Designs 🌹 3 Into 3 Dots Kolam 🌹 Sankranthi Creative Muggulu Thank you so much for watching Channel
Chapters: 0:00 Intro 0:05 Small Border Rangoli Designs
3:40 Sankranthi Creative Muggulu My Rangoli Channel Contains : Rangoli Designs
Sankranthi Muggulu Diwali Rangoli Ratham Muggulu
Kolam Designs Muggulu Designs Chukkala Muggulu
Easy Rangoli Simple Rangoli Easy Rangoli Designs
Tip: Keep your powder bowl close to your dominant hand. Small movements give cleaner curves.
This design belongs to the broader tradition of rangoli and kolam art practised across South India. Explore more in our 3 to 3 dots Rangoli Designs collection.
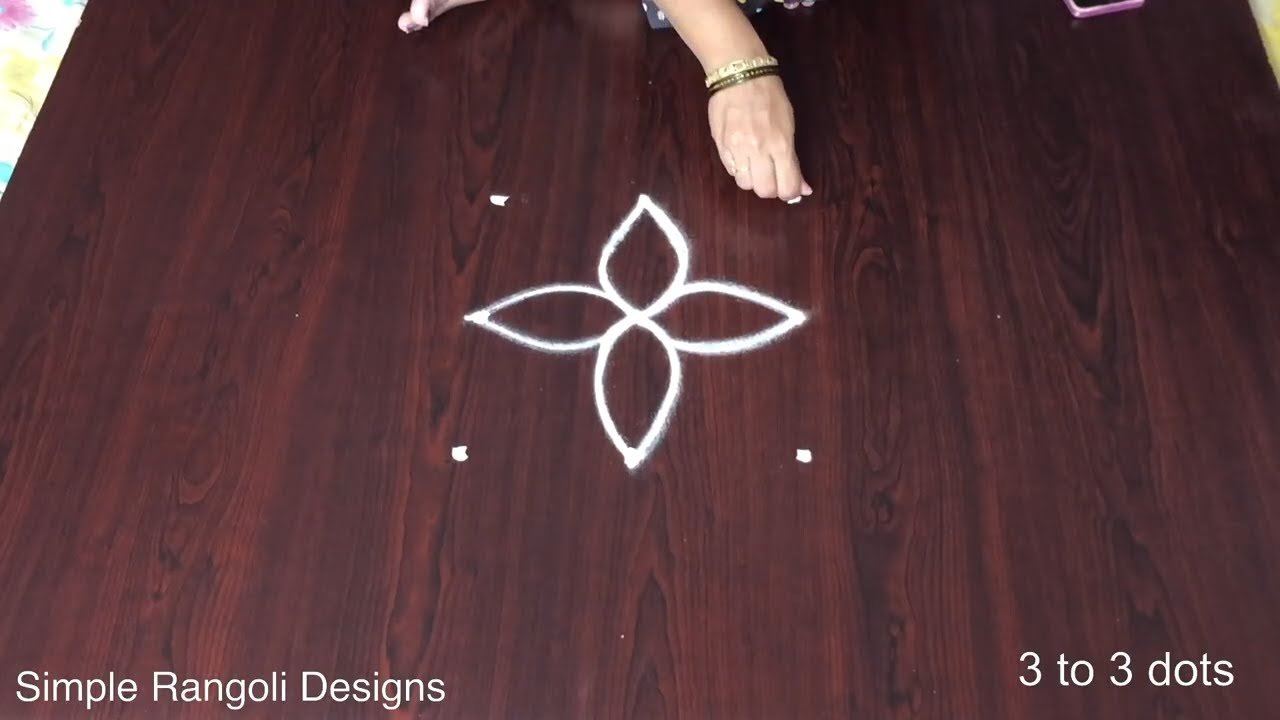
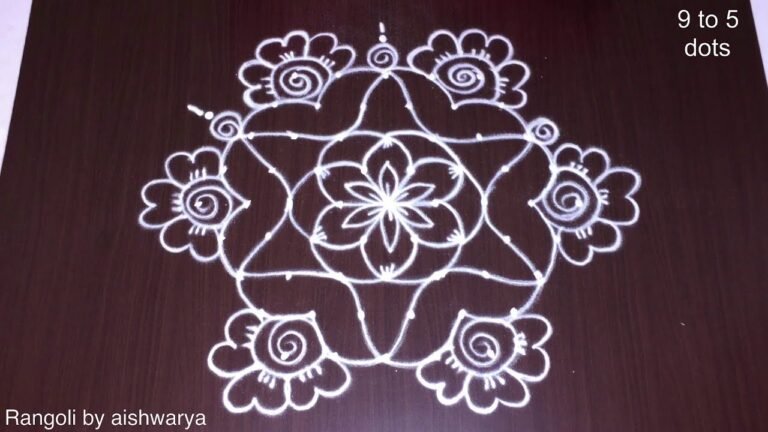
The 3 into 3 dots kolam is a charming design that reflects simplicity and elegance, making it perfect for beginners. Typically created during festivals like Sankranthi, this kolam features nine dots arranged in a square pattern, allowing for creative interpretations. A small border enhances its beauty, framing the intricate patterns that can be drawn within. For those looking to explore more festive designs, Sankranthi Pedha Chukkala Muggulu offers additional inspiration to celebrate the season.
This kolam style is not only visually appealing but also serves as a wonderful way to practice and improve your kolam-making skills. The geometric simplicity of the 3 into 3 dots provides a great foundation for experimenting with various designs and color combinations. If you are interested in expanding your rangoli repertoire, consider trying the 7 Se 7 Dots Rangoli for Learners for more intricate creations. For a deeper understanding of this artistic tradition, visit this link.
3 Into 3 Dots — Step by Step Guide
Pace yourself through the steps — kolam rewards patience more than speed.
- Clear a flat surface and set down your dot grid using rice flour or chalk.
- Confirm the dot spacing is even — uneven dots are the biggest cause of wobbly curves.
- Begin tracing from the centre outward, following the curves shown in the video above.
- Fill the petals and sections with your chosen colours, working one area at a time.
- Finish the edges with a fine line for a sharp, photograph-ready result.
What You Will Learn
- Simple Rangoli Designs
- Rangoli
- Muggulu
- Rangoli Designs
- Rangoli Kolam
- Kolam
Frequently Asked Questions
How do I draw this rangoli?
Begin with the dot grid — this is the skeleton of the design. With rice flour or chalk, place each dot at equal intervals. Then trace the curves slowly, one section at a time.
Is this suitable for beginners?
It is one of the more forgiving designs in our collection. Beginners often pick it as a confidence-builder before moving on to larger grids.
What materials do I need?
You will need rice flour or rangoli powder (white, plus your choice of colours), a flat surface like a clean floor or courtyard, and optionally a dot stencil if you are new to grid-drawing.
How long does it take?
8 min 3 sec of video, perhaps 20 minutes of practice. The curves take a couple of attempts to feel natural, then it speeds up considerably.
This is one of those designs that grows on you. The first attempt is for learning; the second is for muscle memory; the third is when it starts to feel like your own.


Leave a Reply