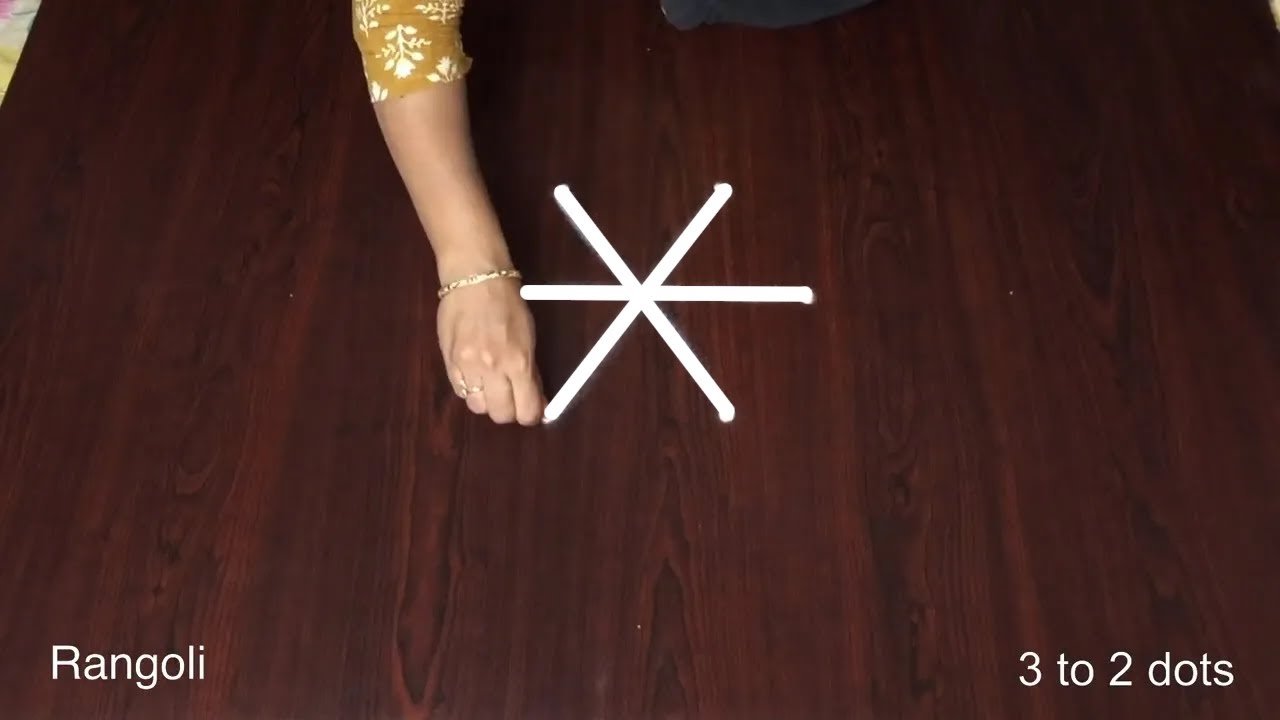
3 To 2 Dots is a beautiful kolam pattern you can draw right at your doorstep — perfect for beginners and seasoned rangoli artists alike.
Chukki Rangoli for Competition 🌹 Small Chukkala Muggulu Easy 🌹 3 to 2 dots Flower Kolam Thank you so much for watching Channel
My Rangoli Channel Contains : Rangoli Designs Sankranthi Muggulu
Diwali Rangoli Ratham Muggulu Kolam Designs
Muggulu Designs Chukkala Muggulu Easy Rangoli
Simple Rangoli Easy Rangoli Designs Dhanurmasam Muggulu
Melikala Muggulu Geethala Muggulu Sivarathri Muggulu
Tip: Work from the centre outward. It keeps the symmetry honest and prevents the design from drifting off-balance.
This design belongs to the broader tradition of rangoli and kolam art practised across South India. Explore more in our 3 to 2 dots Rangoli Designs collection.
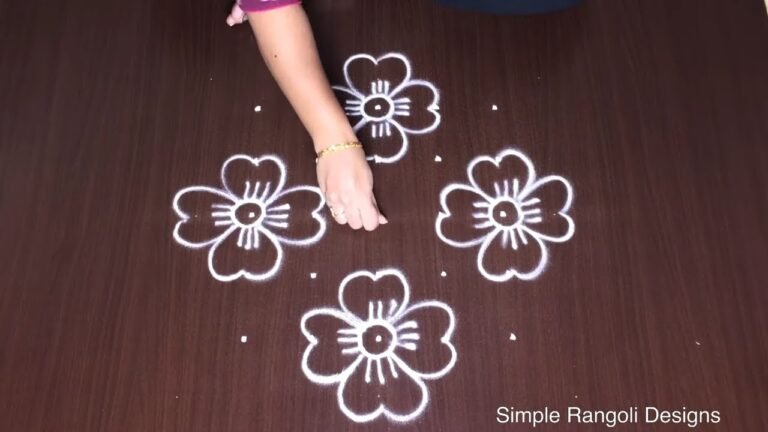
The 3 to 2 dots Flower Kolam is a delightful design that incorporates a simple yet elegant flower motif, making it perfect for beginners. This design typically features a base of three dots arranged in a straight line, with two dots placed beneath to create the flower shape. Such designs are often used during festive occasions to welcome prosperity and joy, making them a lovely addition to any home. If you’re interested in exploring more floral patterns, you might enjoy the 12 to 4 Dots Flower Pot Rangoli as well.
This kolam style not only showcases creativity but also serves as a wonderful way to practice symmetry and spatial arrangements. The simplicity of the 3 to 2 dots allows for variations in color and embellishment, enabling artists to personalize their designs. As you become more comfortable with this pattern, you can experiment with other designs like the Perfect Geometrical Shapes Rangoli to further enhance your skills. For those interested in learning more about the rich tradition of rangoli, you can visit this informative page.
3 To 2 Dots — Step by Step Guide
These steps are written for absolute beginners. Watch once, draw once, then watch again — that is how the pattern locks in.
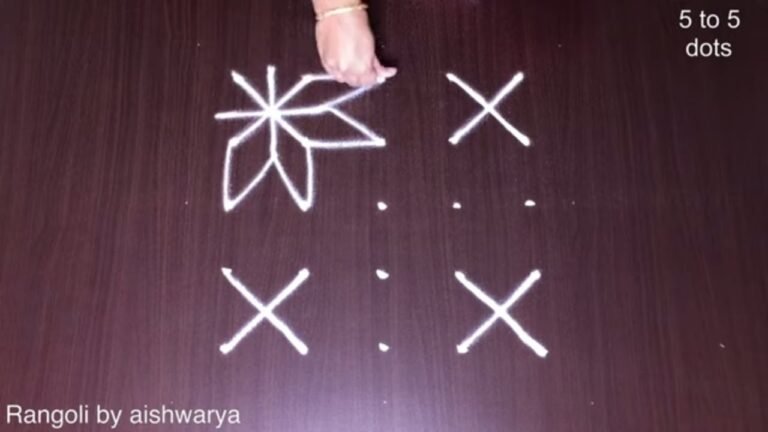
- Clear a flat surface and set down your dot grid using rice flour or chalk.
- Confirm the dot spacing is even — uneven dots are the biggest cause of wobbly curves.
- Begin tracing from the centre outward, following the curves shown in the video above.
- Fill the petals and sections with your chosen colours, working one area at a time.
- Finish the edges with a fine line for a sharp, photograph-ready result.
What You Will Learn
- Simple Rangoli Designs
- Rangoli
- Muggulu
- Rangoli Designs
- Rangoli Kolam
- Kolam
Frequently Asked Questions
How do I draw this rangoli?
Set down the dot grid in pencil or chalk, then follow the loops one petal at a time. If a curve goes off, wipe it and retry — kolam is forgiving.
Is this suitable for beginners?
Yes, and it is one we recommend to first-timers. The small grid keeps the design manageable while still teaching the core technique.
What materials do I need?
Just three things: powder (white plus any colours you want), a flat dry surface, and a few minutes of focus. A small bowl per colour helps keep things tidy.
How long does it take?
You will see a 2 min 35 sec walkthrough above. Drawing it yourself is usually a 12–18 minute affair, slightly slower the first time.
If you draw this and would like a follow-up design at the same skill level, leave a comment on the video — we read every one and queue up requests.

Leave a Reply