Drawing 5 To 1 Sulabayina is a relaxing, almost meditative practice. The dots guide your hand and the design unfolds naturally.

Simple and Unique Rangoli Designs 🌸 Trendy Kolam for Pongal 🌸 5 to 1 Sulabayina Rojuvari Muggulu Thank you so much for watching Channel
My Rangoli Channel Contains : Rangoli Designs Sankranthi Muggulu
Diwali Rangoli Ratham Muggulu Kolam Designs
Muggulu Designs Chukkala Muggulu Easy Rangoli
Simple Rangoli Easy Rangoli Designs Dhanurmasam Muggulu
Melikala Muggulu Geethala Muggulu Sivarathri Muggulu
Tip: A slightly damp brush along the edges gives a sharper finish, especially for festival photographs.
This design belongs to the broader tradition of rangoli and kolam art practised across South India. Explore more in our 5 to 1 dots Rangoli Designs collection.
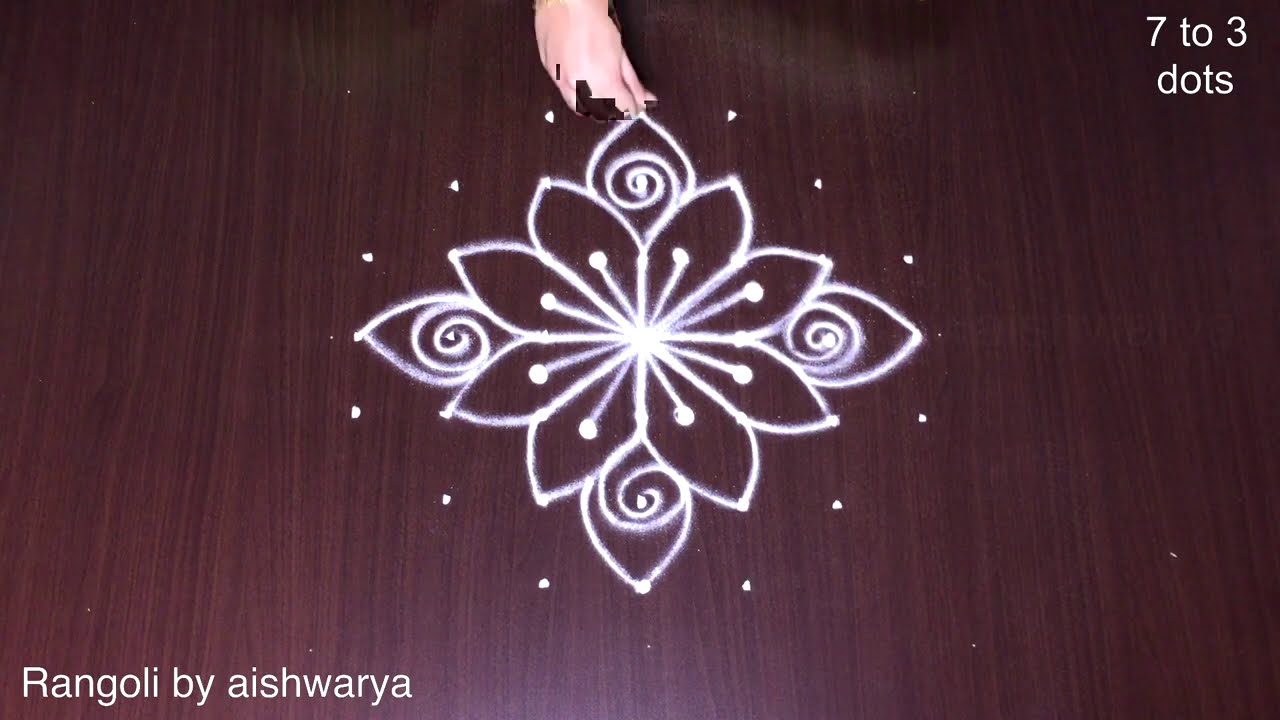
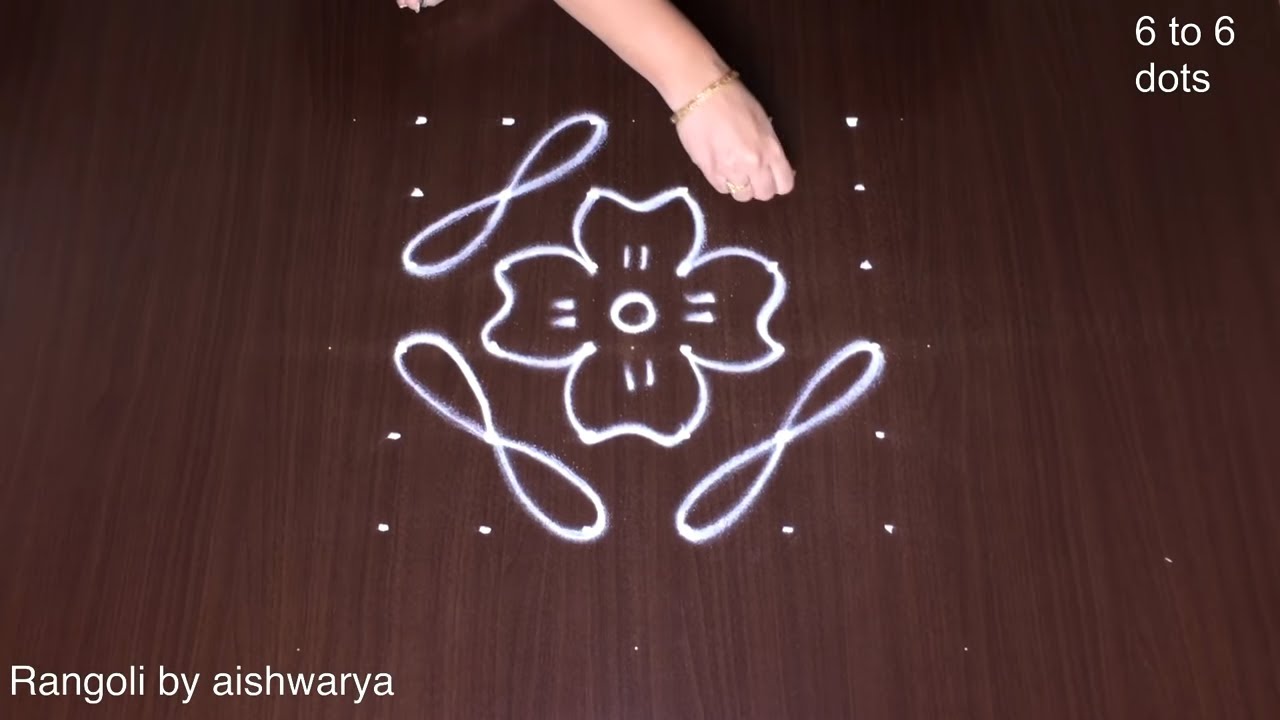
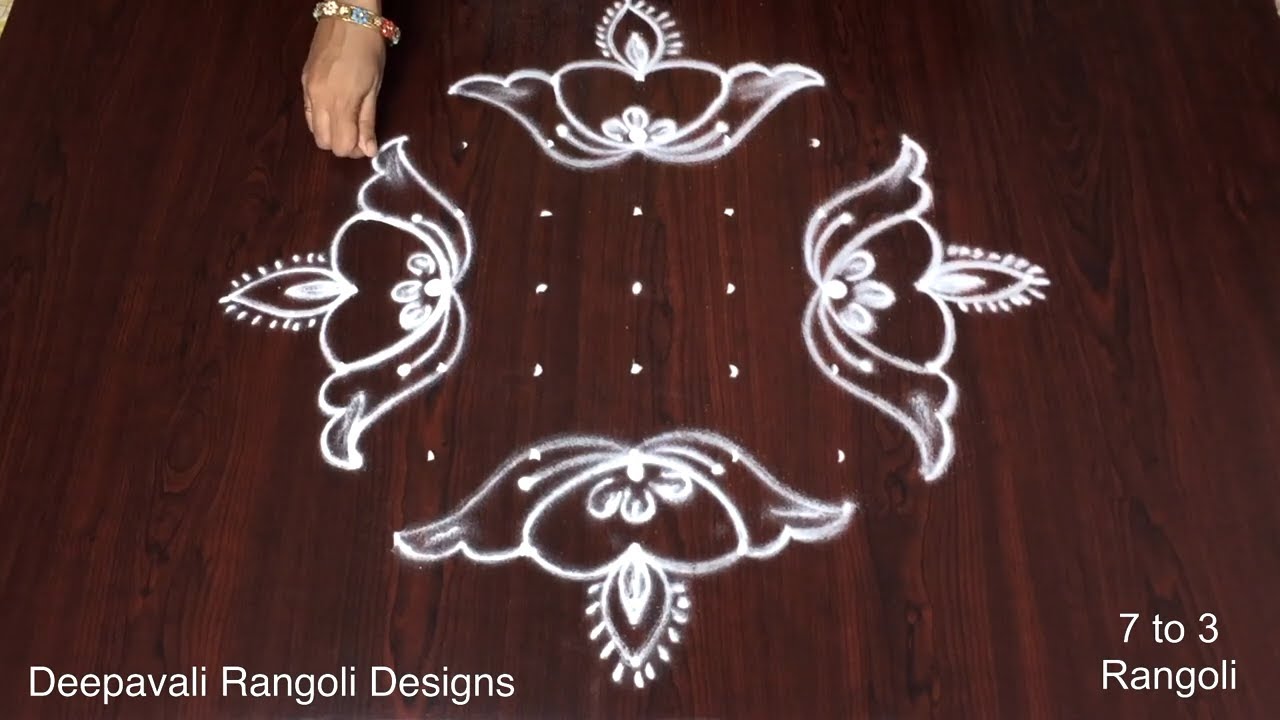
The 5 to 1 sulabayina muggulu is a delightful design that beautifully showcases the simplicity and elegance of traditional rangoli art. Typically created during festive occasions, this design features a unique pattern that starts with five dots in the first row and gradually reduces to one dot in the last row. This gradual decrease not only adds a visually appealing aspect but also represents the beauty of balance and harmony, making it perfect for celebrations like Pongal or Sankranti. To explore more festive designs, check out our Pongal Rangoli Designs.
This design is often characterized by its geometric shapes and can be adorned with vibrant colors to enhance its beauty. Beginners will find the 5 to 1 sulabayina pattern approachable, as it allows for creativity while following a structured format. The incorporation of flowers or simple motifs can elevate the appearance further. For more ideas on how to create stunning patterns, you might enjoy our post on 14 to 2 Pongal Special Pot Kolam. To learn more about the rich tradition of rangoli, visit this link.
5 To 1 Sulabayina — Step by Step Guide
Follow the steps below to recreate this design at home. Pause the video whenever you need — there is no hurry.
- Clear a flat surface and set down your dot grid using rice flour or chalk.
- Confirm the dot spacing is even — uneven dots are the biggest cause of wobbly curves.
- Begin tracing from the centre outward, following the curves shown in the video above.
- Fill the petals and sections with your chosen colours, working one area at a time.
- Finish the edges with a fine line for a sharp, photograph-ready result.
What You Will Learn
- Simple Rangoli Designs
- Rangoli
- Muggulu
- Rangoli Designs
- Rangoli Kolam
- Kolam
Frequently Asked Questions
How do I draw this rangoli?
The grid comes first. Use a soft chalk to dot the surface, count twice to confirm the spacing, then start connecting them following the video. Work from the centre outward.
Is this suitable for beginners?
Beginner-friendly is exactly the right description. The video walks through every line clearly and you can match the pace.
What materials do I need?
White rice flour for the outline, coloured powders for the fill, and a clean dry floor. That is the essentials list — you can add a stencil if you prefer.
How long does it take?
2 min 53 sec of video, perhaps 20 minutes of practice. The curves take a couple of attempts to feel natural, then it speeds up considerably.
After you draw this, take a picture before the day blows it away. Kolam is impermanent by design, but a photo lets you revisit the version you drew.


Leave a Reply