Basic Rangoli Design is a beautiful kolam pattern you can draw right at your doorstep — perfect for beginners and seasoned rangoli artists alike.
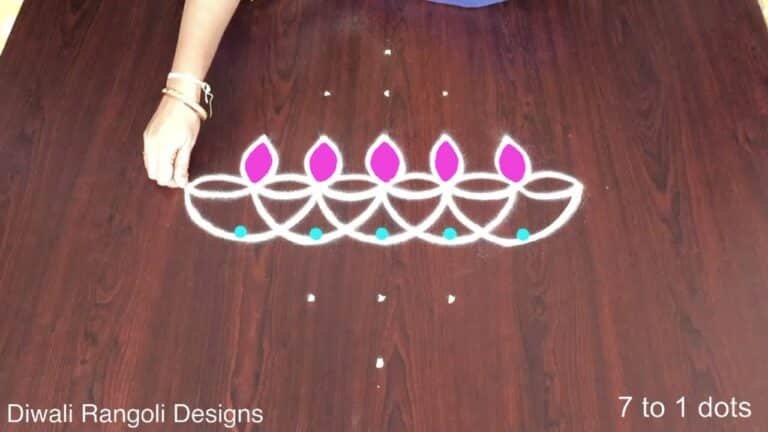
Basic Rangoli Design | 7 to 1 dots Kolam | Chukkala Muggulu Latest. This tutorial will show you how to draw Beautiful Indian traditional art Diwali Rangoli patterns using materials such as dry rice flour, colored sand or flower petals Rangoli designs by Aishwarya. Simple rangoli Pulli Kolam pattern is created on the floor in living rooms or courtyards. Draw the Lines step by step as it is shown in this video and will be awesome Rangoli Design. 😲 The Diwali rangoli pattern here is one of the amazing latest kolam designs. Simple Rangoli Designs and easy rangoli designs by Aishwarya with dots for beginners and intermediate.
1. Diwali Rangoli 2. Pongal kolams 3. Pongal rangoli designs
4. Sankranthi designs 5. Easy rangoli for sankranthi 6. Pongal designs
7. Latest rangoli for sankranthi 8. Marzaghi kolams 9. Best kolangal
10. Easy rangoli designs 11. Rangoli Designs for Bhaubeej 12. Thipkyanchi Rangoli Designs
13. Simple Karthigai Kolam 14. Karthika Masam Chukkala Muggulu 15. Tulasi Kota Muggulu
Tip: Use chalk to lightly mark your dot grid first — it wipes away cleanly once your rangoli is finished.
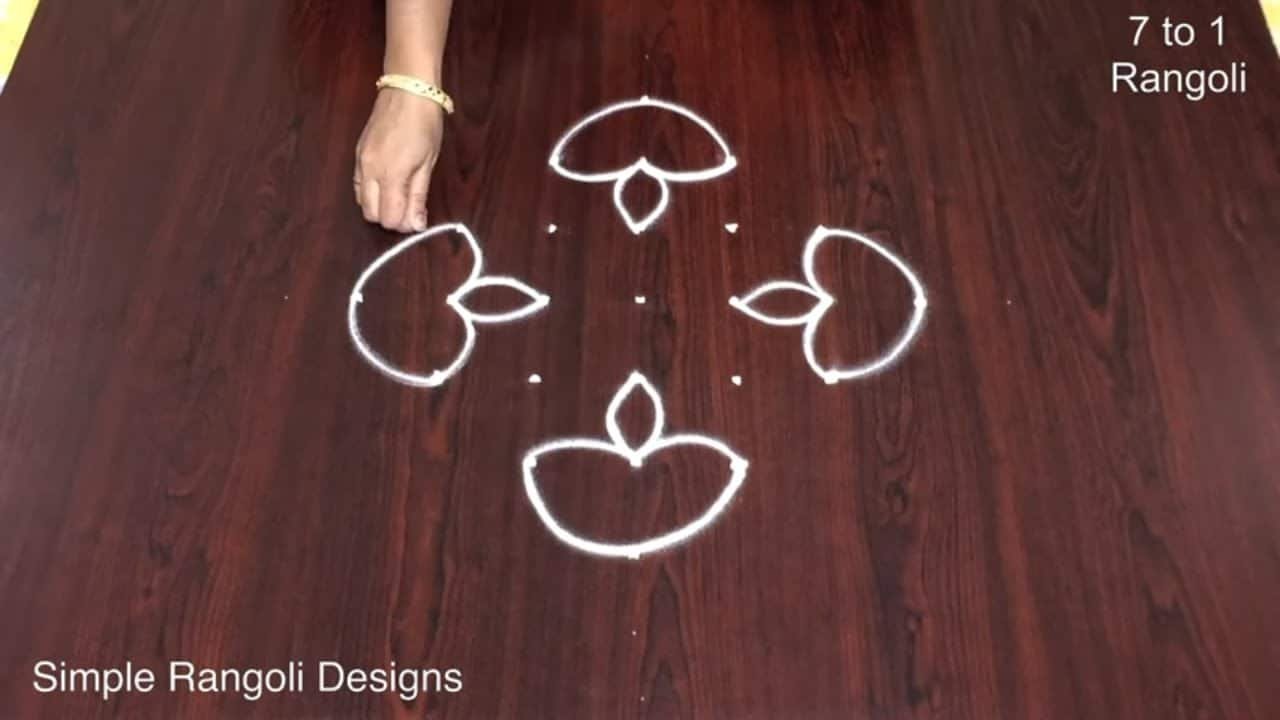
The basic rangoli design, particularly with 7 to 1 dots, is a wonderful introduction for beginners interested in this traditional art form. Commonly created during festivals like Diwali, these designs often reflect simplicity and elegance. Using materials such as rice flour or colored sand, you can create beautiful patterns that enhance your home during celebrations. This can be complemented by other designs, such as the Pongal Rangoli Designs, which add a festive touch to your surroundings.
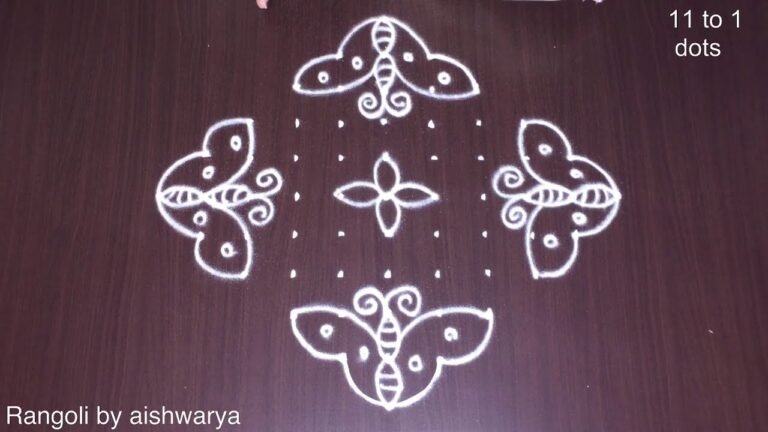
In this design, the dots serve as a guide to form intricate shapes and patterns, making it easy for anyone to follow. As you practice, you’ll find that each design allows for personal creativity and expression. This particular style is perfect for drawing in living rooms or courtyards, inviting guests to appreciate the beauty of your work. For those looking for inspiration, the 7 Into 7 Dots Festival Rangoli can provide additional ideas to explore. For more information about this beautiful art form, visit Rangoli on Wikipedia.
Basic Rangoli Design — Step by Step Guide
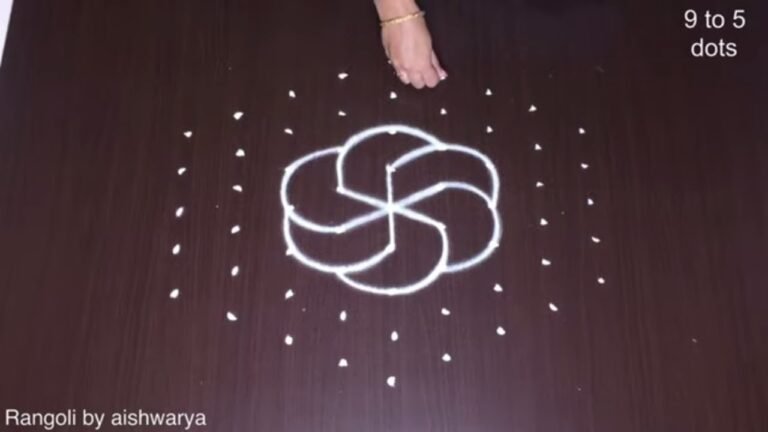
The video above shows the full sequence; the steps below summarise each stage so you can glance back as you draw.
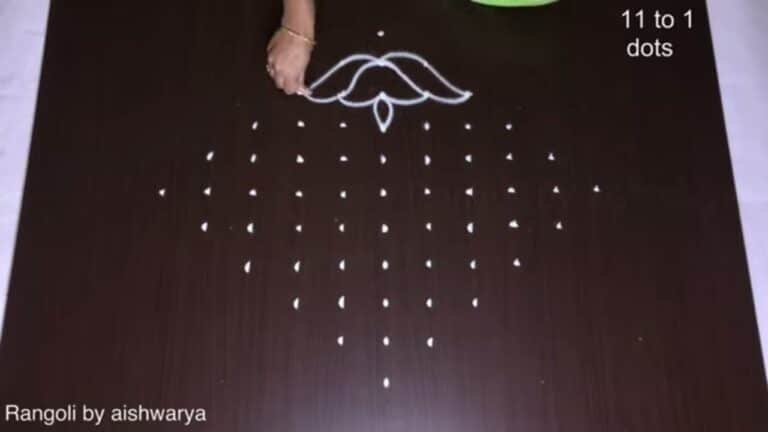
- Clear a flat surface and set down your dot grid using rice flour or chalk.
- Confirm the dot spacing is even — uneven dots are the biggest cause of wobbly curves.
- Begin tracing from the centre outward, following the curves shown in the video above.
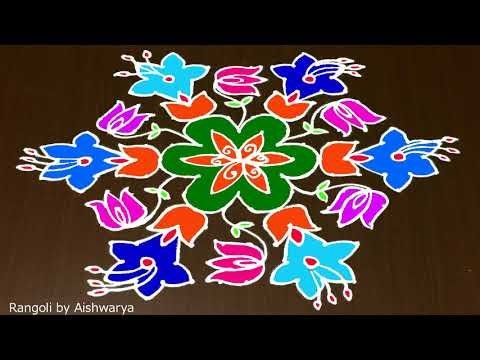
- Fill the petals and sections with your chosen colours, working one area at a time.
- Finish the edges with a fine line for a sharp, photograph-ready result.
What You Will Learn
- Simple Rangoli Designs
- Rangoli
- Muggulu
- Rangoli Designs
- Rangoli Kolam
- Kolam
Frequently Asked Questions
How do I draw this rangoli?
Begin with the dot grid — this is the skeleton of the design. With rice flour or chalk, place each dot at equal intervals. Then trace the curves slowly, one section at a time.
Is this suitable for beginners?
Beginner-friendly is exactly the right description. The video walks through every line clearly and you can match the pace.
What materials do I need?
Powder (white for outlines, colours for filling), a flat surface, and a dot stencil if you want absolute precision. Beyond that, just your hand and a steady pace.
How long does it take?
You will see a 3 min 12 sec walkthrough above. Drawing it yourself is usually a 12–18 minute affair, slightly slower the first time.
If you enjoyed this design, browse our other dot-pattern tutorials — they share the same approach and build naturally on the techniques here.

Leave a Reply