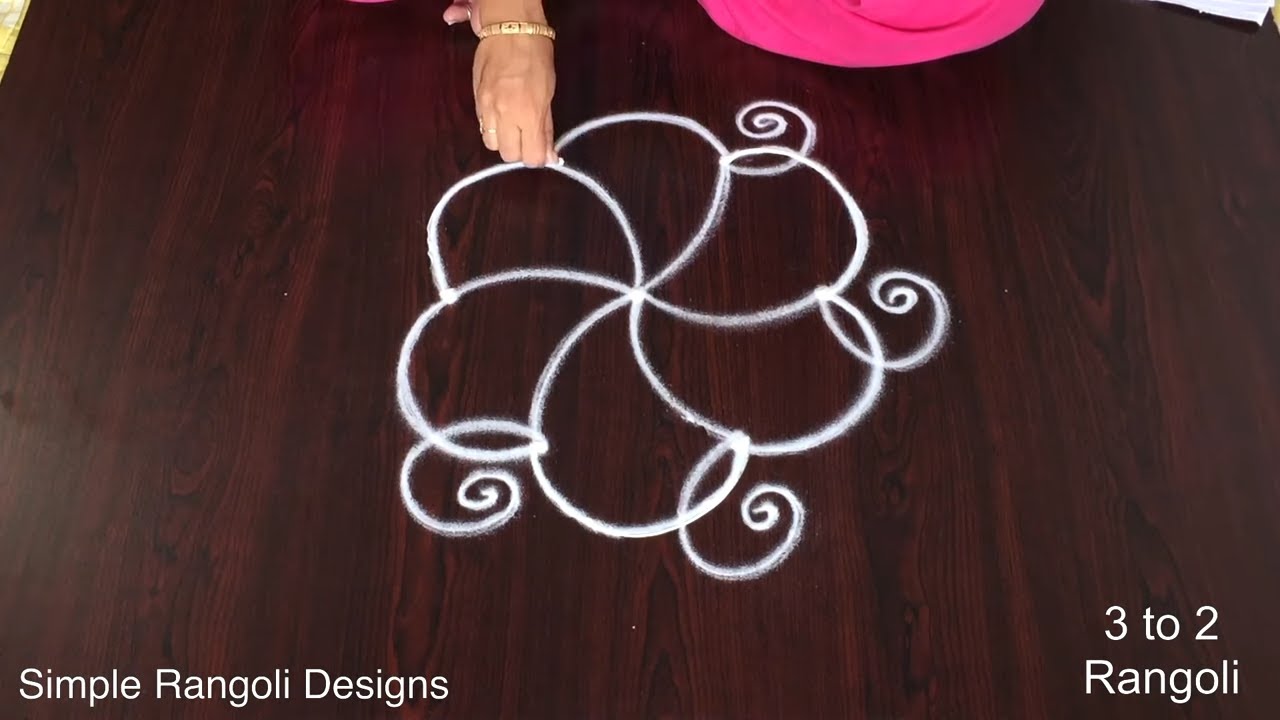
Drawing Beautiful Peacock Rangoli Designs is a relaxing, almost meditative practice. The dots guide your hand and the design unfolds naturally.

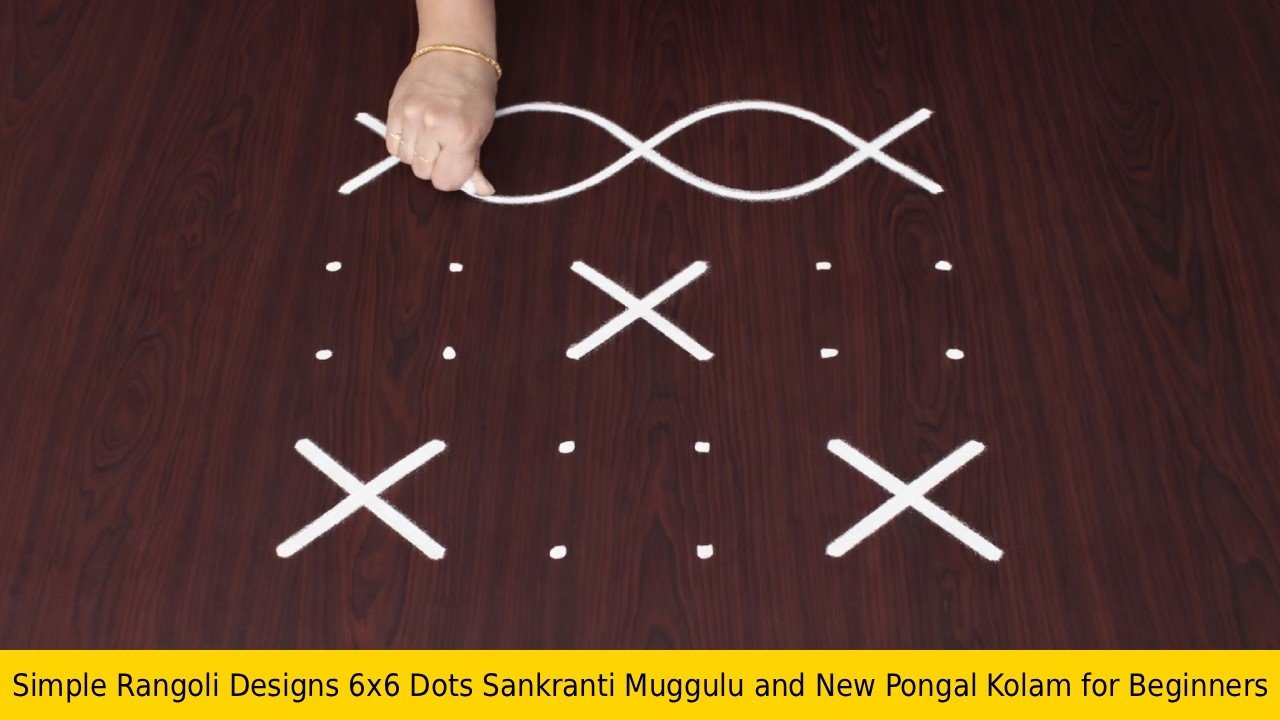
For another beginner-friendly variation, try New Flower Rangoli Kolam.
Learn more about the tradition of Rangoli on Wikipedia.
Looking for a grand peacock kolam for Sankranti? This 15 to 8 dots Nemali muggulu is a bold and festive design perfect for special celebrations. In this video, I guide you step by step to draw a 15 to 8 decreasing dot grid peacock rangoli specially designed for Sankranti. The large structured layout gives the design a majestic appearance, while the graceful peacock curves and feather detailing create a rich and traditional festive look.
We begin by placing a neat 15 to 8 straight dot structure, carefully aligned to maintain balance and proportion. Then, the outer peacock framework is formed by connecting the dots smoothly into elegant curves. Feather extensions and inner detailing enhance the symmetry and give the kolam a complete and impressive finish. How to construct a proper 15–8 decreasing dot grid How to shape balanced peacock curves using dots
How to maintain symmetry in large kolams Tips to make your Sankranti kolam look bold and festive This Nemali muggulu is ideal for Sankranti entrances, festive gatherings, and temple-style decorations. The large grid makes it suitable for those who want a standout design for special occasions.
Watch till the end to see the full transformation from simple dots to a complete peacock kolam — the final reveal highlights a beautifully balanced and vibrant Sankranti design. If you enjoy large dot kolams, explore more 15 to 8 dots rangoli, Sankranti special muggulu, and traditional themed festival designs on the channel.
Tip: Use chalk to lightly mark your dot grid first — it wipes away cleanly once your rangoli is finished.
About this design: Beautiful Peacock Rangoli Designs is a beginner-friendly pattern that comes together in just a few minutes. Once you have practised the beautiful peacock rangoli designs dot grid, you can scale it up for festival mornings or scale it down for a daily doorstep. Many learners on our channel make this beautiful peacock rangoli designs their go-to design once they get the rhythm of the curves.
Beautiful Peacock Rangoli Designs — Step by Step Guide
Follow the steps below to recreate this design at home. Pause the video whenever you need — there is no hurry.
- Clear a flat surface and set down your dot grid using rice flour or chalk.
- Confirm the dot spacing is even — uneven dots are the biggest cause of wobbly curves.
- Begin tracing from the centre outward, following the curves shown in the video above.
- Fill the petals and sections with your chosen colours, working one area at a time.
- Finish the edges with a fine line for a sharp, photograph-ready result.
What You Will Learn
- Sankranti Peacock Rangoli 15 To 8 Dots
- Nemali Muggulu 15X8
- 15 To 8 Dots Kolam Design
- Sankranti Special Kolam
- 15 8 Chukkala Muggulu
- Decreasing Dot Grid Peacock Kolam
Frequently Asked Questions
How do I draw this rangoli?
Set down the dot grid in pencil or chalk, then follow the loops one petal at a time. If a curve goes off, wipe it and retry — kolam is forgiving.
Is this suitable for beginners?
Absolutely. You can pause and rewind the video at every step. The pattern is straightforward once you have the grid down.
What materials do I need?
White rice flour for the outline, coloured powders for the fill, and a clean dry floor. That is the essentials list — you can add a stencil if you prefer.
How long does it take?
You will see a 5 min 10 sec walkthrough above. Drawing it yourself is usually a 12–18 minute affair, slightly slower the first time.
If you enjoyed this design, browse our other dot-pattern tutorials — they share the same approach and build naturally on the techniques here.


Leave a Reply