Traditional Rangoli Designs With combines tradition with simplicity, making it one of the most rewarding designs to practice at home.
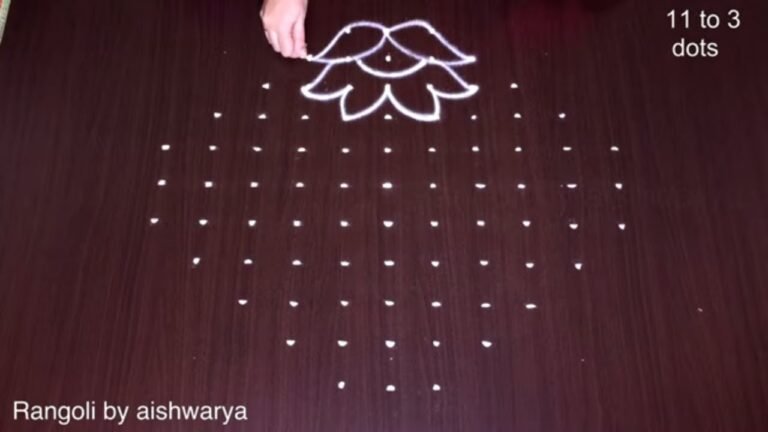
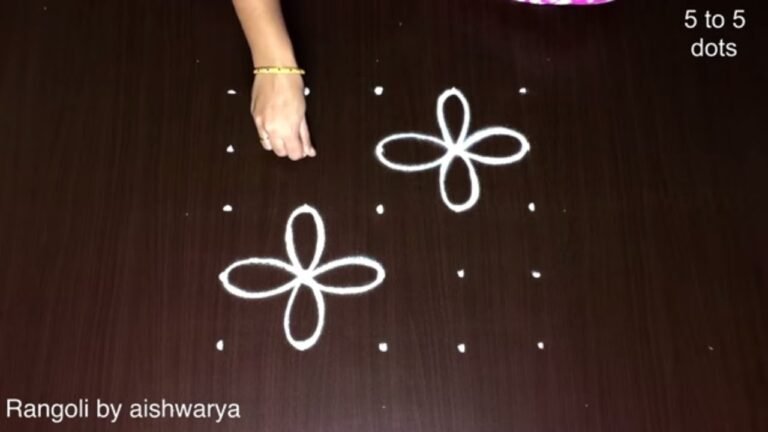
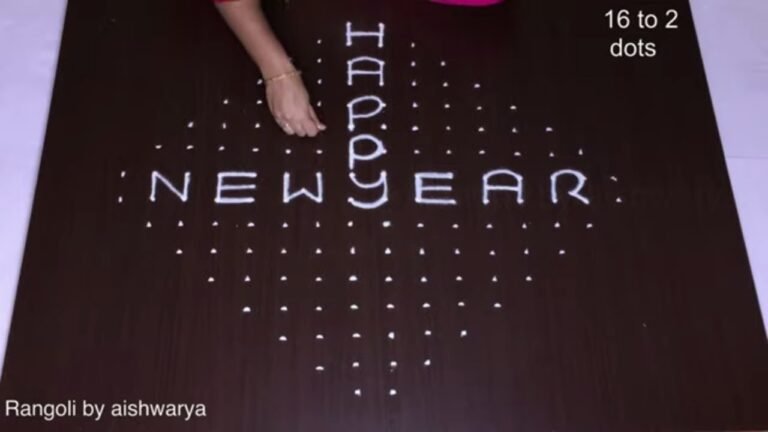
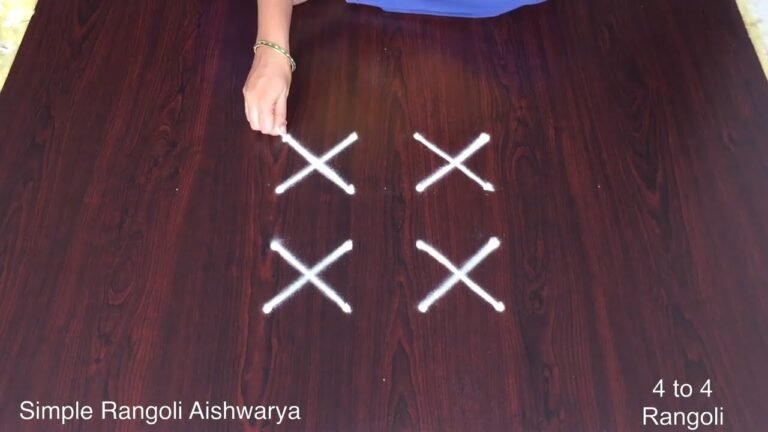
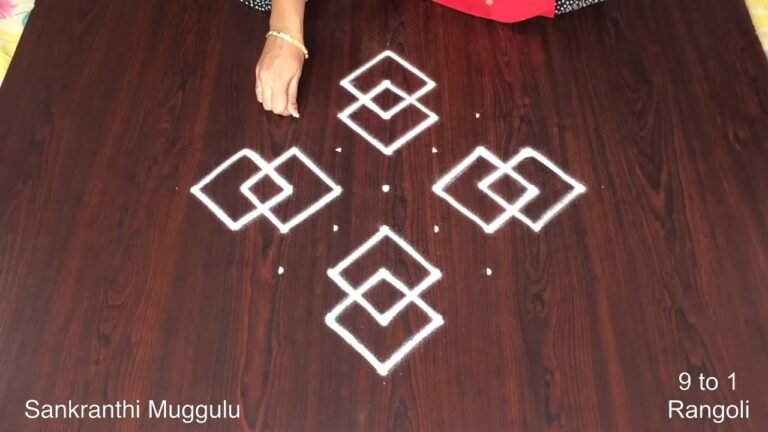
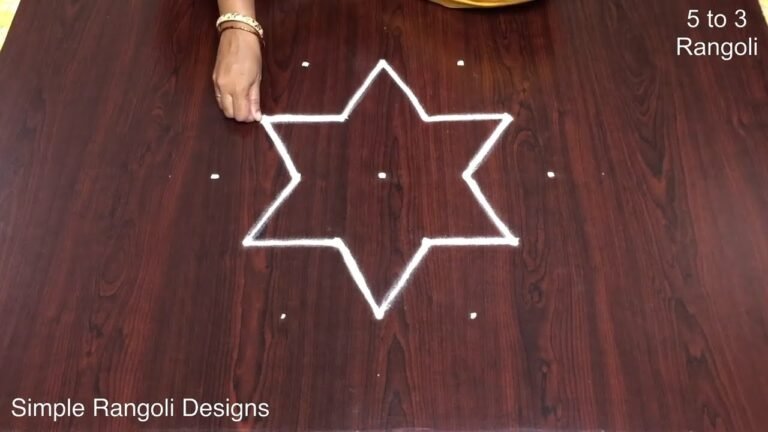
Traditional Rangoli Designs with dots | Quick Kolam Patterns | Traditional Muggulu for Sravanamasam. This tutorial will show you how to draw Beautiful Indian traditional art sankranthi muggulu patterns using materials such as dry rice flour, colored sand or flower petals Rangoli designs by Aishwarya. Simple rangoli designs with dots Kolam pattern is created on the floor in living rooms or courtyards. Draw the Lines step by step as it is shown in this video and will be awesome Rangoli Design. 😲 The rangoli design for diwali pattern here is one of the amazing latest simple kolam designs. Simple Rangoli Designs and easy rangoli designs by Aishwarya with dots for beginners and intermediate.
1. Diwali Rangoli 2. Pongal kolams 3. Easy rangoli designs
4. Rangoli design 5. Chukkala muggulu 6. Muggu designs
7. Rangoli for diwali 8. Thai madam rangoli 9. Chukkala muggulu sankranthi
10. Kolam designs 11. Simple rangoli design 12. Muggulu designs
13. Navaratri pooja kolam 14. Puratasi madham kolam 15. Simple sankranthi muggulu
Tip: Work from the centre outward. It keeps the symmetry honest and prevents the design from drifting off-balance.
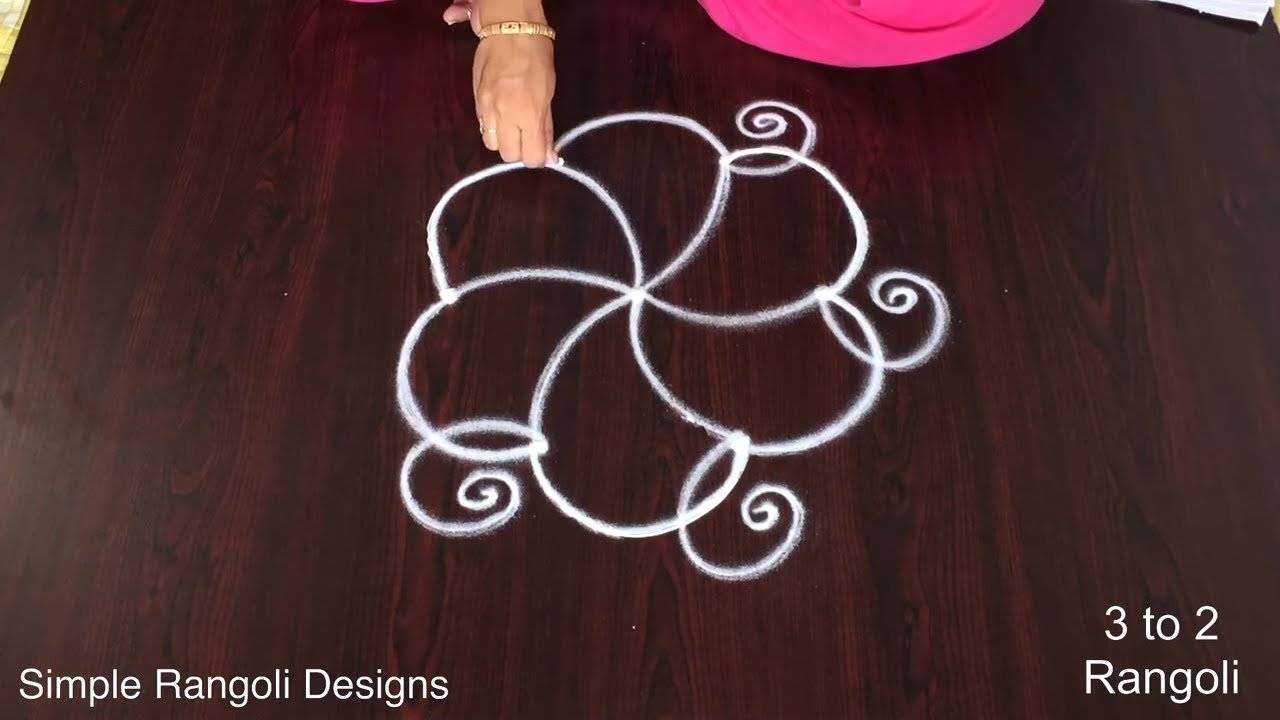
This design belongs to the broader tradition of rangoli and kolam art practised across South India. Explore more in our 3 to 2 dots Rangoli Designs collection.
This traditional rangoli design uses a simple yet elegant arrangement of three to two dots, making it perfect for beginners. Often drawn during festivals like Sankranthi, this design embodies the spirit of celebration and community. The use of dry rice flour or colored sand adds vibrancy to your living space, inviting warmth and positivity. For those interested in more intricate patterns, the Traditional Flower Kolam With 14×2 design offers a beautiful progression from simple to more elaborate designs.
Creating a rangoli not only enhances the aesthetic of your home but also serves as a wonderful way to bond with family and friends during festive times. The 3 to 2 dots design can be customized with floral motifs or geometric shapes, allowing for personal expression. If you’re looking for similar designs that celebrate the essence of traditional art, explore the Chukkala Muggulu for Sankranthi for more inspiration. To learn more about the history and significance of rangoli, visit this Wikipedia page.
Traditional Rangoli Designs With — Step by Step Guide
Below is the step-by-step breakdown. The video covers the same sequence in real time.
- Clear a flat surface and set down your dot grid using rice flour or chalk.
- Confirm the dot spacing is even — uneven dots are the biggest cause of wobbly curves.
- Begin tracing from the centre outward, following the curves shown in the video above.
- Fill the petals and sections with your chosen colours, working one area at a time.
- Finish the edges with a fine line for a sharp, photograph-ready result.
What You Will Learn
- Simple Rangoli Designs
- Rangoli
- Muggulu
- Rangoli Designs
- Rangoli Kolam
- Kolam
Frequently Asked Questions
How do I draw this rangoli?
Start by marking an even dot grid on a flat, clean surface. Once the grid is in place, connect the dots following the curves shown in the video. Even spacing between dots is the single biggest factor for a clean finish.
Is this suitable for beginners?
It is one of the more forgiving designs in our collection. Beginners often pick it as a confidence-builder before moving on to larger grids.
What materials do I need?
White rice flour for the outline, coloured powders for the fill, and a clean dry floor. That is the essentials list — you can add a stencil if you prefer.
How long does it take?
The video clocks in at 2 min 55 sec. Allow about quarter of an hour to draw the design at a comfortable pace.
Whenever you finish your version, share a photo with us. Seeing your work is the best part of running this channel.
Leave a Reply