Whether you are decorating for a festival or your daily morning ritual, Easy Friday Diyas Muggulu is an excellent design to keep handy.
Easy Friday Diyas muggulu Latest small | 12 to 12 dots kolam rangoli designs Thank you so much for watching Channel
My Rangoli Channel Contains : Rangoli Designs Sankranthi Muggulu
Diwali Rangoli Ratham Muggulu Kolam Designs
Muggulu Designs Chukkala Muggulu Easy Rangoli
Simple Rangoli Easy Rangoli Designs Dhanurmasam Muggulu
Melikala Muggulu Geethala Muggulu Sivarathri Muggulu
Tip: Use chalk to lightly mark your dot grid first — it wipes away cleanly once your rangoli is finished.
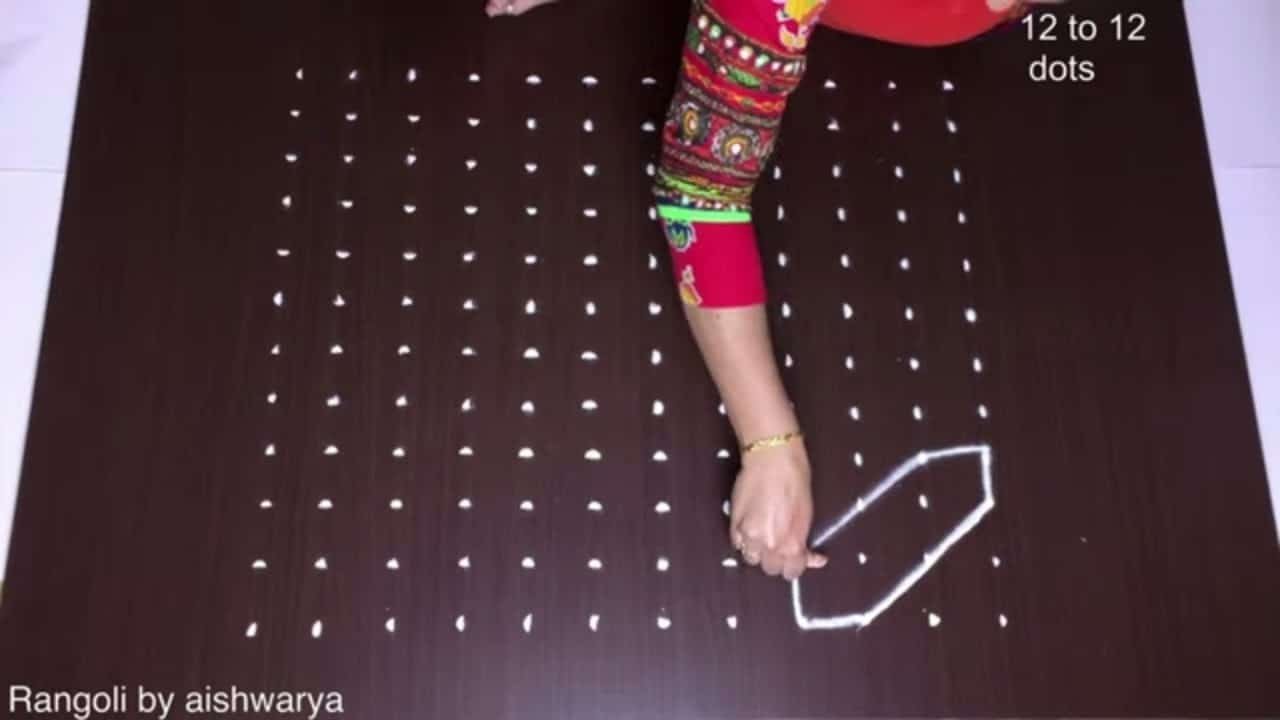
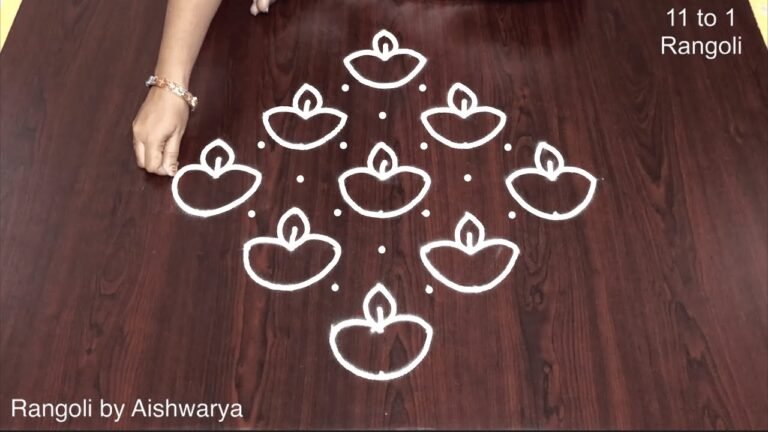
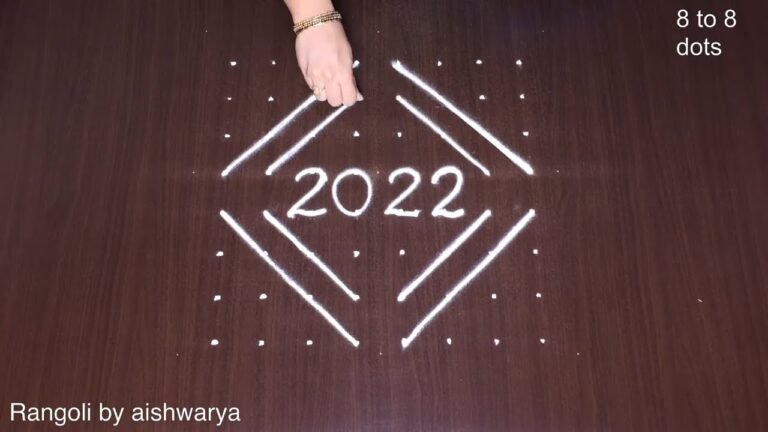
The Easy Friday Diyas Muggulu is a delightful and simple design ideal for Diwali celebrations. With a dot grid of 12 to 12, this muggulu combines elegance and ease, making it perfect for beginners who want to enhance their festive decor. The inclusion of diyas symbolizes light and prosperity, which are central themes during the Diwali festival. This design can be a charming addition to your home, creating a welcoming atmosphere for family and guests alike. For more inspiration, explore our Birds Kolam Design Simple Steps.
Creating this rangoli design can be a joyful activity for families, allowing everyone to participate in the beautification of the home. The Easy Friday Diyas Muggulu can be customized with colors that resonate with your preferences, making it a personal expression of artistry. This muggulu can be complemented with other festive designs, such as the 8 to 8 Navratri Durga Pooja Kolam, to enhance the celebratory spirit. For those interested in learning more about the art of rangoli, you can visit this page for a deeper understanding.
Easy Friday Diyas Muggulu — Step by Step Guide
The video above shows the full sequence; the steps below summarise each stage so you can glance back as you draw.
- Clear a flat surface and set down your dot grid using rice flour or chalk.
- Confirm the dot spacing is even — uneven dots are the biggest cause of wobbly curves.
- Begin tracing from the centre outward, following the curves shown in the video above.
- Fill the petals and sections with your chosen colours, working one area at a time.
- Finish the edges with a fine line for a sharp, photograph-ready result.
What You Will Learn
- Simple Rangoli Designs
- Rangoli
- Muggulu
- Rangoli Designs
- Rangoli Kolam
- Kolam
Frequently Asked Questions
How do I draw this rangoli?
The grid comes first. Use a soft chalk to dot the surface, count twice to confirm the spacing, then start connecting them following the video. Work from the centre outward.
Is this suitable for beginners?
Beginner-friendly is exactly the right description. The video walks through every line clearly and you can match the pace.
What materials do I need?
Just three things: powder (white plus any colours you want), a flat dry surface, and a few minutes of focus. A small bowl per colour helps keep things tidy.
How long does it take?
4 min 46 sec of video, perhaps 20 minutes of practice. The curves take a couple of attempts to feel natural, then it speeds up considerably.
If you enjoyed this design, browse our other dot-pattern tutorials — they share the same approach and build naturally on the techniques here.

Leave a Reply