This 9×9 krishnastami rangoli tutorial walks you through every step from the dot grid to the final pattern.
9 9 Krishnastami Rangoli Small has become a favourite among learners on our channel — and once you try it, you will see why.
9 * 9 Krishnastami rangoli small | Krishna Jayanthi muggulu designs with dots | RamRangoli Aishwarya Thank you so much for watching Channel
My Ram Rangoli Channel Contains : Rangoli Designs Sankranthi Muggulu
Diwali Rangoli Ratham Muggulu Kolam Designs
Muggulu Designs Chukkala Muggulu Easy Rangoli
Simple Rangoli Easy Rangoli Designs Dhanurmasam Muggulu
Melikala Muggulu Geethala Muggulu Sivarathri Muggulu
Tip: Work from the centre outward. It keeps the symmetry honest and prevents the design from drifting off-balance.
The 9×9 Krishnastami Rangoli is a delightful design often created for the celebration of Krishna Jayanthi, marking the birth of Lord Krishna. This intricate pattern features nine dots arranged in a square grid, making it accessible for beginners who wish to embrace the festive spirit through art. With its symmetrical layout, this rangoli allows for creative expression while honoring traditional motifs. For those interested in similar designs, exploring the Peacock Rangoli for Diwali can provide additional inspiration.
Typically adorned with bright colors and floral themes, the 9×9 Krishnastami Rangoli can be customized to reflect personal style or regional preferences. The use of vibrant powders can infuse life into the design, making it a focal point during festivities. For a broader array of styles, the Big Creative Deepam Rangoli showcases another aspect of traditional rangoli art. To learn more about the cultural significance of rangoli, visit this page for a deeper understanding of its history and variations.
9X9 Krishnastami Rangoli — Step by Step Guide
Use the steps below as a reference card while the video plays. Most learners finish on the second attempt.
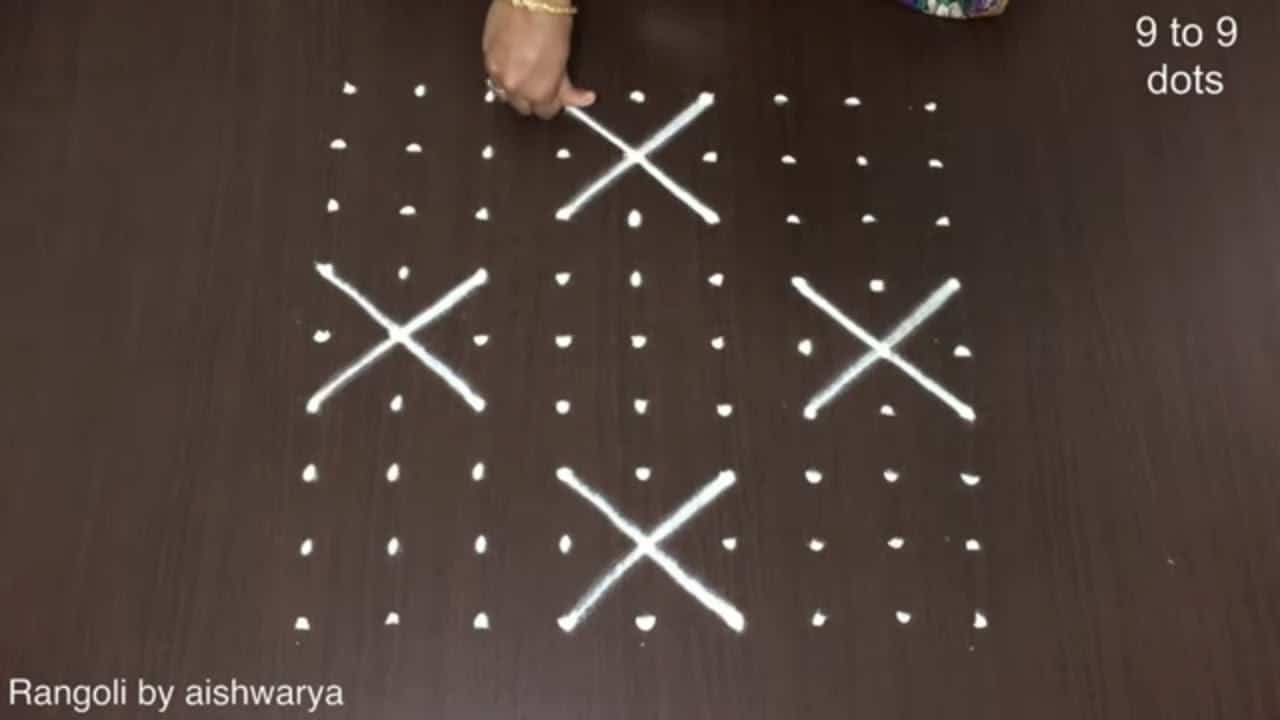
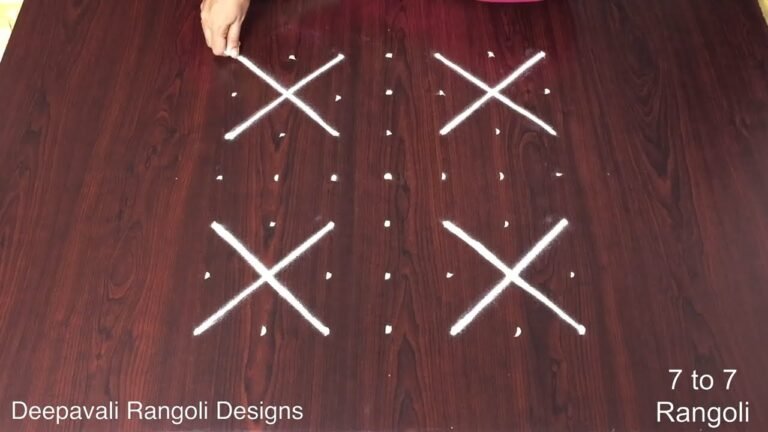
- Clear a flat surface and set down your dot grid using rice flour or chalk.
- Confirm the dot spacing is even — uneven dots are the biggest cause of wobbly curves.
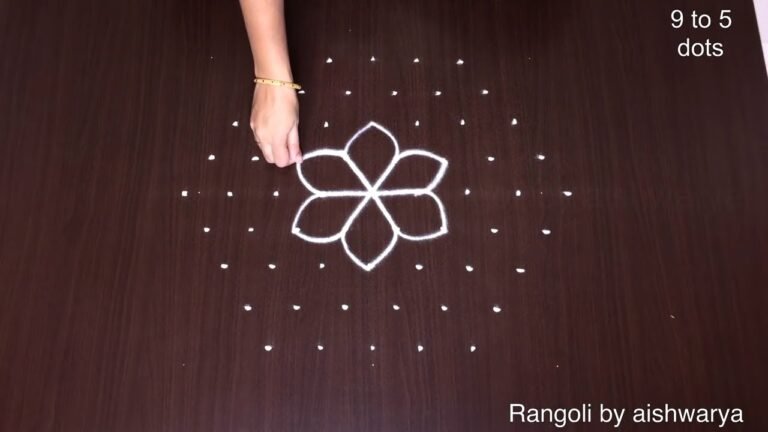
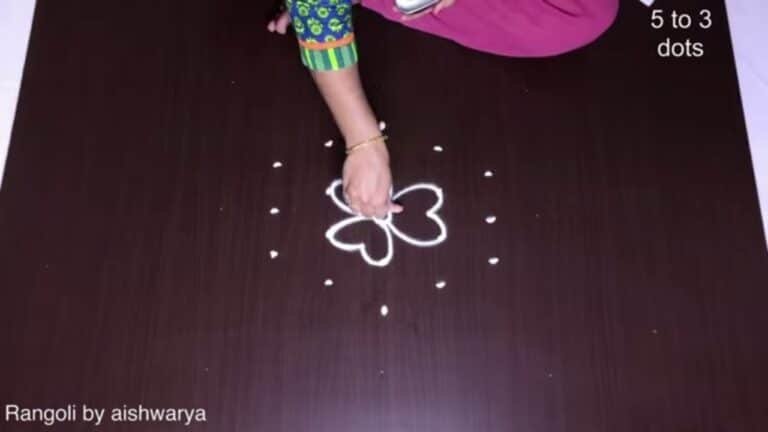
- Begin tracing from the centre outward, following the curves shown in the video above.
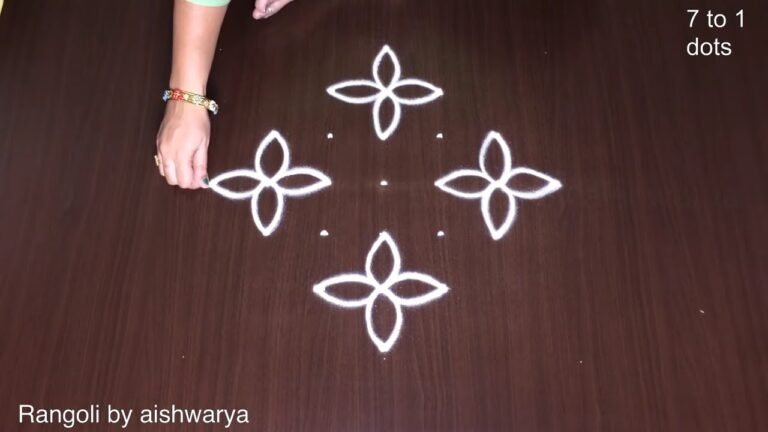
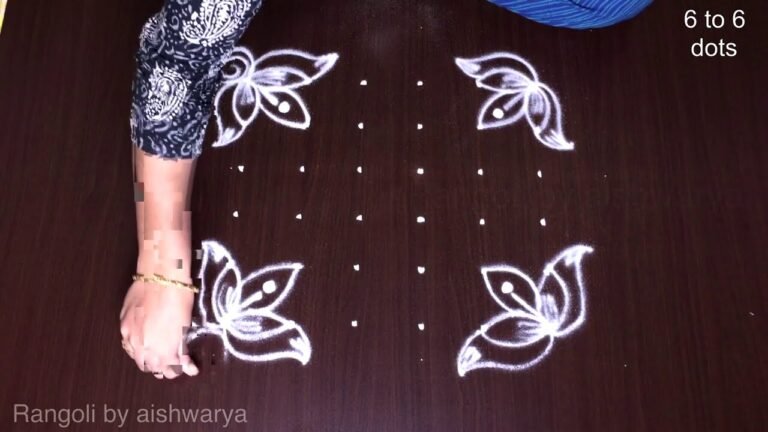
- Fill the petals and sections with your chosen colours, working one area at a time.
- Finish the edges with a fine line for a sharp, photograph-ready result.
What You Will Learn
- Simple Rangoli Designs
- Rangoli
- Muggulu
- Rangoli Designs
- Rangoli Kolam
- Kolam
Frequently Asked Questions
How do I draw this rangoli?
It looks complex but follows a simple rhythm: dots first, then loops. Mark the grid, take a breath, and trace the curves at a steady pace. The pattern emerges on its own.
Is this suitable for beginners?
It is one of the more forgiving designs in our collection. Beginners often pick it as a confidence-builder before moving on to larger grids.
What materials do I need?
Powder (white for outlines, colours for filling), a flat surface, and a dot stencil if you want absolute precision. Beyond that, just your hand and a steady pace.
How long does it take?
The video runs 3 min 2 sec. In practice, most learners take between 10 and 20 minutes — a little longer the first time, faster as the pattern becomes familiar.
There is real pleasure in finishing a kolam at your own doorstep — even more so when the pattern is one you have practised before. Make this one of those.

Leave a Reply