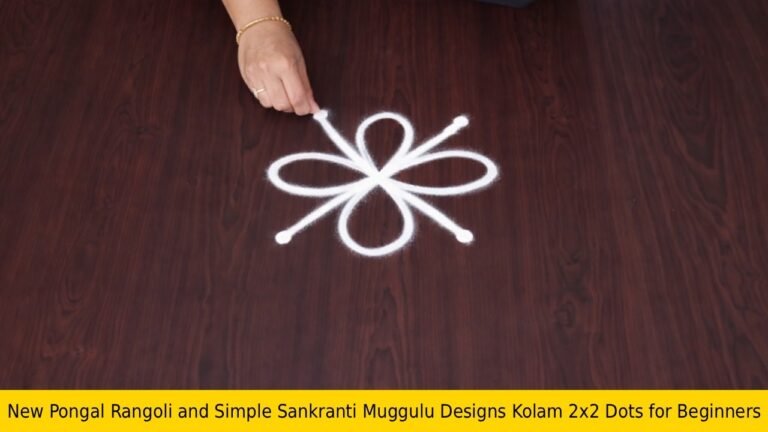
There is something timeless about Most Satisfying Flower Rangoli — the symmetry, the rhythm of the dots, and the soft curves it produces.
Most Satisfying Flower Rangoli Design | 10 * 2 Telugu Muggulu Poo Big Kolam | Rangoli Aishwarya Thank you so much for watching Channel
My Rangoli Channel Contains : Rangoli Designs Sankranthi Muggulu
Diwali Rangoli Ratham Muggulu Kolam Designs
Muggulu Designs Chukkala Muggulu Easy Rangoli
Simple Rangoli Easy Rangoli Designs Dhanurmasam Muggulu
Melikala Muggulu Geethala Muggulu Sivarathri Muggulu
Tip: A slightly damp brush along the edges gives a sharper finish, especially for festival photographs.
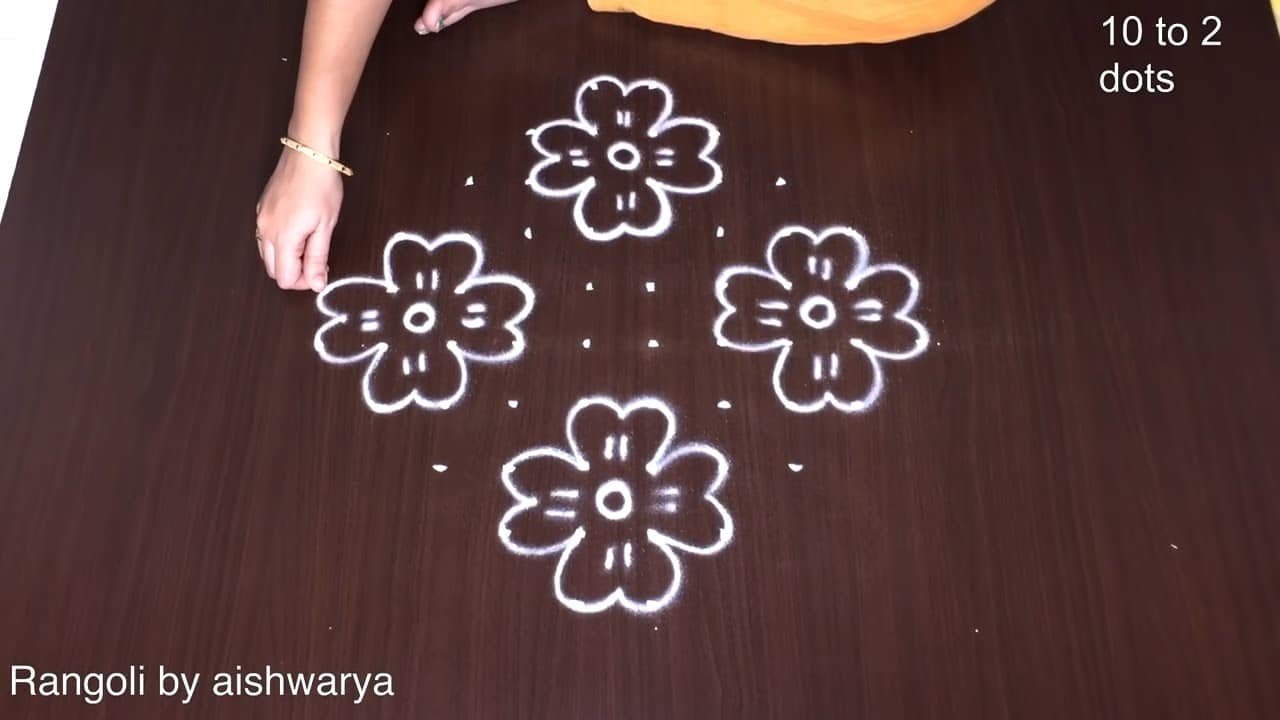
The most satisfying flower rangoli design, created using a 10 to 2 dot pattern, beautifully captures the essence of nature with its intricate floral motifs. This design is particularly popular during festive occasions when families come together to adorn their homes with vibrant colors and artistic expressions. The use of simple yet elegant shapes allows beginners to appreciate the beauty of rangoli while gradually developing their skills. Additionally, this type of design can serve as a wonderful introduction to the world of Harvest Festival Kolam 15×1 Dots for those eager to explore different styles.
As you create this flower rangoli, pay close attention to the symmetry and the way colors blend together, enhancing the overall aesthetic. The 10 to 2 dot arrangement provides a great foundation for experimenting with various floral designs, allowing for a personal touch. This design also serves as a stepping stone to more complex patterns, such as the 12 to 4 Dots Flower Pot Rangoli. Engaging with this art form not only promotes creativity but also fosters a sense of community and tradition, making it a cherished practice during festivals.
Most Satisfying Flower Rangoli — Step by Step Guide
Follow the steps below to recreate this design at home. Pause the video whenever you need — there is no hurry.
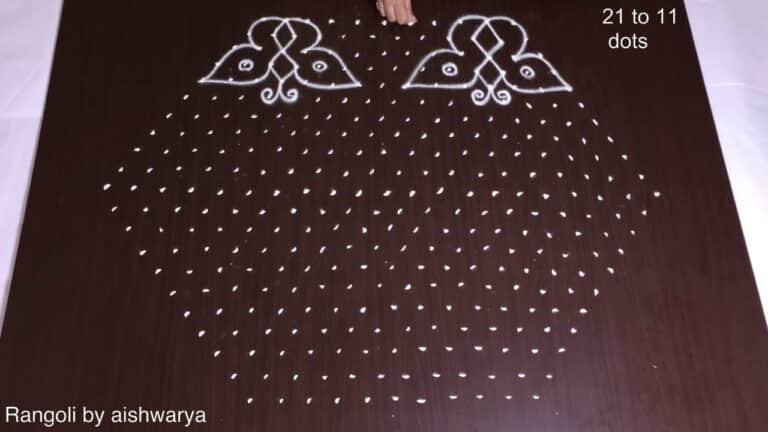
- Mark the dot grid.
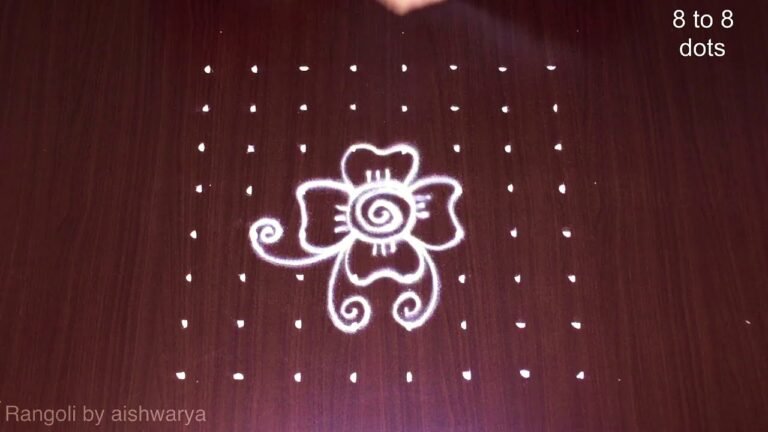
- In the centre draw a small pinwheel of four spiral swirls turning around the middle.
- At the four diagonals draw large fan-shaped flowers — layers of scalloped petals opening from a spiral centre.
- Between the flowers send out long serrated (saw-edged) leaves and paisley curls.
- At the top, bottom, left and right tips add a small bud to close each point.
- Fill the petals and leaves with fine parallel line-shading (white) for the detailed, satisfying finish.
What You Will Learn
- 10X2 Dots Rangoli
- Flower Poo Kolam With Dots
- Telugu Muggulu Designs
- 10X2 Dots Kolam
- Big Flower Kolam With Dots
- Rangoli With Dots
Frequently Asked Questions
How do I draw this rangoli?
It looks complex but follows a simple rhythm: dots first, then loops. Mark the grid, take a breath, and trace the curves at a steady pace. The pattern emerges on its own.
Is this suitable for beginners?
Absolutely. You can pause and rewind the video at every step. The pattern is straightforward once you have the grid down.
What materials do I need?
Powder (white for outlines, colours for filling), a flat surface, and a dot stencil if you want absolute precision. Beyond that, just your hand and a steady pace.
How long does it take?
A 7 min 42 sec video shows the complete sequence. On paper or floor, expect to spend around a quarter of an hour from grid to finished pattern.
Once you get the rhythm of this design, try scaling it up or experimenting with colours. The grid stays the same; the personality changes.

Leave a Reply