
Ratham Muggulu Chariot Design is the kind of design that looks intricate but is genuinely beginner-friendly once you follow the dot grid.
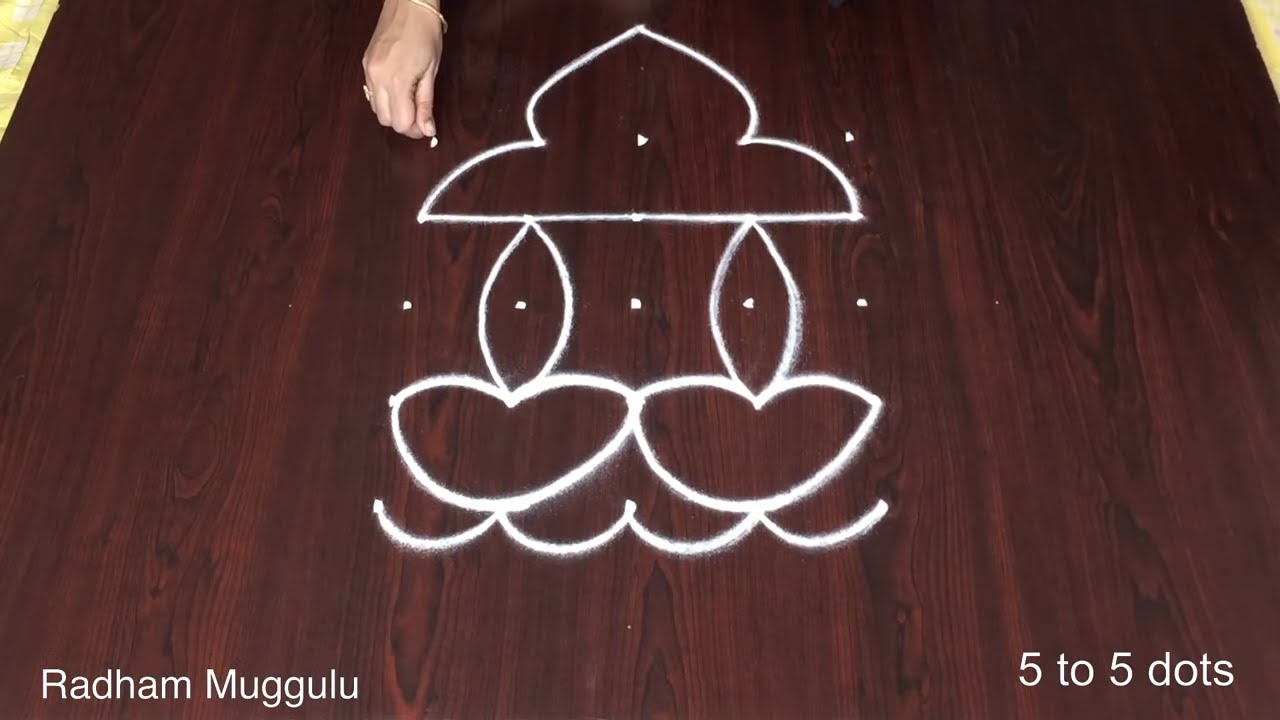
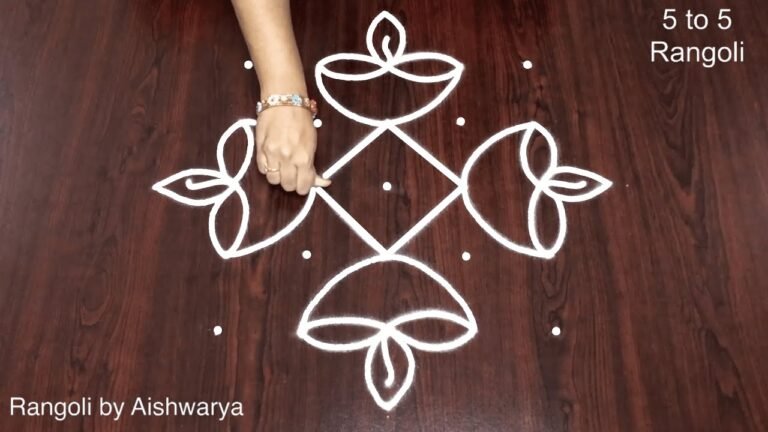
This tutorial will show you how to draw Ratham Muggulu 2025 patterns using materials such as dry rice flour, colored sand or flower petals Rangoli designs by Aishwarya. Simple rangoli Pulli Kolam pattern is created on the floor in living rooms or courtyards. Draw the Lines step by step as it is shown in this video and will be awesome Rangoli Design. 😲 The 5 to 5 Dots Rangoli pattern here is one of the amazing latest kolam designs. Simple Rangoli Designs and Chariot Kolam Designs by Aishwarya with dots for beginners and intermediate.
1. Sankranthi Rangoli Designs 2. Pongal Kolam 2025 3. Sankranti Rangoli Designs
4. Pongal Kolam Rangoli 5. New Year Special Rangoli 6. Pongal Kolam
7. Radham Muggulu 8. Sankranthi Special Rangoli 9. Bhogi Muggulu
10. Pongal Kolam With Dots 11. Sankranthi Muggulu 12. Thipkyanchi Rangoli Designs
13. Mattu Pongal Kolam 14. Sankranthi Muggulu 2025 15. ठिपक्यांची रांगोळी
Tip: Keep your powder bowl close to your dominant hand. Small movements give cleaner curves.
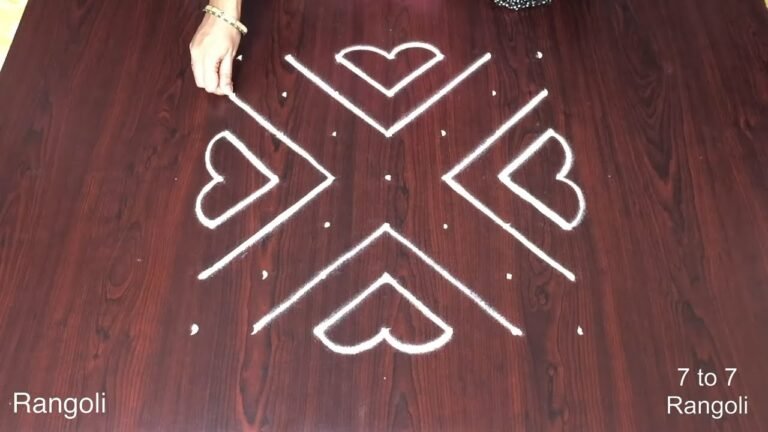
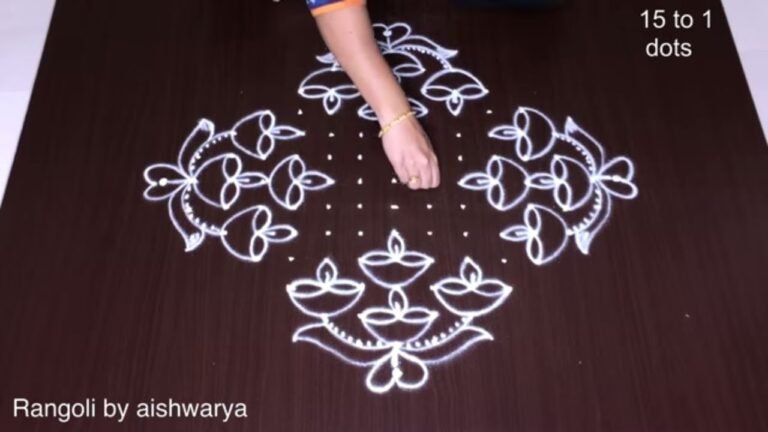
The Ratham Muggulu chariot design is a stunning example of a 5 to 5 dots rangoli, often crafted during festive occasions like Sankranti and Pongal. This design beautifully symbolizes the traditional chariot, representing the joyous processions associated with various festivals. With its intricate patterns and vibrant colors, it serves as a warm welcome to guests, transforming your living space into a festive atmosphere. For more inspiration, you might want to explore 7 3 Simple Apartment Muggulu and Latest Flower Rangoli Designs.
To create the Ratham Muggulu, you will need basic materials like dry rice flour or colored sand. The step-by-step process is beginner-friendly, making it accessible for those new to rangoli art. This design not only enhances your home decor but also fosters creativity and mindfulness as you engage in this traditional practice. If you’re interested in other designs, consider checking out Traditional Flower Kolam With 14×2 or learn more about rangoli in general with this Wikipedia article.
About this design: Ratham Muggulu Chariot Design is a beginner-friendly pattern that comes together in just a few minutes. Once you have practised the ratham muggulu chariot design dot grid, you can scale it up for festival mornings or scale it down for a daily doorstep. Many learners on our channel make this ratham muggulu chariot design their go-to design once they get the rhythm of the curves.
Ratham Muggulu Chariot Design — Step by Step Guide
Use the steps below as a reference card while the video plays. Most learners finish on the second attempt.
- Clear a flat surface and set down your dot grid using rice flour or chalk.
- Confirm the dot spacing is even — uneven dots are the biggest cause of wobbly curves.
- Begin tracing from the centre outward, following the curves shown in the video above.
- Fill the petals and sections with your chosen colours, working one area at a time.
- Finish the edges with a fine line for a sharp, photograph-ready result.
What You Will Learn
- Simple Rangoli Designs
- Rangoli
- Muggulu
- Rangoli Designs
- Rangoli Kolam
- Kolam
Frequently Asked Questions
How do I draw this rangoli?
Start by marking an even dot grid on a flat, clean surface. Once the grid is in place, connect the dots following the curves shown in the video. Even spacing between dots is the single biggest factor for a clean finish.
Is this suitable for beginners?
It is one of the more forgiving designs in our collection. Beginners often pick it as a confidence-builder before moving on to larger grids.
What materials do I need?
Powder (white for outlines, colours for filling), a flat surface, and a dot stencil if you want absolute precision. Beyond that, just your hand and a steady pace.
How long does it take?
Roughly 3 min 17 sec to watch end-to-end, and 10–20 minutes to draw yourself depending on grid size and how careful you are with the curves.
There is real pleasure in finishing a kolam at your own doorstep — even more so when the pattern is one you have practised before. Make this one of those.
Leave a Reply