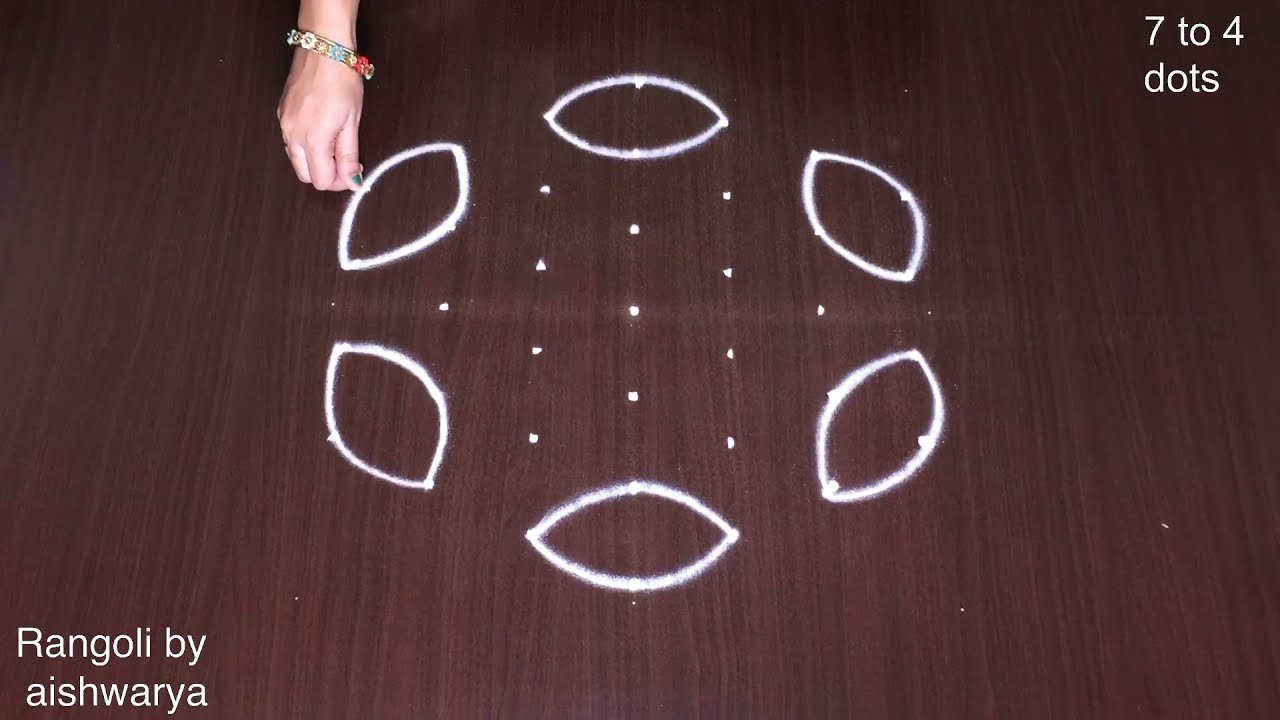
This satisfying rangoli art 7×4 tutorial walks you through every step from the dot grid to the final pattern.
Drawing Satisfying Rangoli Art 7 4 is a relaxing, almost meditative practice. The dots guide your hand and the design unfolds naturally.
Satisfying Rangoli Art 7*4 Interlaced Dots | Rangavalli Festival Muggulu Simple Kolam | Rangoli Thank you so much for watching Channel
My Rangoli Channel Contains : Rangoli Designs Sankranthi Muggulu
Diwali Rangoli Ratham Muggulu Kolam Designs
Muggulu Designs Chukkala Muggulu Easy Rangoli
Simple Rangoli Easy Rangoli Designs Dhanurmasam Muggulu
Melikala Muggulu Geethala Muggulu Sivarathri Muggulu
Tip: A slightly damp brush along the edges gives a sharper finish, especially for festival photographs.
The 7×4 interlaced dots design is a captivating example of satisfying rangoli art that showcases intricate patterns while remaining accessible for beginners. Perfect for festivals like Rangavalli, this design uses a combination of interwoven lines and curves, creating a visually appealing effect that draws the eye. As you create this stunning piece, you’ll find it a delightful way to express your artistic flair and immerse yourself in the cultural tradition of rangoli making. If you enjoy this style, you might also like exploring Easy Rangoli Designs for Diwali With 5 to 5 Dots for more festive inspiration.
This particular design utilizes a 7×4 grid, making it a unique choice for those looking to step beyond the basics. The interlaced technique not only enhances the visual depth of the rangoli but also reflects the harmonious balance of patterns that is often celebrated in Indian art. Whether you’re preparing for a festive occasion or simply want to beautify your home, this design can be a fulfilling project. You might also want to check out the Simple Rose Flower Muggulu for another delightful option to explore.
About this design: Satisfying Rangoli Art 7X4 is a beginner-friendly pattern that comes together in just a few minutes. Once you have practised the satisfying rangoli art 7×4 dot grid, you can scale it up for festival mornings or scale it down for a daily doorstep. Many learners on our channel make this satisfying rangoli art 7×4 their go-to design once they get the rhythm of the curves.
Satisfying Rangoli Art 7X4 — Step by Step Guide
Each step takes only a moment. The whole design comes together in just a few minutes once the grid is in place.
- Mark the 7-to-4 dot grid.
- Draw the interlaced core: a ring of pointed-oval (almond) loops around the centre that weave over and under one another into a woven rosette.
- Carry the looping lines outward into a second, larger ring of interlocking arcs and petals.
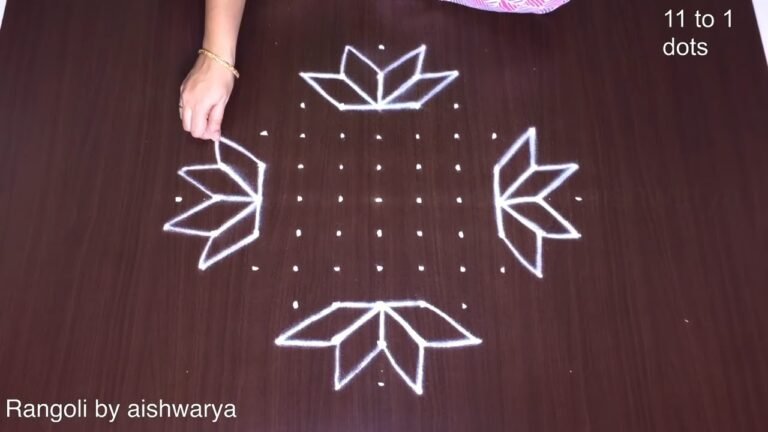
- At each outer point of the ring, draw a flower with a spiral-coil centre and layered petals, about eight spaced evenly around.
- Fill the gaps between the flowers with curled scroll tendrils (sikku curls).
- For colour, shade the outer flowers with purple or mauve and leave the woven centre white.
What You Will Learn
- Simple Rangoli Designs
- Rangoli
- Muggulu
- Rangoli Designs
- Rangoli Kolam
- Kolam
Frequently Asked Questions
How do I draw this rangoli?
It looks complex but follows a simple rhythm: dots first, then loops. Mark the grid, take a breath, and trace the curves at a steady pace. The pattern emerges on its own.
Is this suitable for beginners?
Yes — this design is shaped specifically with newcomers in mind. The dot grid is small enough to manage, and the curves are gentle. Most learners get it right by the second try.
What materials do I need?
Just three things: powder (white plus any colours you want), a flat dry surface, and a few minutes of focus. A small bowl per colour helps keep things tidy.
How long does it take?
The full demonstration takes 5 min 54 sec. Most people find their own drawing time settles to about 15 minutes once the grid is familiar.
Roll up your sleeves, grab a handful of rice flour, and give this design ten quiet minutes. The result is worth the small effort.
Leave a Reply