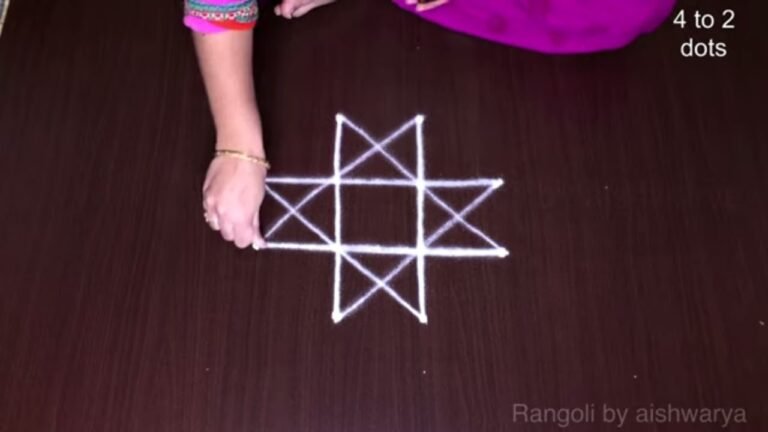
This rangoli designs with 7 tutorial walks you through every step from the dot grid to the final pattern.
Drawing Flowers Rangoli Designs With 4 is a relaxing, almost meditative practice. The dots guide your hand and the design unfolds naturally.
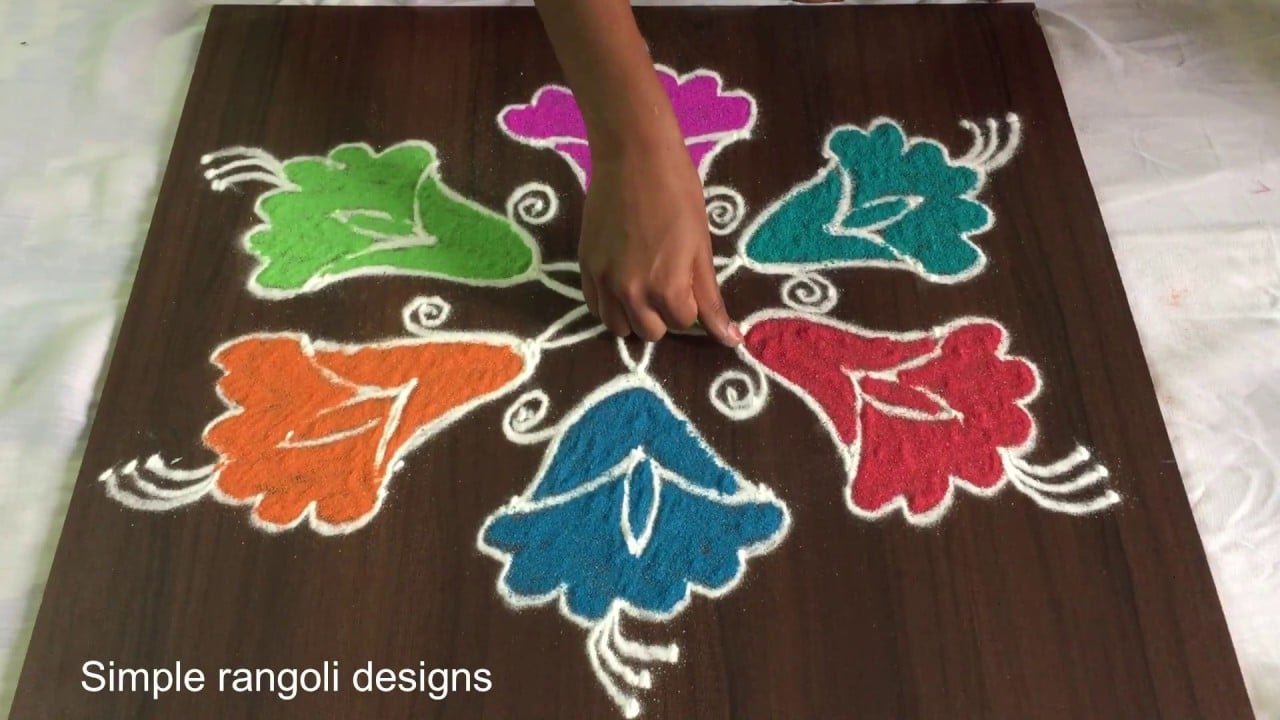
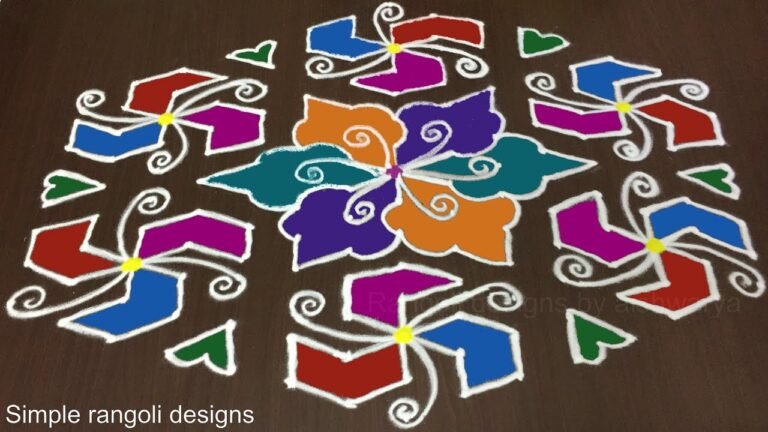
Looking for a graceful 7-4 dots flower kolam that looks vibrant and easy to draw? This colourful floral rangoli design is perfect for adding elegance to your entrance. In this video, we create a 7-4 dots easy colour flower kolam, built on a balanced decreasing grid that ensures smooth curves and clean symmetry. The 7 to 4 format is ideal for medium-sized entrances, offering enough space to shape detailed petals while keeping the layout simple.
🌸 What You’ll Learn Step by Step: Proper placement of the 7-4 decreasing dot grid Forming smooth and symmetrical flower petals
Maintaining balance along the central axis Simple colour-filling techniques for a vibrant finish The 7-4 dot structure naturally guides spacing and proportion, making it beginner-friendly while still appearing detailed and attractive. Adding colours enhances the design and gives it a festive and lively look.
This format works beautifully for apartment entrances and compact thresholds where you want a neat yet eye-catching kolam. Watch till the end to see the complete colour transformation — the final symmetrical reveal highlights how the 7-4 dot layout turns into a beautiful flower kolam. If you enjoy medium floral grids, explore other formats like 5-3 and 9-5 to expand your creative rangoli collection.
Save this design and recreate it to brighten your entrance beautifully.
Tip: Work from the centre outward. It keeps the symmetry honest and prevents the design from drifting off-balance.
This 7 to 4 dots flower rangoli design is a delightful way to enhance your entrance with a vibrant touch. The structure allows for smooth curves and detailed petals, making it both visually appealing and beginner-friendly. By following the balanced decreasing dot grid, you can easily create a beautiful floral pattern that brings a sense of joy and celebration to any space. If you’re looking for more designs that capture this essence, consider exploring the Vibrant 8 Into 8 Big Butterfly Kolam or the Traditional Friday Diya Pulli Designs Rangoli.
The 7-4 format is particularly suited for compact areas, such as apartment entrances, ensuring that you can enjoy a stunning display without overwhelming the space. As you fill in colors, the design transforms into a lively representation of nature, perfect for festivals or daily welcoming. This easy-to-follow method is a wonderful introduction to the art of rangoli, showcasing how a simple approach can yield striking results.
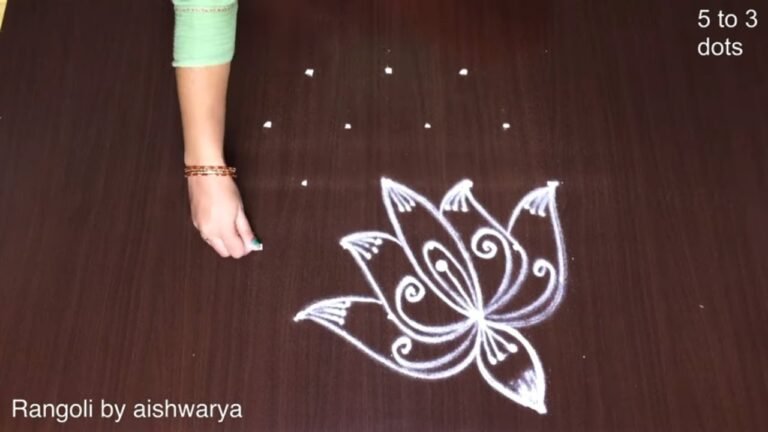
About this design: Rangoli Designs With 7 is a beginner-friendly pattern that comes together in just a few minutes. Once you have practised the rangoli designs with 7 dot grid, you can scale it up for festival mornings or scale it down for a daily doorstep. Many learners on our channel make this rangoli designs with 7 their go-to design once they get the rhythm of the curves.
Rangoli Designs With 7 — Flowers Rangoli Designs — Step by Step Guide
The video above shows the full sequence; the steps below summarise each stage so you can glance back as you draw.
- Clear a flat surface and set down your dot grid using rice flour or chalk.
- Confirm the dot spacing is even — uneven dots are the biggest cause of wobbly curves.
- Begin tracing from the centre outward, following the curves shown in the video above.
- Fill the petals and sections with your chosen colours, working one area at a time.
- Finish the edges with a fine line for a sharp, photograph-ready result.
What You Will Learn
- 7-4 Dots Easy Colour Flower Kolam
- Flowers Rangoli 7-4 Dots
- Colourful Muggulu 7-4 Pattern
- 7-4 Dots Kolam Design
- Easy Flower Rangoli 7-4
- 7-4 Pulli Kolam
Frequently Asked Questions
How do I draw this rangoli?
It looks complex but follows a simple rhythm: dots first, then loops. Mark the grid, take a breath, and trace the curves at a steady pace. The pattern emerges on its own.
Is this suitable for beginners?
Yes, and it is one we recommend to first-timers. The small grid keeps the design manageable while still teaching the core technique.
What materials do I need?
Powder (white for outlines, colours for filling), a flat surface, and a dot stencil if you want absolute precision. Beyond that, just your hand and a steady pace.
How long does it take?
The video clocks in at 3 min 39 sec. Allow about quarter of an hour to draw the design at a comfortable pace.
Once you get the rhythm of this design, try scaling it up or experimenting with colours. The grid stays the same; the personality changes.

Leave a Reply