Drawing 7 To 4 Dots is a relaxing, almost meditative practice. The dots guide your hand and the design unfolds naturally.

7 to 4 Dots Rangoli for Daily Use | Puvvula Muggulu Side Chukkalu Latest Kolam Pattern | Rangoli Thank you so much for watching Channel
My Rangoli Channel Contains : Rangoli Designs Sankranthi Muggulu
Diwali Rangoli Ratham Muggulu Kolam Designs
Muggulu Designs Chukkala Muggulu Easy Rangoli
Simple Rangoli Easy Rangoli Designs Dhanurmasam Muggulu
Melikala Muggulu Geethala Muggulu Sivarathri Muggulu
Tip: Work from the centre outward. It keeps the symmetry honest and prevents the design from drifting off-balance.
The 7 to 4 dots rangoli design is a delightful pattern that is perfect for daily use, bringing a touch of elegance and simplicity to any space. This design typically features a grid of dots arranged in a unique manner, allowing for creative freedom in the patterns that can be formed around them. It is particularly popular during festivals and special occasions, making it a versatile choice for any celebration. For more intricate designs, you might enjoy exploring the Birds Kolam Design Simple Steps.
Rangoli, or muggulu, is a cherished tradition in Indian culture, symbolizing auspiciousness and joy. The 7 to 4 dots design can be easily adapted to suit various themes, whether floral, geometric, or abstract. This flexibility makes it suitable for occasions like Diwali or Sankranthi. If you’re looking for more patterns to try, the 8 to 8 Navratri Durga Pooja Kolam is another beautiful option. Learning about the history and significance of these designs can deepen your appreciation; you can read more about it on Wikipedia.
7 To 4 Dots — Step by Step Guide
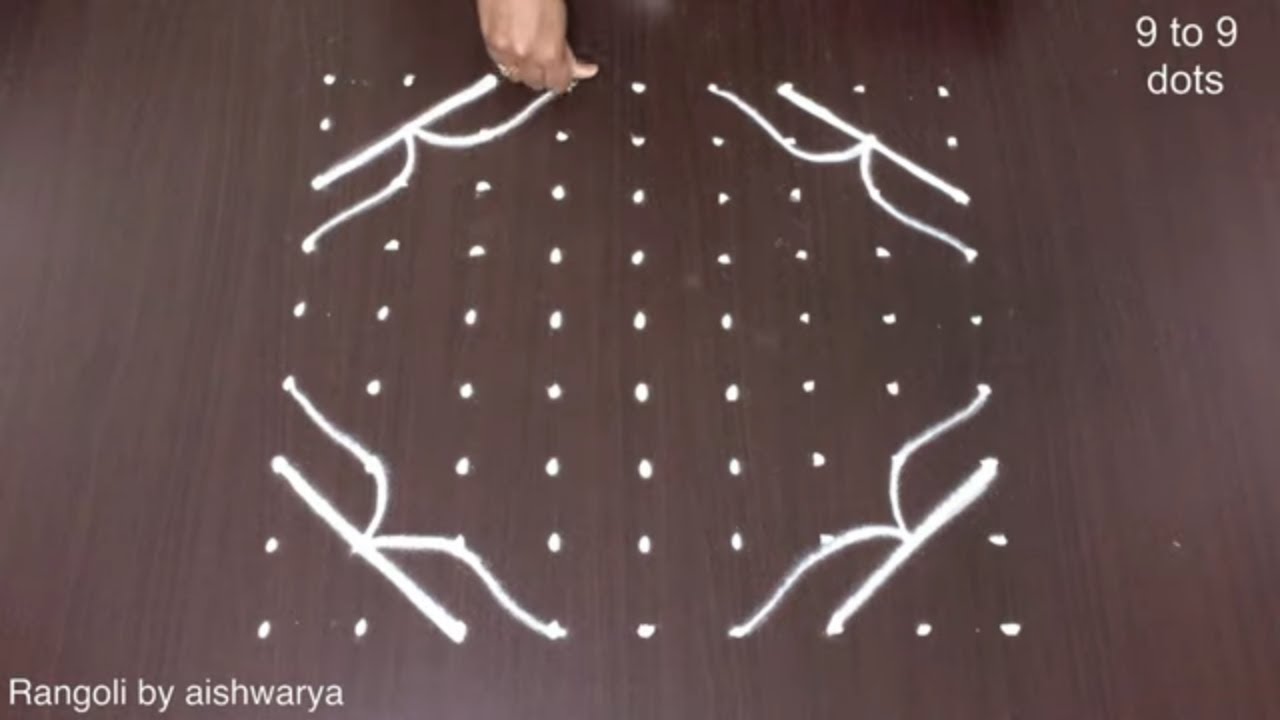
Below is the step-by-step breakdown. The video covers the same sequence in real time.
- Clear a flat surface and set down your dot grid using rice flour or chalk.
- Confirm the dot spacing is even — uneven dots are the biggest cause of wobbly curves.
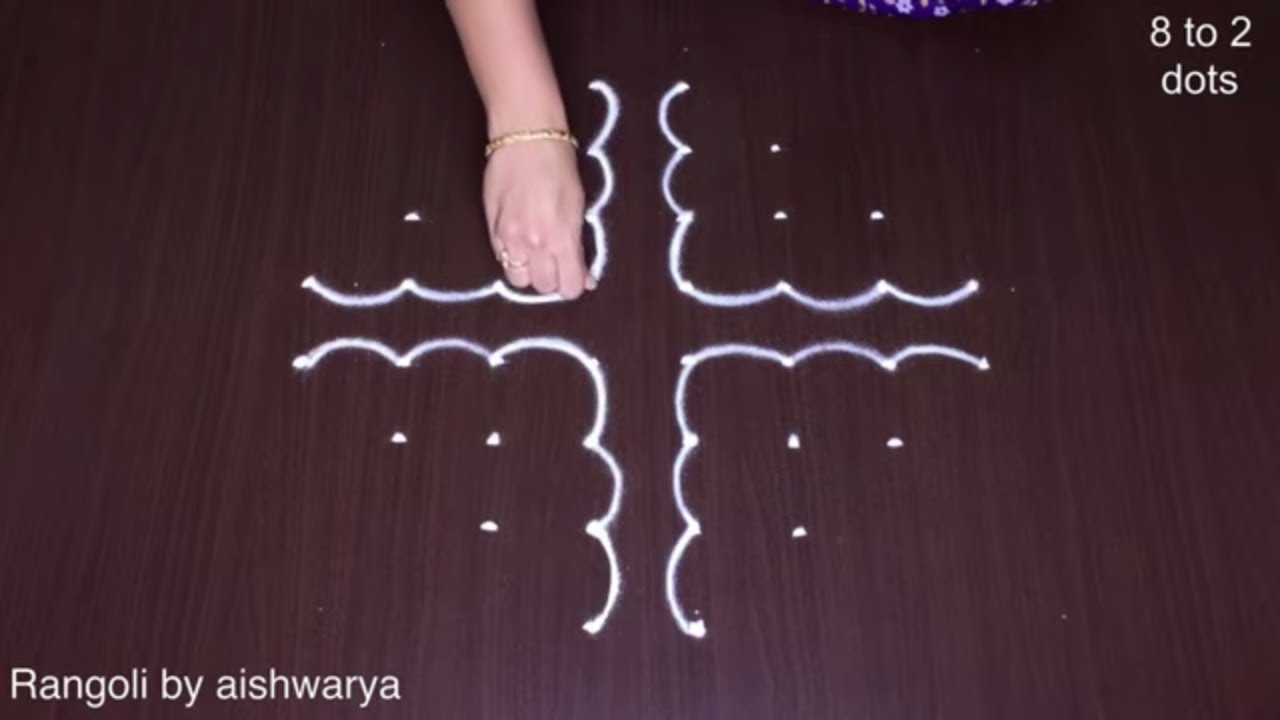
- Begin tracing from the centre outward, following the curves shown in the video above.
- Fill the petals and sections with your chosen colours, working one area at a time.
- Finish the edges with a fine line for a sharp, photograph-ready result.
What You Will Learn
- Simple Rangoli Designs
- Rangoli
- Muggulu
- Rangoli Designs
- Rangoli Kolam
- Kolam
Frequently Asked Questions
How do I draw this rangoli?
Set down the dot grid in pencil or chalk, then follow the loops one petal at a time. If a curve goes off, wipe it and retry — kolam is forgiving.
Is this suitable for beginners?
Beginner-friendly is exactly the right description. The video walks through every line clearly and you can match the pace.
What materials do I need?
Just three things: powder (white plus any colours you want), a flat dry surface, and a few minutes of focus. A small bowl per colour helps keep things tidy.
How long does it take?
The full demonstration takes 3 min 50 sec. Most people find their own drawing time settles to about 15 minutes once the grid is familiar.
After you draw this, take a picture before the day blows it away. Kolam is impermanent by design, but a photo lets you revisit the version you drew.


Leave a Reply