Drawing Simple Navratri Rangoli Designs is a relaxing, almost meditative practice. The dots guide your hand and the design unfolds naturally.
For another beginner-friendly variation, try Traditional Flower Kolam With 14×2.
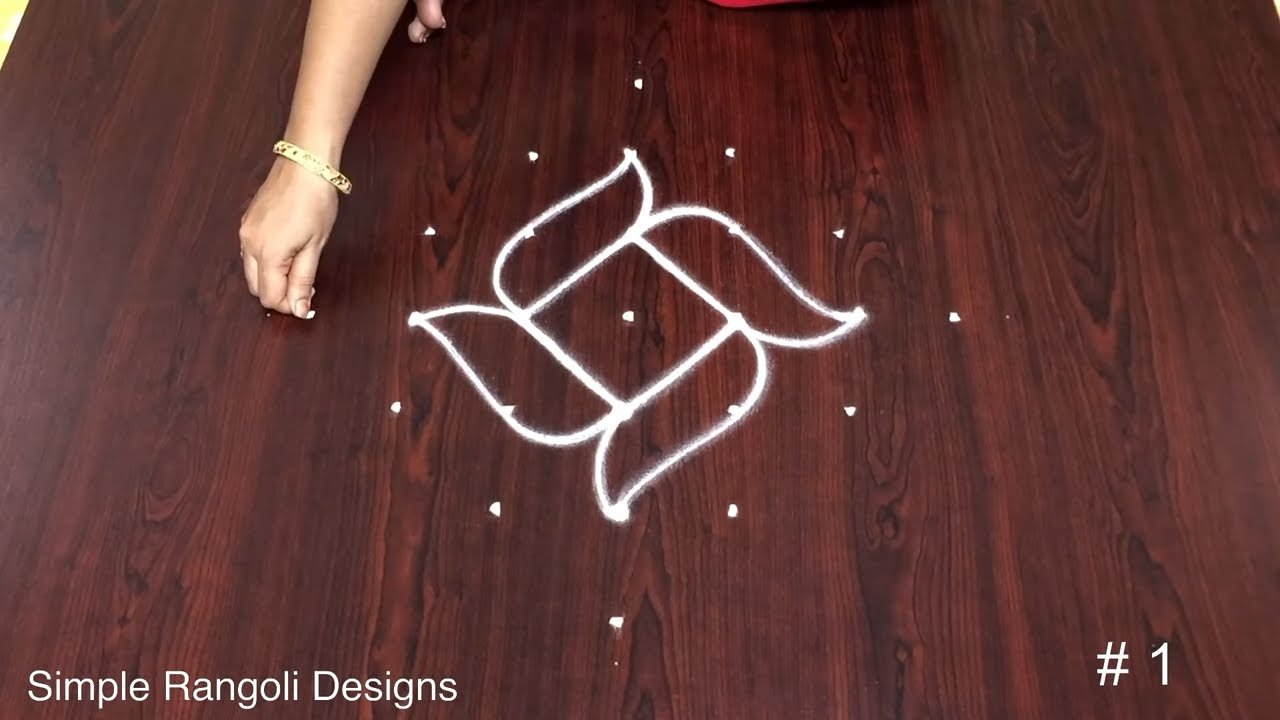
Simple Navratri Rangoli Designs | Diwali Kolam Design | Dasara Muggulu with 7 to 1 dots. This tutorial will show you how to draw Beautiful Indian traditional art sankranthi muggulu patterns using materials such as dry rice flour, colored sand or flower petals Rangoli designs by Aishwarya. Simple rangoli designs with dots Kolam pattern is created on the floor in living rooms or courtyards. Draw the Lines step by step as it is shown in this video and will be awesome Rangoli Design. 😲 The rangoli design for diwali pattern here is one of the amazing latest simple kolam designs. ⏱️⏱️VIDEO CHAPTERS⏱️⏱️
0:00 Intro 0:08 Simple Navratri Rangoli Designs 3:29 Diwali Kolam Design
Simple Rangoli Designs and easy rangoli designs by Aishwarya with dots for beginners and intermediate. 1. Diwali Rangoli 2. Pongal kolams
3. Easy rangoli designs 4. Rangoli design 5. Chukkala muggulu
6. pedda muggulu 7. Rangoli for diwali 8. Rangoli Simple
9. chukkala muggulu sankranthi 10. Kolam designs 11. Simple rangoli design
Tip: A slightly damp brush along the edges gives a sharper finish, especially for festival photographs.
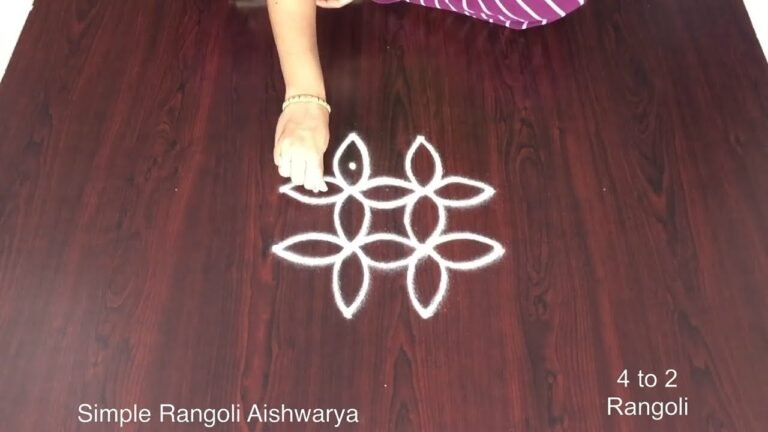
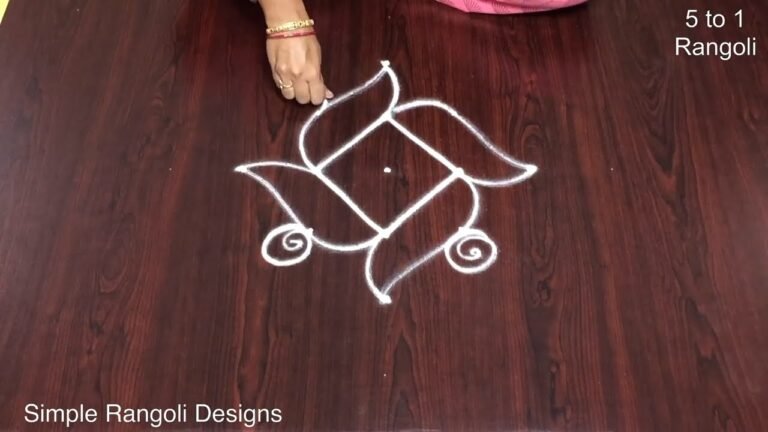
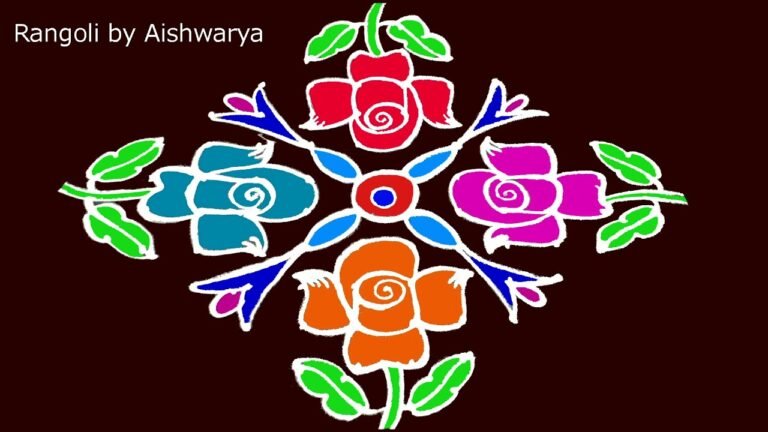
This simple Navratri rangoli design incorporates a dot pattern ranging from 7 to 1, making it ideal for beginners wishing to celebrate the festival with colorful floor art. Traditionally, rangoli is created using materials like rice flour or colored sand, allowing for beautiful variations. The design features floral and geometric shapes that resonate with the spirit of Navratri, enhancing the festive atmosphere in homes. For those looking to expand their skills, you might enjoy learning about 8×2 Beautiful Small Festival Muggulu as well.
During Navratri, these simple designs serve as a warm welcome to guests and deities alike, reflecting the vibrant culture of India. Each day of the festival can be marked by a different rangoli, allowing for creativity and personal expression. The meticulous step-by-step process of drawing such designs encourages mindfulness and patience. If you’re inspired to explore further, consider trying the 5 to 5 Peacock Rangoli for Diwali for a different occasion. For more comprehensive insights into this art form, you can also check out Rangoli on Wikipedia.
Simple Navratri Rangoli Designs — Step by Step Guide
Below is the step-by-step breakdown. The video covers the same sequence in real time.
- Clear a flat surface and set down your dot grid using rice flour or chalk.
- Confirm the dot spacing is even — uneven dots are the biggest cause of wobbly curves.
- Begin tracing from the centre outward, following the curves shown in the video above.
- Fill the petals and sections with your chosen colours, working one area at a time.
- Finish the edges with a fine line for a sharp, photograph-ready result.
What You Will Learn
- Simple Rangoli Designs
- Rangoli
- Muggulu
- Rangoli Designs
- Rangoli Kolam
- Kolam
Frequently Asked Questions
How do I draw this rangoli?
It looks complex but follows a simple rhythm: dots first, then loops. Mark the grid, take a breath, and trace the curves at a steady pace. The pattern emerges on its own.
Is this suitable for beginners?
Beginner-friendly is exactly the right description. The video walks through every line clearly and you can match the pace.
What materials do I need?
You will need rice flour or rangoli powder (white, plus your choice of colours), a flat surface like a clean floor or courtyard, and optionally a dot stencil if you are new to grid-drawing.
How long does it take?
You will see a 6 min 36 sec walkthrough above. Drawing it yourself is usually a 12–18 minute affair, slightly slower the first time.
Pin this for later or share with a friend learning kolam — and let us know in the comments which design you would like next.
Leave a Reply