Add a touch of charm to your doorway with Rangoli Design For New — clean lines, balanced symmetry, and easy to scale.
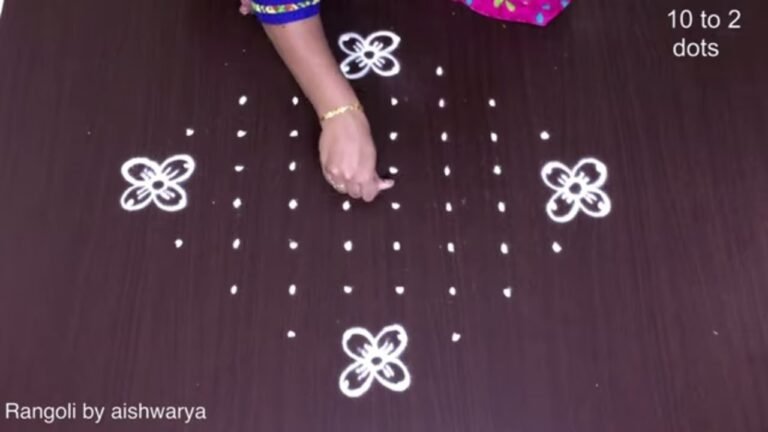
This tutorial will show you how to draw rangoli design for new year 2024 using materials such as dry rice flour, colored sand or flower petals rangoli designs by Aishwarya. Simple rangoli designs with dots Kolam pattern is created on the floor in living rooms or courtyards. Draw the Lines step by step as it is shown in this video and will be awesome rangoli de. 😲 The artistic design for tipkyanchi rangoli here is one of the amazing new model chukkala muggulu designs. Simple Rangoli Designs Aishwarya and 8 to 2 rangoli tipkyanchi by Aishwarya with dots for beginners and intermediate.
1. Happy New Year 2024 Muggulu 2. New Year Kolam 2024 3. रांगोळी ठिपक्यांची
4. Happy New Year Rangoli 5. Thipkyanchi Rangoli Designs 6. New Year Design
7. Tipkyachi Rangoli 8. Happy New Year 2024 Design 9. 2024 New Year Muggulu
10. Rangoli Tipkyanchi 11. Karthigai Deepam Kolam 12. New Year Muggulu
13. ठिपक्यांची रांगोळी 14. Tipkyanchi Rangoli ******************************************************
Tip: A slightly damp brush along the edges gives a sharper finish, especially for festival photographs.
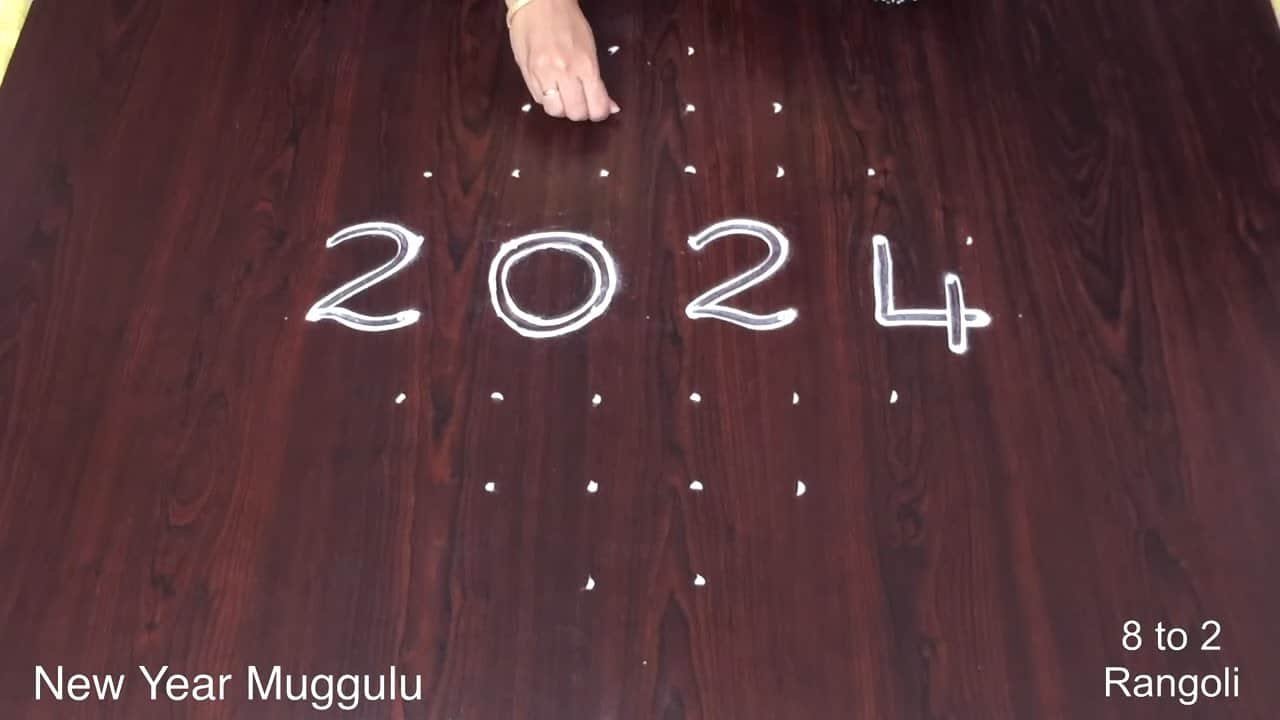
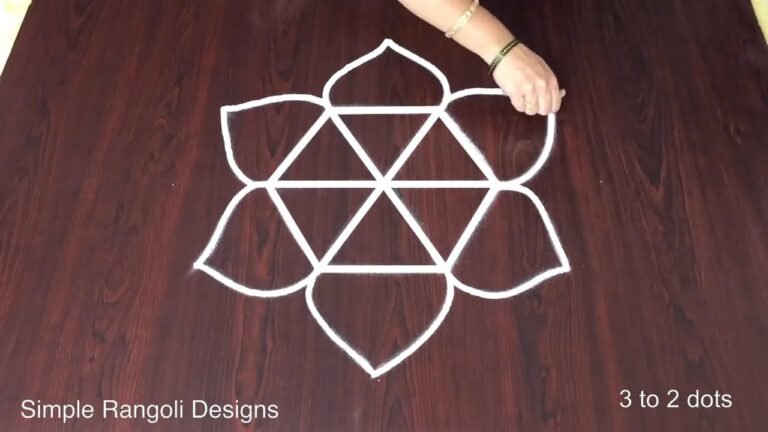
This rangoli design for New Year features a delightful arrangement of dots, making it an excellent choice for beginners. With a pattern that uses 8 to 2 dots, it allows for a simple yet eye-catching design that can brighten up any space. Often created in living rooms or courtyards, this style can be enhanced with colored sand or flower petals, adding a vibrant touch to your New Year celebrations. For more inspiration, you might explore Unique Doorstep Kolams 8×8 or Every Day Morning Rangoli.
This festive rangoli not only marks the New Year but also reflects traditional Indian artistry through its intricate patterns. Originating from the practice of drawing designs on the floor, rangoli serves as a warm welcome for guests and family alike. The creativity involved in making such designs can be both therapeutic and enjoyable. For those interested in learning more about the cultural significance of rangoli, check out this informative article on rangoli.
Rangoli Design For New — Step by Step Guide
Use the steps below as a reference card while the video plays. Most learners finish on the second attempt.
- Clear a flat surface and set down your dot grid using rice flour or chalk.
- Confirm the dot spacing is even — uneven dots are the biggest cause of wobbly curves.
- Begin tracing from the centre outward, following the curves shown in the video above.
- Fill the petals and sections with your chosen colours, working one area at a time.
- Finish the edges with a fine line for a sharp, photograph-ready result.
What You Will Learn
- Simple Rangoli Designs
- Rangoli
- Muggulu
- Rangoli Designs
- Rangoli Kolam
- Kolam
Frequently Asked Questions
How do I draw this rangoli?
Begin with the dot grid — this is the skeleton of the design. With rice flour or chalk, place each dot at equal intervals. Then trace the curves slowly, one section at a time.
Is this suitable for beginners?
Beginner-friendly is exactly the right description. The video walks through every line clearly and you can match the pace.
What materials do I need?
You will need rice flour or rangoli powder (white, plus your choice of colours), a flat surface like a clean floor or courtyard, and optionally a dot stencil if you are new to grid-drawing.
How long does it take?
The video clocks in at 2 min 10 sec. Allow about quarter of an hour to draw the design at a comfortable pace.
Practice this design a few times and you will find your own variations emerging. That is half the joy of kolam — every artist leaves a fingerprint on the pattern.

Leave a Reply