There is something timeless about Simple Small Rangoli Designs — the symmetry, the rhythm of the dots, and the soft curves it produces.

Simple Small Rangoli Designs for Home 🌸 Muggulu Kolam for Pongal Thank you so much for watching Channel
Chapters: 0:00 Intro 0:05 Simple Small Rangoli Designs for Home
3:33 Muggulu Kolam for Pongal My Simple Rangoli Designs Channel Contains : Rangoli designs
Sankranthi muggulu Diwali rangoli Kolam designs
Simple rangoli Easy rangoli designs Pongal kolams
New year rangoli designs Ratham muggulu Muggulu designs
Tip: Use chalk to lightly mark your dot grid first — it wipes away cleanly once your rangoli is finished.
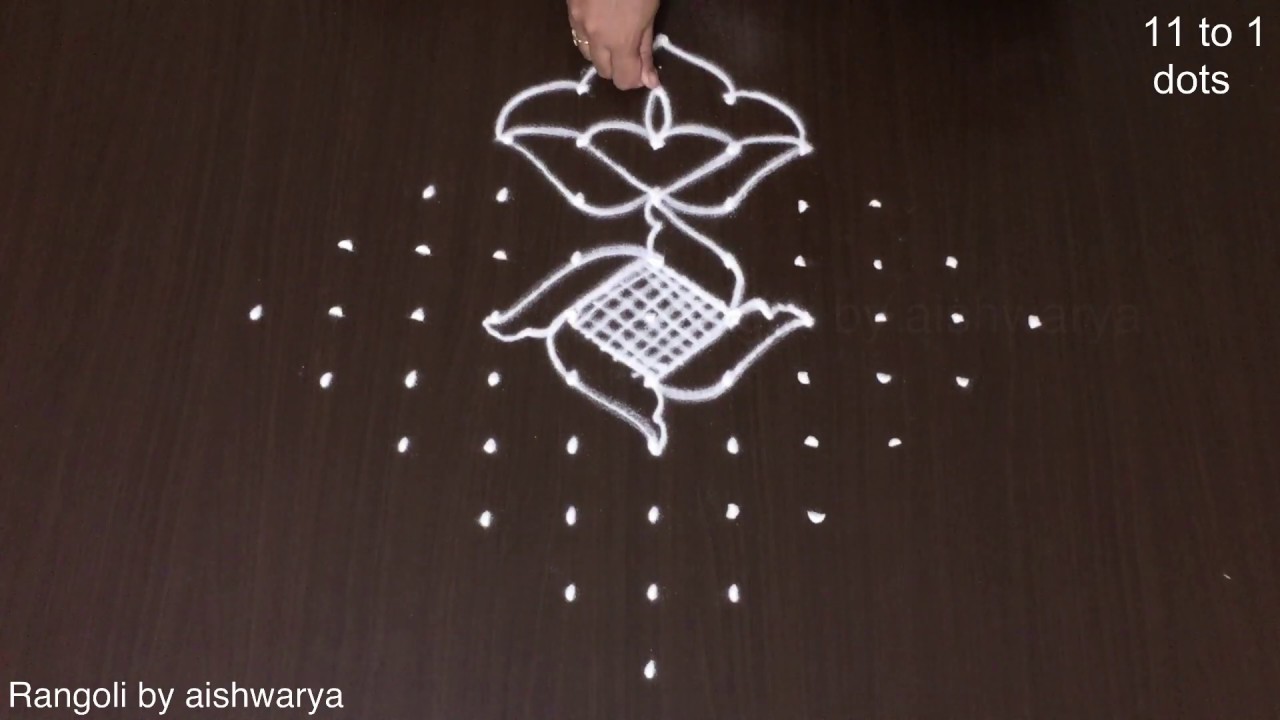
Simple small rangoli designs, particularly those using a 7 to 1 dot grid, are perfect for beginners looking to enhance their home decor during festivals like Pongal. These designs often feature basic geometric shapes and floral patterns, allowing for creativity without overwhelming complexity. One can easily find inspiration in Daily Simple Small Rangoli 6x2x2dots Kolam examples that guide you through the process of creating beautiful muggulu for any occasion.
Emphasizing simplicity, these rangolis can be drawn quickly yet still make a significant visual impact. The practice of creating small rangoli designs not only beautifies the living space but also connects families to their cultural roots, especially during auspicious times. For those interested in more elaborate designs, exploring Pongal Pot Kolam Special Rangoli Designs can provide additional ideas. To learn more about the rich tradition of rangoli, visit this link.
Simple Small Rangoli Designs — Step by Step Guide
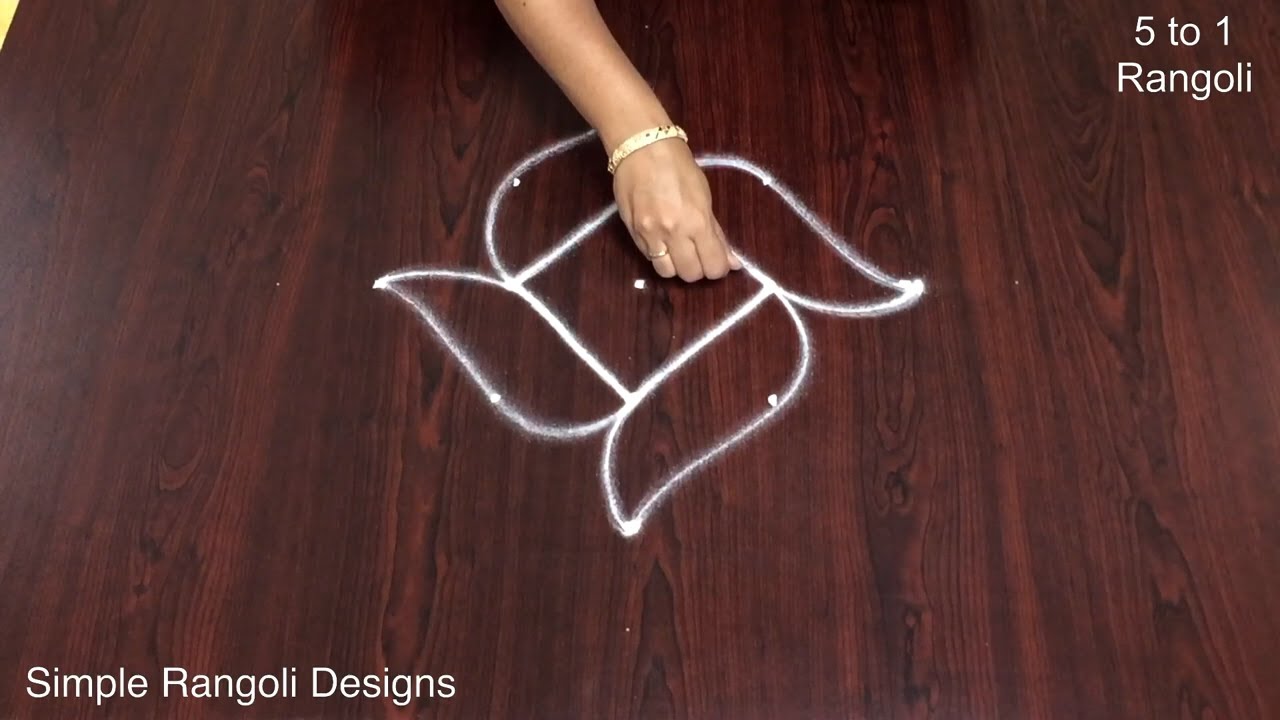
The video above shows the full sequence; the steps below summarise each stage so you can glance back as you draw.
- Clear a flat surface and set down your dot grid using rice flour or chalk.
- Confirm the dot spacing is even — uneven dots are the biggest cause of wobbly curves.
- Begin tracing from the centre outward, following the curves shown in the video above.
- Fill the petals and sections with your chosen colours, working one area at a time.
- Finish the edges with a fine line for a sharp, photograph-ready result.
What You Will Learn
- Simple Rangoli Designs
- Rangoli
- Muggulu
- Rangoli Designs
- Rangoli Kolam
- Kolam
Frequently Asked Questions
How do I draw this rangoli?
The grid comes first. Use a soft chalk to dot the surface, count twice to confirm the spacing, then start connecting them following the video. Work from the centre outward.
Is this suitable for beginners?
It is one of the more forgiving designs in our collection. Beginners often pick it as a confidence-builder before moving on to larger grids.
What materials do I need?
White rice flour for the outline, coloured powders for the fill, and a clean dry floor. That is the essentials list — you can add a stencil if you prefer.
How long does it take?
Roughly 8 min 2 sec to watch end-to-end, and 10–20 minutes to draw yourself depending on grid size and how careful you are with the curves.
We rotate festival designs through the year — bookmark the homepage and you will find a new pattern every morning.


Leave a Reply