Small Kolam Designs For combines tradition with simplicity, making it one of the most rewarding designs to practice at home.
Small Kolam Designs for Steps 🌺 3×2 Dots Rangoli 🌺 Muggulu in Sankranthi Thank you so much for watching Channel
Chapters: 0:00 Intro 0:05 Small Kolam Designs for Steps
2:42 Muggulu in Sankranthi My Simple Rangoli Designs Channel Contains : Rangoli designs
Sankranthi muggulu Diwali rangoli Kolam designs
Simple rangoli Easy rangoli designs Pongal kolams
New year rangoli designs Ratham muggulu Muggulu designs
Tip: Keep your powder bowl close to your dominant hand. Small movements give cleaner curves.
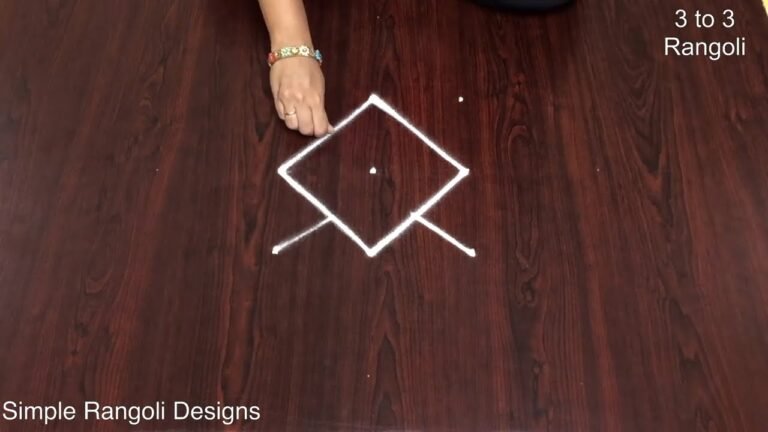
This design belongs to the broader tradition of rangoli and kolam art practised across South India. Explore more in our 3 to 2 dots Rangoli Designs collection.
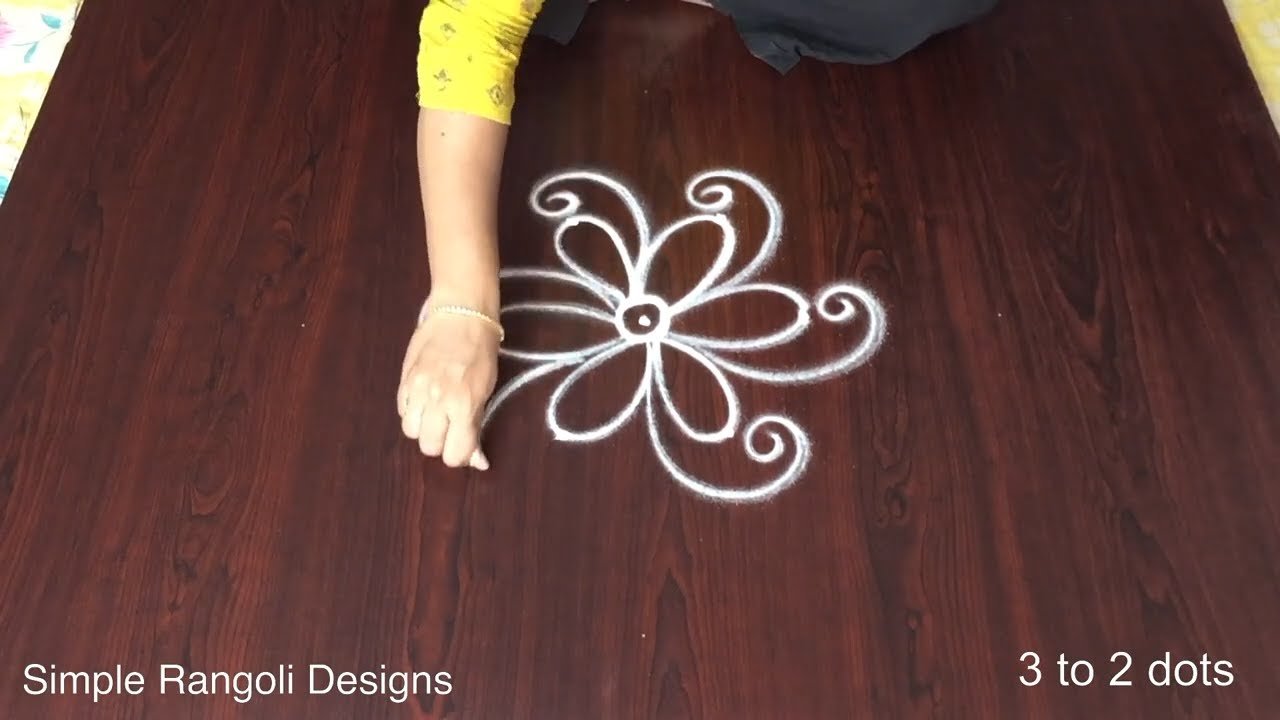
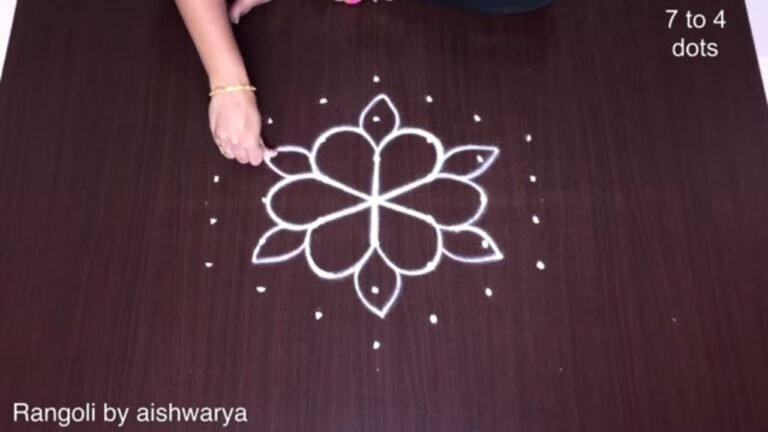
Small kolam designs, particularly those crafted with a 3×2 dot grid, are perfect for enhancing the beauty of steps, especially during festivals like Sankranthi. These intricate patterns not only add a touch of elegance but also symbolize welcome and prosperity. Beginners will find joy in creating these designs, as they are simple yet allow for creativity in color and shape. For inspiration, check out our Lotus Flowers Rangoli Designs for Sankranti.
These small kolams can be made with minimal materials, making them ideal for everyday practice or special occasions. The compact size fits perfectly on steps, drawing attention to your entrance while inviting positive energy into your home. To deepen your skills, you might explore other themes, such as the Every Day Morning Rangoli designs that can complement your festive creations. For a broader understanding of this art form, you can visit this link.
Small Kolam Designs — Step by Step Guide
Follow the steps below to recreate this design at home. Pause the video whenever you need — there is no hurry.
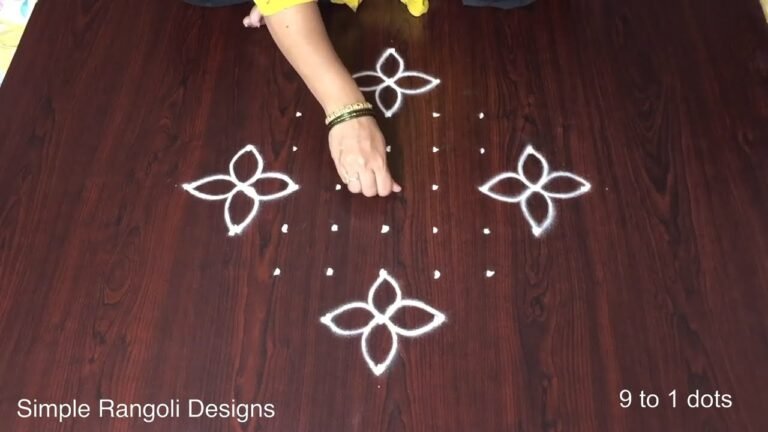
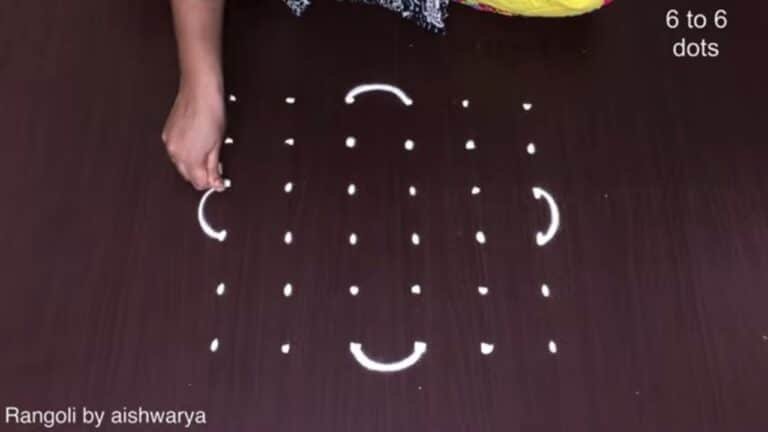
- Clear a flat surface and set down your dot grid using rice flour or chalk.
- Confirm the dot spacing is even — uneven dots are the biggest cause of wobbly curves.
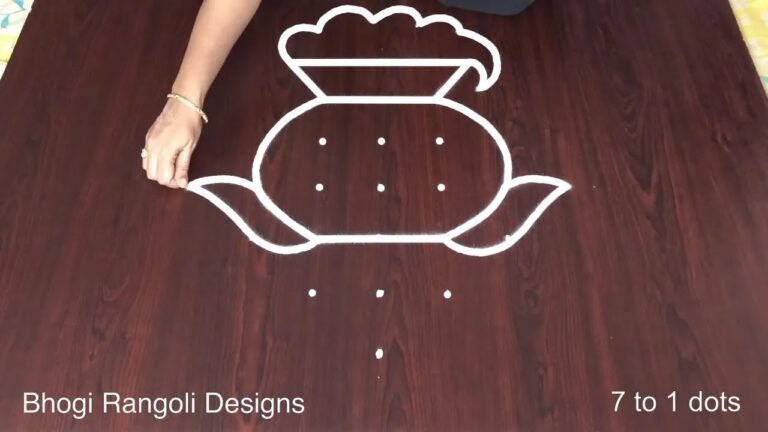
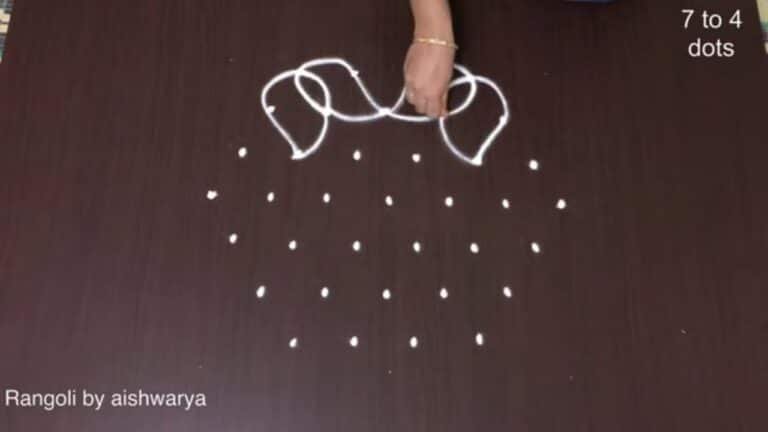
- Begin tracing from the centre outward, following the curves shown in the video above.
- Fill the petals and sections with your chosen colours, working one area at a time.
- Finish the edges with a fine line for a sharp, photograph-ready result.
What You Will Learn
- Simple Rangoli Designs
- Rangoli
- Muggulu
- Rangoli Designs
- Rangoli Kolam
- Kolam
Frequently Asked Questions
How do I draw this rangoli?
The grid comes first. Use a soft chalk to dot the surface, count twice to confirm the spacing, then start connecting them following the video. Work from the centre outward.
Is this suitable for beginners?
Yes, and it is one we recommend to first-timers. The small grid keeps the design manageable while still teaching the core technique.
What materials do I need?
You will need rice flour or rangoli powder (white, plus your choice of colours), a flat surface like a clean floor or courtyard, and optionally a dot stencil if you are new to grid-drawing.
How long does it take?
About 5 min 47 sec on screen, perhaps 15 minutes for a relaxed first attempt. By the second try most people are noticeably quicker.
Beginners often ask which design to start with. Honestly, this one. It is small enough to finish in a sitting and the curves teach you the basics of dot kolam.
Leave a Reply