Telugu New Year Ugadi 2 is the kind of design that looks intricate but is genuinely beginner-friendly once you follow the dot grid.
Telugu new year ugadi kolam design | Sampradaya muggulu 7se7 dots four mangoes rangoli | RamRangoli Thank you so much for watching Channel
My Rangoli Channel Contains : Rangoli Designs Sankranthi Muggulu
Diwali Rangoli Ratham Muggulu Kolam Designs
Muggulu Designs Chukkala Muggulu Easy Rangoli
Simple Rangoli Easy Rangoli Designs Dhanurmasam Muggulu
Melikala Muggulu Geethala Muggulu Sivarathri Muggulu
Tip: A slightly damp brush along the edges gives a sharper finish, especially for festival photographs.
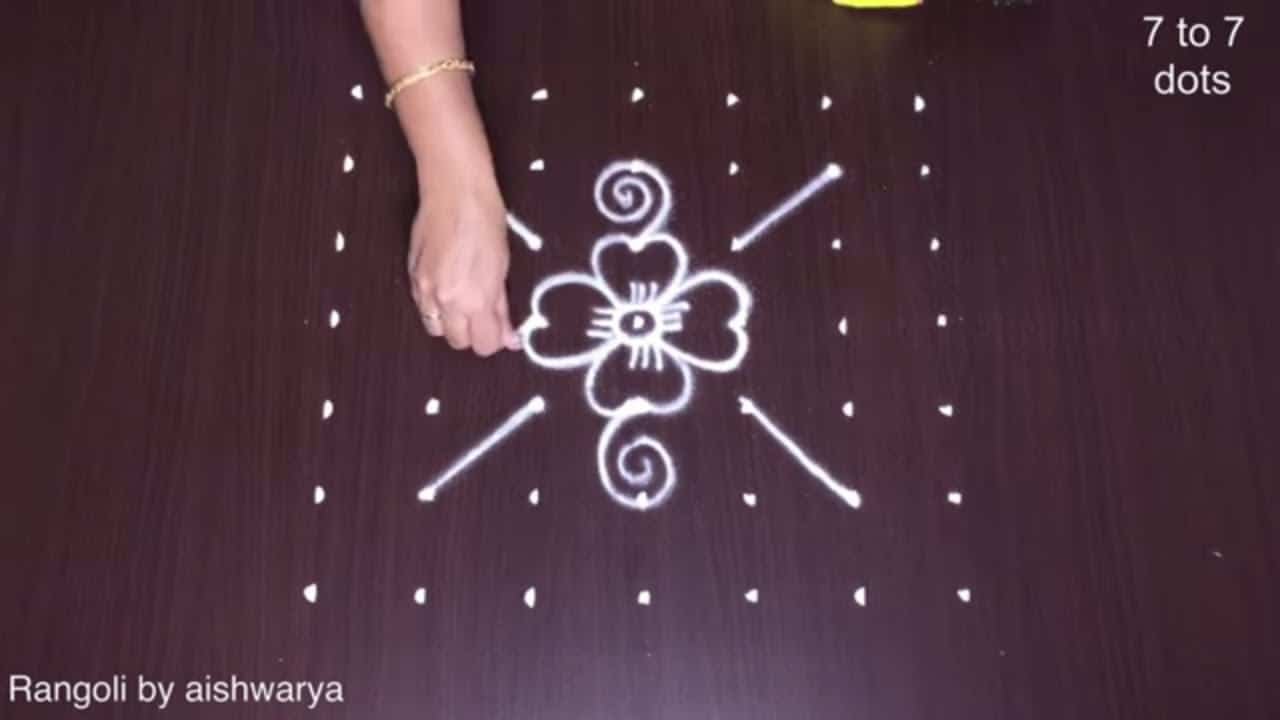
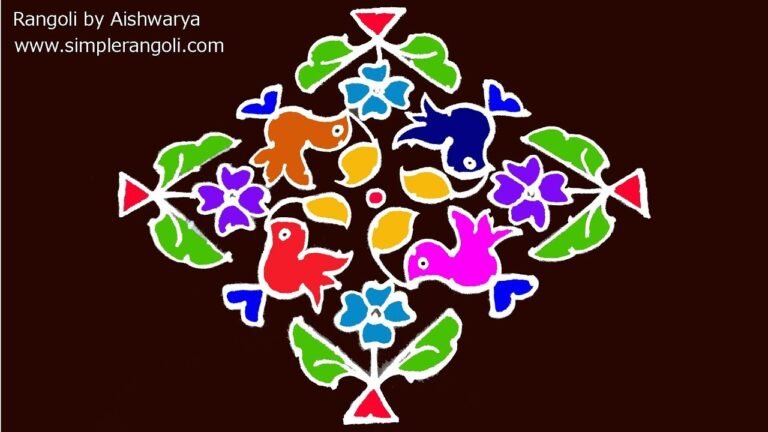
The Telugu New Year, known as Ugadi, is beautifully celebrated with intricate muggulu designs. The traditional kolam for Ugadi typically features 7 dots in a creative arrangement, often incorporating elements like mangoes that symbolize prosperity and new beginnings. This particular design allows for a wonderful opportunity for beginners to explore their artistic side while embracing cultural traditions. If you are interested in exploring more festive designs, you can check out the Big Creative Deepam Rangoli or the 9 to 3 Dots Roja Puvvula Muggulu.
Creating a Ugadi kolam is not just about the patterns; it’s a way to invite good fortune into your home for the new year. The use of vibrant colors and simple yet elegant designs makes it a joyful activity for families. As you draw your kolam, you can reflect on the significance of Ugadi and the fresh start it represents. For those who want to explore more about this art form, the concept of rangoli is well documented in sources like Wikipedia, where you can learn about its history and variations.
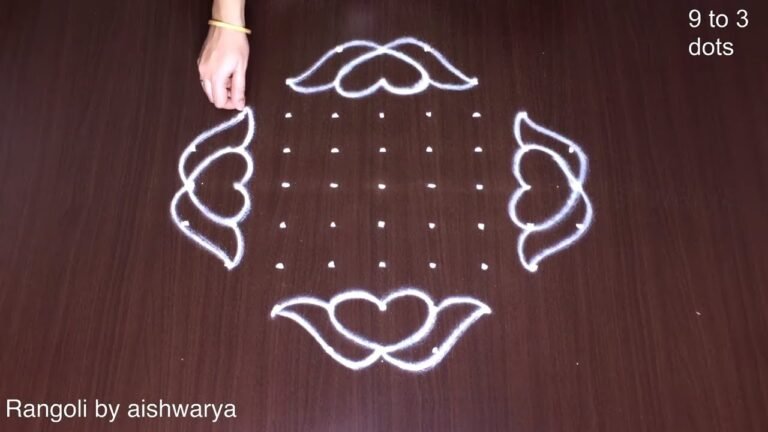
About this design: Ugadi Kolam is a beginner-friendly pattern that comes together in just a few minutes. Once you have practised the ugadi kolam dot grid, you can scale it up for festival mornings or scale it down for a daily doorstep. Many learners on our channel make this ugadi kolam their go-to design once they get the rhythm of the curves.
Ugadi Kolam — Step by Step Guide
Use the steps below as a reference card while the video plays. Most learners finish on the second attempt.
- Clear a flat surface and set down your dot grid using rice flour or chalk.
- Confirm the dot spacing is even — uneven dots are the biggest cause of wobbly curves.
- Begin tracing from the centre outward, following the curves shown in the video above.
- Fill the petals and sections with your chosen colours, working one area at a time.
- Finish the edges with a fine line for a sharp, photograph-ready result.
What You Will Learn
- Ugadi Rangoli With Dots
- Ugadi Rangoli Side Designs
- Ugadi Rangoli Simple
- Ugadi Rangoli Easy
- Rangoli Ugadi Special
- Ugadi Rangoli Designs With Dots
Frequently Asked Questions
How do I draw this rangoli?
The grid comes first. Use a soft chalk to dot the surface, count twice to confirm the spacing, then start connecting them following the video. Work from the centre outward.
Is this suitable for beginners?
It is one of the more forgiving designs in our collection. Beginners often pick it as a confidence-builder before moving on to larger grids.
What materials do I need?
You will need rice flour or rangoli powder (white, plus your choice of colours), a flat surface like a clean floor or courtyard, and optionally a dot stencil if you are new to grid-drawing.
How long does it take?
2 min 5 sec of video, perhaps 20 minutes of practice. The curves take a couple of attempts to feel natural, then it speeds up considerably.
When you draw this, focus on the first three dots — get those right and the whole pattern follows. The rest is just patience and a steady hand.

Leave a Reply