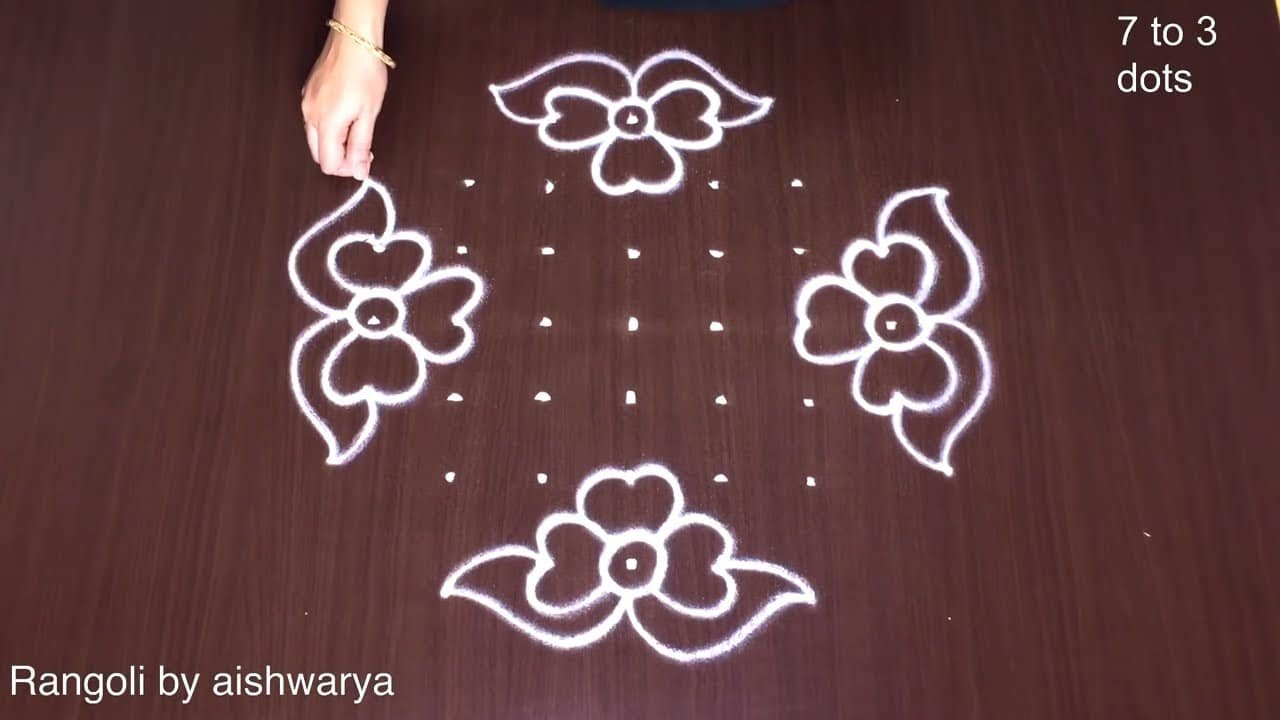
There is something timeless about 2 Beautiful Puvvula Muggulu — the symmetry, the rhythm of the dots, and the soft curves it produces.
2 Beautiful Puvvula Muggulu 7×3 Dots | Art Rangoli Designs Straight Pulli Kolam | RamRangoli Thank you so much for watching Channel
My Ram Rangoli Channel Contains : Rangoli Designs Sankranthi Muggulu
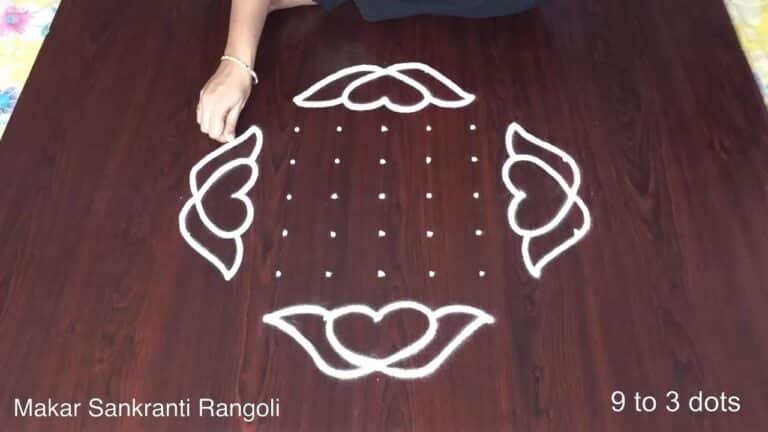
Diwali Rangoli Ratham Muggulu Kolam Designs
Muggulu Designs Chukkala Muggulu Easy Rangoli
Simple Rangoli Easy Rangoli Designs Dhanurmasam Muggulu
Melikala Muggulu Geethala Muggulu Sivarathri Muggulu
Tip: Keep your powder bowl close to your dominant hand. Small movements give cleaner curves.
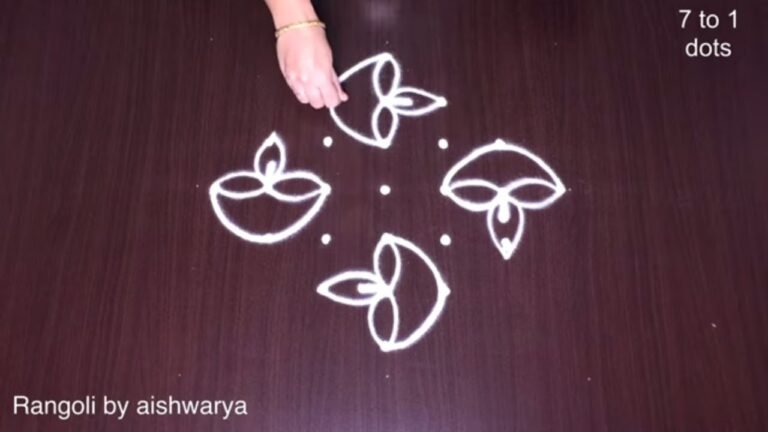
The 2 beautiful puvvula muggulu designed with a 7×3 dot grid are a delightful addition to any festive celebration, showcasing intricate patterns and vibrant colors. Often created during auspicious occasions, these muggulu designs reflect the artistic flair of traditional Indian culture. The floral motifs used in these designs can easily brighten up the entrance of your home, welcoming guests with warmth and joy. For those interested in incorporating flowers into their designs, you might explore our collection of Latest Flower Rangoli Designs.
Creating these puvvula muggulu requires careful precision and a steady hand, making them a wonderful project for beginners and seasoned artists alike. As you practice, you can also consider exploring other styles such as Simple Easy Rangoli for Diwali, which can enhance your festive decor. Each stroke and dot brings a sense of accomplishment and adds to the festive spirit, making rangoli an integral part of celebrations in India. For more details on this beautiful art form, visit Wikipedia.
2 Beautiful Puvvula Muggulu — Step by Step Guide
These steps are written for absolute beginners. Watch once, draw once, then watch again — that is how the pattern locks in.
- Mark a 7-to-3 dot grid (rows of 7 tapering to 3) to frame a diamond.
- In the centre, draw a square and fill it with a cross-hatched net (lattice) pattern.
- Over the net, draw four pointed petal 'eyes' — long lens shapes each with a dot — radiating in an X to form a four-petal flower.
- At each of the four diagonal corners, draw a trefoil of three heart-shaped leaves clustered together as a little heart-flower (puvvu).
- Connect the corner heart-flowers to the centre with short stems, and add a spiral scroll flourish at the bottom.
- Outline cleanly in white; add colour to the petals and hearts if desired.
What You Will Learn
- Simple Rangoli Designs
- Rangoli
- Muggulu
- Rangoli Designs
- Rangoli Kolam
- Kolam
Frequently Asked Questions
How do I draw this rangoli?
Begin with the dot grid — this is the skeleton of the design. With rice flour or chalk, place each dot at equal intervals. Then trace the curves slowly, one section at a time.
Is this suitable for beginners?
Absolutely. You can pause and rewind the video at every step. The pattern is straightforward once you have the grid down.
What materials do I need?
Powder (white for outlines, colours for filling), a flat surface, and a dot stencil if you want absolute precision. Beyond that, just your hand and a steady pace.
How long does it take?
You will see a 8 min 54 sec walkthrough above. Drawing it yourself is usually a 12–18 minute affair, slightly slower the first time.
Beginners often ask which design to start with. Honestly, this one. It is small enough to finish in a sitting and the curves teach you the basics of dot kolam.

Leave a Reply