This 7×3 straight dots tutorial walks you through every step from the dot grid to the final pattern.
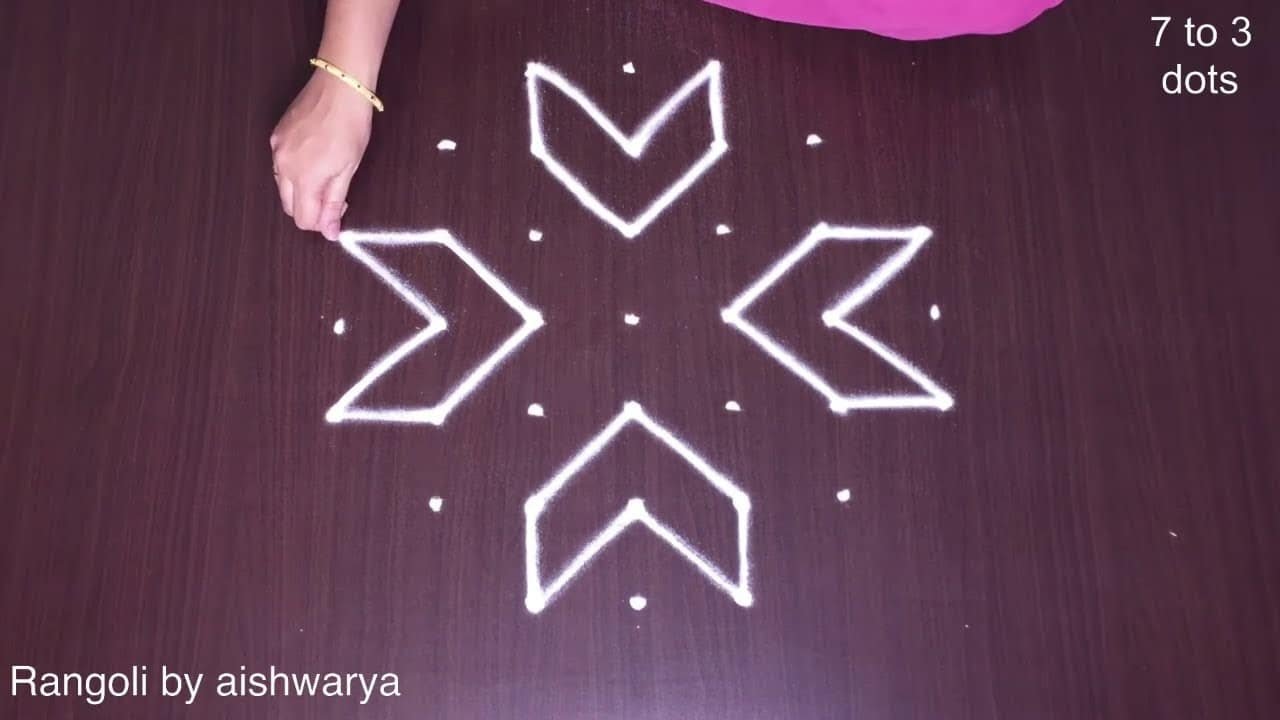
If you enjoy dot-grid muggulu, 7 3 Straight Dots Rangoli is a satisfying pattern that comes together in just a few minutes.
7*3 Straight Dots Rangoli Chinna Kolangal | Cute & Superb Designs Muggulu Thank you so much for watching Channel
My Rangoli Channel Contains : Rangoli Designs Sankranthi Muggulu
Diwali Rangoli Ratham Muggulu Kolam Designs
Muggulu Designs Chukkala Muggulu Easy Rangoli
Simple Rangoli Easy Rangoli Designs Dhanurmasam Muggulu
Melikala Muggulu Geethala Muggulu Sivarathri Muggulu
Tip: Work from the centre outward. It keeps the symmetry honest and prevents the design from drifting off-balance.
The 7×3 straight dots rangoli is a delightful and straightforward design, perfect for beginners looking to add a touch of artistry to their homes. This design typically features a symmetrical pattern that can be created using simple geometric shapes, making it suitable for various occasions, including festivals like Diwali and Sankranthi. The arrangement of dots in a straight line allows for a clean and organized appearance, which can be enhanced with vibrant colors and traditional motifs. If you’re interested in exploring more intricate designs, check out Rangoli Designs For Sankranti With 13 To 7 Dots for inspiration.
Creating a 7×3 straight dots rangoli can be a wonderful way to connect with tradition while expressing your creativity. As you practice this design, you can experiment with different patterns and colors to make it uniquely yours. The beauty of rangoli lies in its versatility, as you can incorporate elements from nature or cultural symbols to personalize your work. For those interested in more simple designs, consider trying the 7 3 Simple Apartment Muggulu, which offers another approachable option. To learn about the broader history and significance of rangoli, visit this page.
7X3 Straight Dots — Step by Step Guide
Use the steps below as a reference card while the video plays. Most learners finish on the second attempt.
- Mark a 7-to-3 dot grid in straight rows (7 dots tapering to 3).
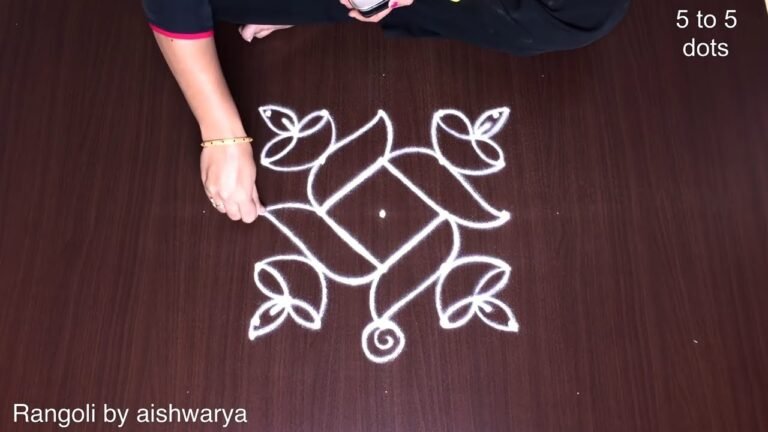
- In the centre draw a small four-way bud knot: two teardrop loops crossing, with a tiny spiral at the middle.
- Extend four straight arms to the top, bottom and two sides; outline each arm as a long petal-band and fill it with diagonal net hatching (criss-cross lines).
- Cap the top arm with a fan-shaped hatched leaf topped by a rolled spiral, and balance it with matching caps at the other arm tips.
- In the two lower spaces draw lotus buds: a pointed centre petal flanked by curved side petals, each with a small spiral and fine comb/feather strokes.
- Add paired spiral curls in the remaining gaps so the star sits on a symmetric floral base.
What You Will Learn
- 7X3 Straight Dots Rangoli
- Chinna Kolangal With Dots
- Cute Muggulu Designs
- 7X3 Dots Kolam
- Small Rangoli With Dots
- Rangoli With Dots
Frequently Asked Questions
How do I draw this rangoli?
Set down the dot grid in pencil or chalk, then follow the loops one petal at a time. If a curve goes off, wipe it and retry — kolam is forgiving.
Is this suitable for beginners?
Beginner-friendly is exactly the right description. The video walks through every line clearly and you can match the pace.
What materials do I need?
Just three things: powder (white plus any colours you want), a flat dry surface, and a few minutes of focus. A small bowl per colour helps keep things tidy.
How long does it take?
Plan for roughly 4 min 28 sec to watch and 15 minutes to draw. The second attempt is always cleaner than the first — that is the nature of dot kolam.
Practice this design a few times and you will find your own variations emerging. That is half the joy of kolam — every artist leaves a fingerprint on the pattern.

Leave a Reply