Drawing Very Easy Rangoli Designs is a relaxing, almost meditative practice. The dots guide your hand and the design unfolds naturally.
Very easy rangoli designs with 7 dots Simple | Apartment rangoli Latest Doorstep deepala muggulu. This tutorial will show you how to draw Beautiful Indian traditional art sankranthi muggulu patterns using materials such as dry rice flour, colored sand or flower petals Rangoli designs by Aishwarya. Simple rangoli designs with dots Kolam pattern is created on the floor in living rooms or courtyards. Draw the Lines step by step as it is shown in this video and will be awesome Rangoli Design. 😲 The rangoli design for diwali pattern here is one of the amazing latest simple kolam designs. Simple Rangoli Designs and easy rangoli designs by Aishwarya with dots for beginners and intermediate.
1. Diwali Rangoli 2. Pongal kolams 3. Easy rangoli designs
4. Rangoli design 5. Chukkala muggulu 6. Dot rangoli designs
7. Rangoli for diwali 8. Rangoli Simple 9. Easy rangoli designs
10. Kolam designs 11. Simple rangoli design 12. Muggulu designs
13. Muggulu designs with dots 14. Small rangoli designs 15. Muggulu chukkala muggulu
Tip: A slightly damp brush along the edges gives a sharper finish, especially for festival photographs.
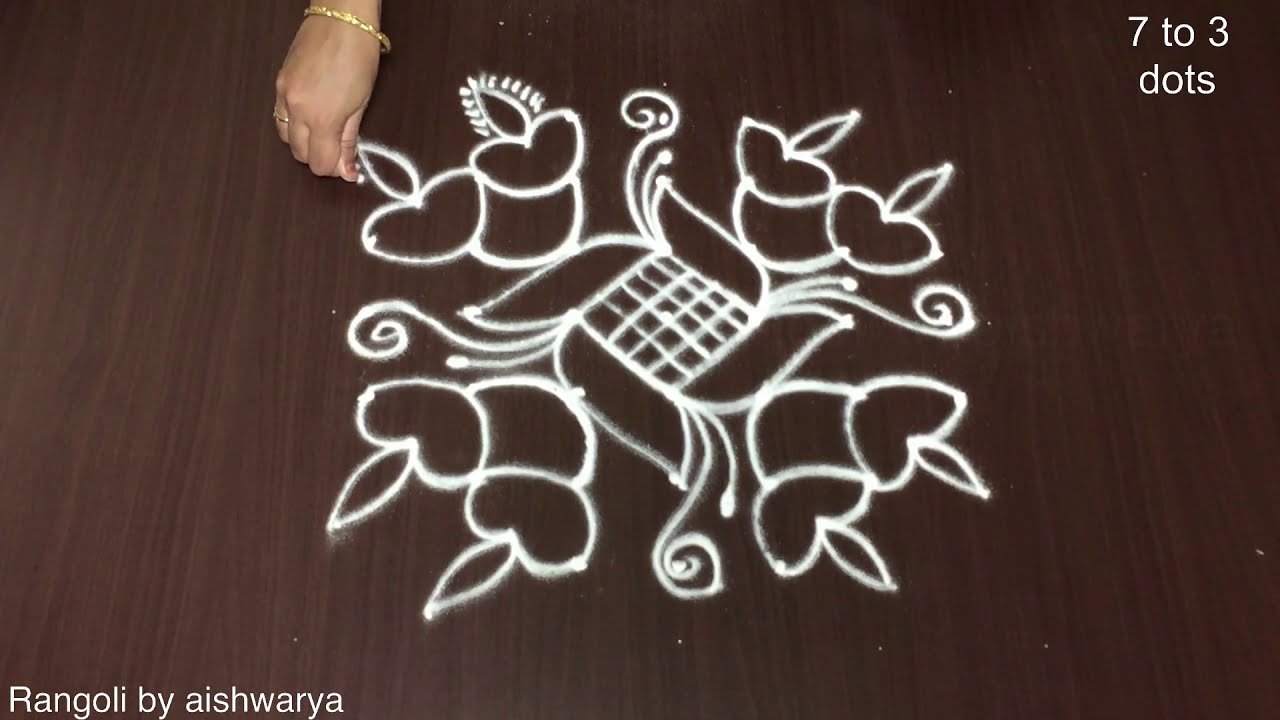
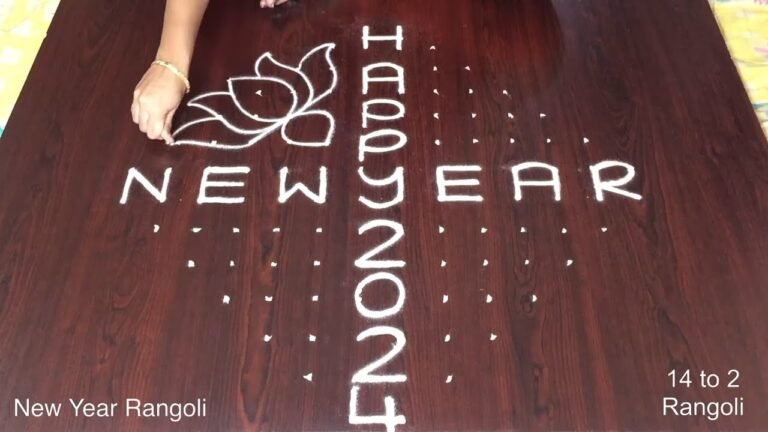
This very easy rangoli design features a beautiful arrangement of 7 dots, making it an ideal choice for beginners. Perfect for festivals like Sankranti, it captures the essence of traditional Indian art. The design can be adorned with vibrant colors using materials such as rice flour or colored sand, allowing for creativity while keeping the process straightforward. If you’re interested in exploring more patterns, check out the Rangoli Designs For Sankranti With 13 To 7 Dots for additional inspiration.
The charm of this 7-dot rangoli lies in its simplicity and elegance, making it suitable for both festive occasions and daily decorations. The design can be easily modified by adding floral motifs or geometric shapes, enhancing its visual appeal. For those looking to deepen their skills, exploring variations like 7 3 Simple Apartment Muggulu can provide new ideas while celebrating the beauty of rangoli. This delightful art form brings joy to homes and hearts alike.
About this design: Very Easy Rangoli Designs is a beginner-friendly pattern that comes together in just a few minutes. Once you have practised the very easy rangoli designs dot grid, you can scale it up for festival mornings or scale it down for a daily doorstep. Many learners on our channel make this very easy rangoli designs their go-to design once they get the rhythm of the curves.
Very Easy Rangoli Designs — Step by Step Guide
Below is the step-by-step breakdown. The video covers the same sequence in real time.
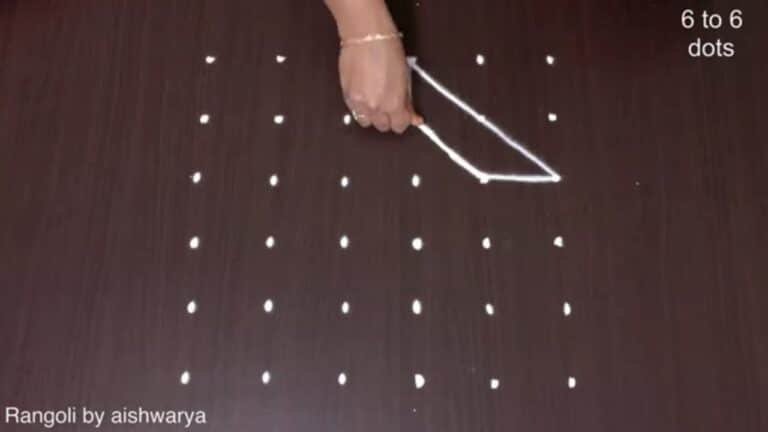
- Clear a flat surface and set down your dot grid using rice flour or chalk.
- Confirm the dot spacing is even — uneven dots are the biggest cause of wobbly curves.
- Begin tracing from the centre outward, following the curves shown in the video above.
- Fill the petals and sections with your chosen colours, working one area at a time.
- Finish the edges with a fine line for a sharp, photograph-ready result.
What You Will Learn
- Simple Rangoli Designs
- Rangoli
- Muggulu
- Rangoli Designs
- Rangoli Kolam
- Kolam
Frequently Asked Questions
How do I draw this rangoli?
Set down the dot grid in pencil or chalk, then follow the loops one petal at a time. If a curve goes off, wipe it and retry — kolam is forgiving.
Is this suitable for beginners?
Yes, and it is one we recommend to first-timers. The small grid keeps the design manageable while still teaching the core technique.
What materials do I need?
Just three things: powder (white plus any colours you want), a flat dry surface, and a few minutes of focus. A small bowl per colour helps keep things tidy.
How long does it take?
Roughly 2 min 58 sec to watch end-to-end, and 10–20 minutes to draw yourself depending on grid size and how careful you are with the curves.
Whenever you finish your version, share a photo with us. Seeing your work is the best part of running this channel.

Leave a Reply