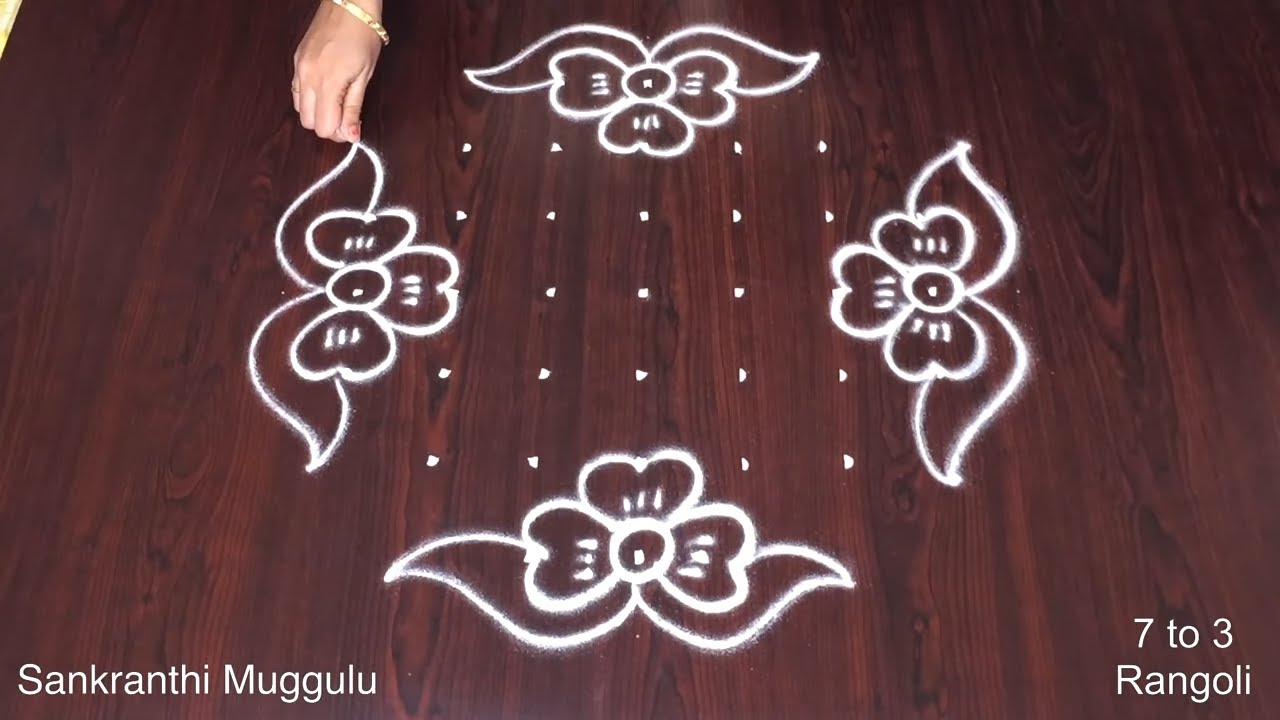
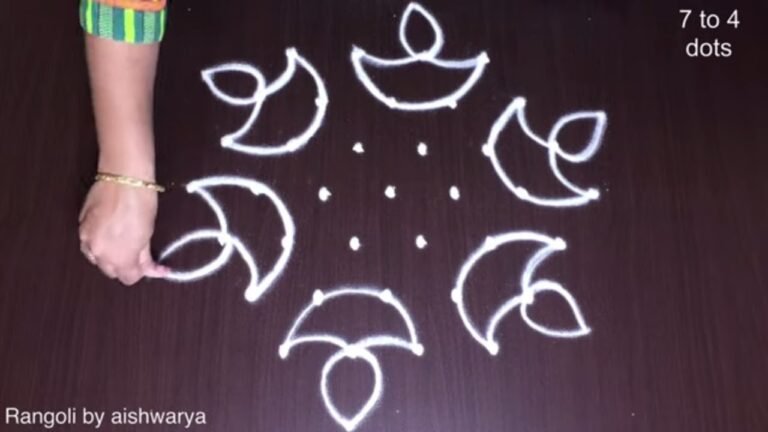
If you enjoy dot-grid muggulu, 7 To 3 Dots is a satisfying pattern that comes together in just a few minutes.
Sankranthi Chukkala Muggulu 🌷 7 to 3 dots Pongal Designs 🌷 Rangoli Designs for Pongal 2024 Thank you so much for watching Channel
My Rangoli Channel Contains : Rangoli Designs Sankranthi Muggulu
Diwali Rangoli Ratham Muggulu Kolam Designs
Muggulu Designs Chukkala Muggulu Easy Rangoli
Simple Rangoli Easy Rangoli Designs Dhanurmasam Muggulu
Melikala Muggulu Geethala Muggulu Sivarathri Muggulu
Tip: A slightly damp brush along the edges gives a sharper finish, especially for festival photographs.
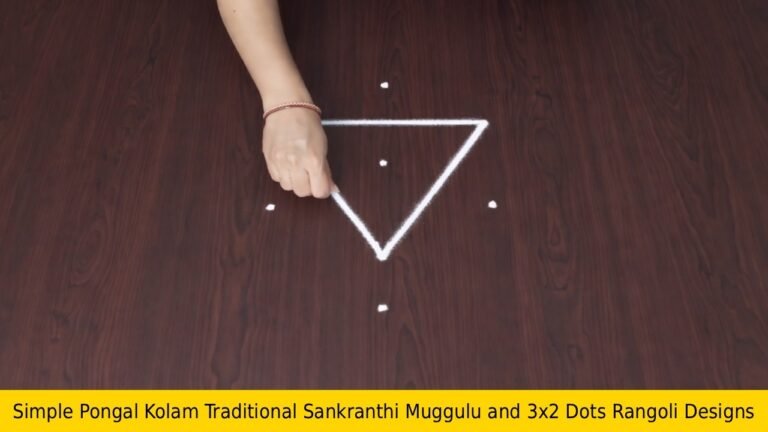
The 7 to 3 dots rangoli design is a charming choice for celebrating Pongal, showcasing a unique style that highlights the essence of this festive occasion. This design typically features a grid of dots arranged in rows, creating an inviting framework for intricate patterns. Beginners can easily grasp this layout, making it an ideal starting point for those new to the art of rangoli. For more inspiration, you might want to explore the Pongal Panaai Kolam Designs that complement this theme beautifully.
As you create your 7 to 3 dots design, consider incorporating traditional motifs such as pots, sugarcane, or vibrant floral patterns, which resonate with the spirit of Pongal. This style not only enhances the festive atmosphere but also allows for personal expression through color choices and embellishments. Additionally, if you’re looking for a different yet simple design, the Easy Five Stars Rangoli could provide further inspiration to enrich your artistic endeavors. To learn more about the cultural significance of rangoli, you can visit this page.
7 To 3 Dots — Step by Step Guide
Read through the steps before you begin so the sequence feels familiar when you start drawing.
- Clear a flat surface and set down your dot grid using rice flour or chalk.
- Confirm the dot spacing is even — uneven dots are the biggest cause of wobbly curves.
- Begin tracing from the centre outward, following the curves shown in the video above.
- Fill the petals and sections with your chosen colours, working one area at a time.
- Finish the edges with a fine line for a sharp, photograph-ready result.
What You Will Learn
- Simple Rangoli Designs
- Rangoli
- Muggulu
- Rangoli Designs
- Rangoli Kolam
- Kolam
Frequently Asked Questions
How do I draw this rangoli?
Set down the dot grid in pencil or chalk, then follow the loops one petal at a time. If a curve goes off, wipe it and retry — kolam is forgiving.
Is this suitable for beginners?
Beginner-friendly is exactly the right description. The video walks through every line clearly and you can match the pace.
What materials do I need?
You will need rice flour or rangoli powder (white, plus your choice of colours), a flat surface like a clean floor or courtyard, and optionally a dot stencil if you are new to grid-drawing.
How long does it take?
Plan for roughly 3 min 28 sec to watch and 15 minutes to draw. The second attempt is always cleaner than the first — that is the nature of dot kolam.
This is one of those designs that grows on you. The first attempt is for learning; the second is for muscle memory; the third is when it starts to feel like your own.
Leave a Reply