3 Dots Kolam Muggulu combines tradition with simplicity, making it one of the most rewarding designs to practice at home.
Easy and Beautiful Rangoli 🌸 3 Dots Kolam Muggulu Thank you so much for watching Channel
Chapters: 0:00 Intro 0:05 Easy and Beautiful Rangoli
3:06 3 Dots Kolam Muggulu My Simple Rangoli Designs Channel Contains : Rangoli designs
Sankranthi muggulu Diwali rangoli Kolam designs
Simple rangoli Easy rangoli designs Pongal kolams
New year rangoli designs Ratham muggulu Muggulu designs
Tip: Use chalk to lightly mark your dot grid first — it wipes away cleanly once your rangoli is finished.
This design belongs to the broader tradition of rangoli and kolam art practised across South India. Explore more in our 3 to 3 dots Rangoli Designs collection.
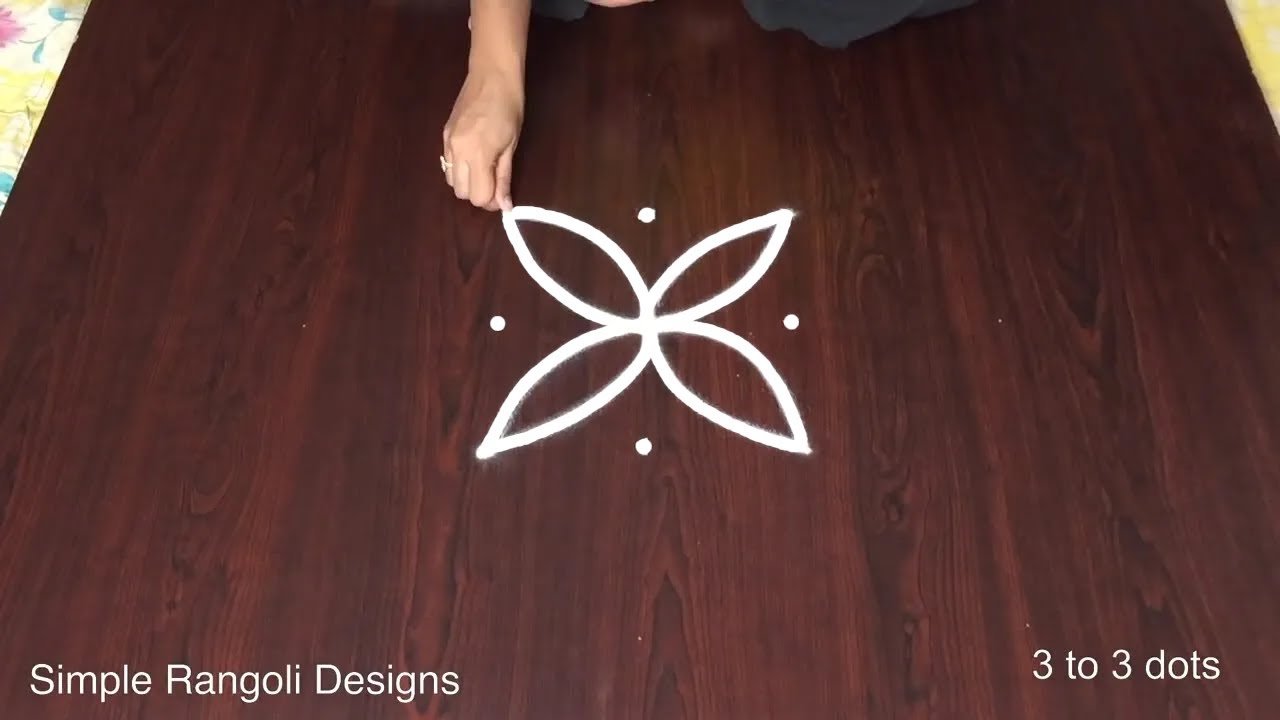
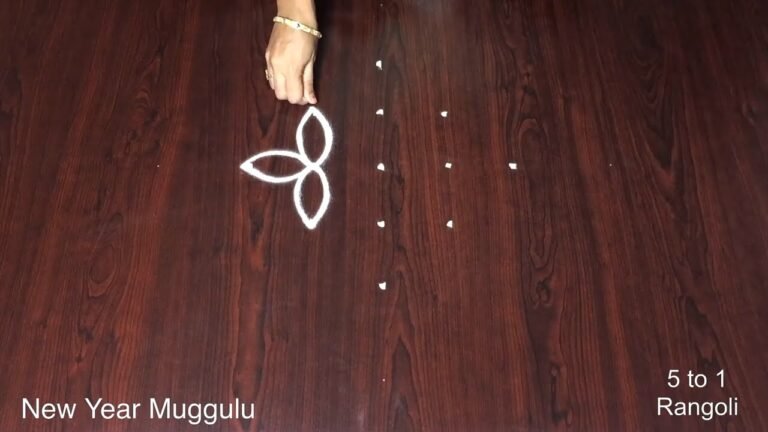
The 3 dots kolam muggulu is a delightful and simple design that is perfect for beginners. With just three dots arranged in a triangular formation, you can create beautiful patterns by connecting the dots with graceful curves and lines. This design is particularly popular during festivals like Pongal and Sankranthi, where it adds a festive touch to the entrance of homes. For those looking to expand their repertoire, the Perfect Geometrical Shapes Rangoli offers more complex designs to try.
Crafting a 3 dots kolam muggulu not only enhances the aesthetic appeal of your home but also embodies the spirit of tradition and creativity. The simplicity of the design encourages experimentation, allowing you to incorporate additional elements like flowers or colors to personalize your creation. If you enjoy this style, you might also appreciate the 12 to 4 Dots Flower Pot Rangoli, which introduces floral motifs while maintaining a beginner-friendly approach. For more insights into the art of rangoli, you can visit this page.
3 Dots Kolam Muggulu — Step by Step Guide
Each step takes only a moment. The whole design comes together in just a few minutes once the grid is in place.
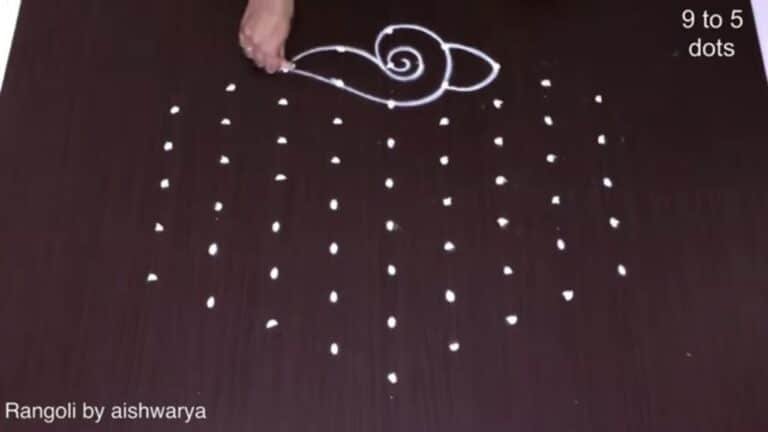
- Clear a flat surface and set down your dot grid using rice flour or chalk.
- Confirm the dot spacing is even — uneven dots are the biggest cause of wobbly curves.
- Begin tracing from the centre outward, following the curves shown in the video above.
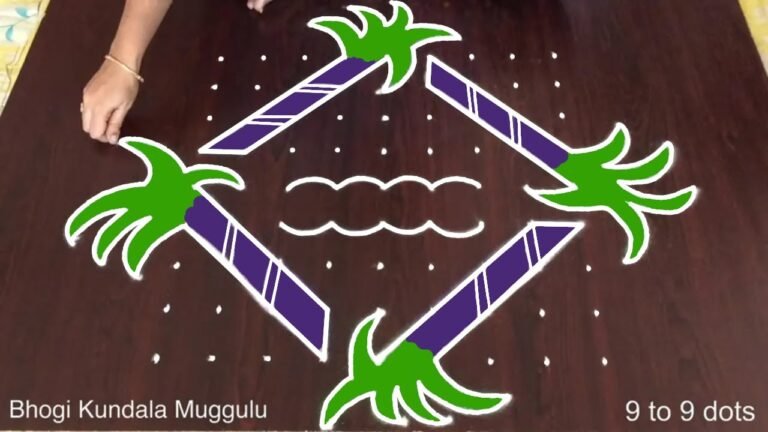
- Fill the petals and sections with your chosen colours, working one area at a time.
- Finish the edges with a fine line for a sharp, photograph-ready result.
What You Will Learn
- Simple Rangoli Designs
- Rangoli
- Muggulu
- Rangoli Designs
- Rangoli Kolam
- Kolam
Frequently Asked Questions
How do I draw this rangoli?
Begin with the dot grid — this is the skeleton of the design. With rice flour or chalk, place each dot at equal intervals. Then trace the curves slowly, one section at a time.
Is this suitable for beginners?
Absolutely. You can pause and rewind the video at every step. The pattern is straightforward once you have the grid down.
What materials do I need?
Rice flour, coloured rangoli powders, and a clean stretch of floor or paper. Some draw with chalk first to set the grid before powdering over it.
How long does it take?
Roughly 6 min 19 sec to watch end-to-end, and 10–20 minutes to draw yourself depending on grid size and how careful you are with the curves.
If you draw this and would like a follow-up design at the same skill level, leave a comment on the video — we read every one and queue up requests.
Leave a Reply