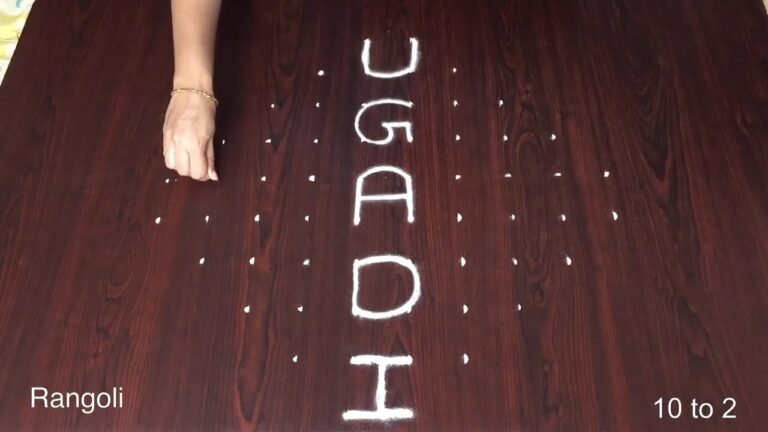
Chukki Rangoli Designs For 2 has become a favourite among learners on our channel — and once you try it, you will see why.

Chukki Rangoli Designs for Competition 🌹 7 dots Muggulu Kolam Thank you so much for watching Channel
Chapters: 0:00 Intro 0:05 Chukki Rangoli Designs for Competition
3:22 7 dots Muggulu Kolam My Simple Rangoli Designs Channel Contains : Rangoli designs
Sankranthi muggulu Diwali rangoli Kolam designs
Simple rangoli Easy rangoli designs Pongal kolams
New year rangoli designs Ratham muggulu Muggulu designs
Tip: Keep your powder bowl close to your dominant hand. Small movements give cleaner curves.
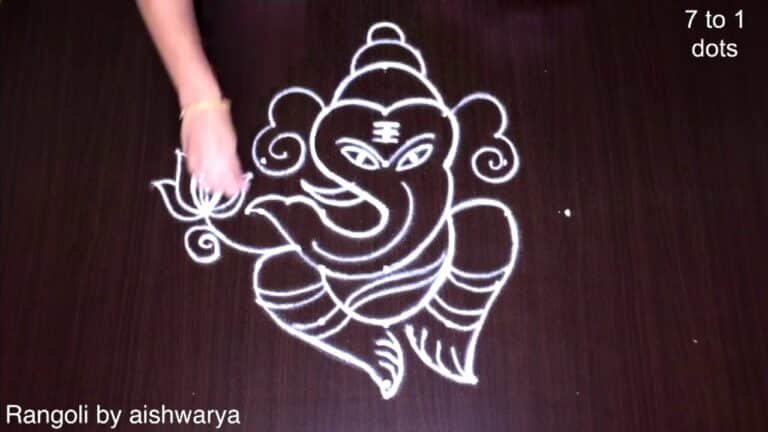
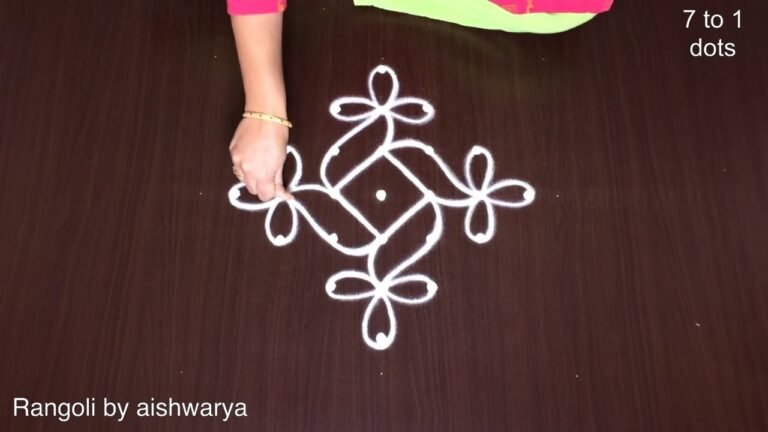
Chukki rangoli designs for 2 dots are simple yet elegant, making them a wonderful choice for beginners. These designs often incorporate floral patterns and geometric shapes, allowing for a creative expression that can be both striking and serene. Often created during festivals like Sankranti, they can be enhanced with colors and additional embellishments. If you are looking for more inspiration, you might enjoy exploring very easy super flower poo kolams muggulu or beautiful deepam rangoli designs 7.
Creating a chukki rangoli involves placing dots in a 2-dot grid pattern, offering a great starting point for those new to this art form. The beauty of this design lies in its simplicity, allowing one to focus on mastering the basics before advancing to more intricate styles. With practice, these designs can be a delightful addition to any home during festive celebrations. For those interested in the cultural significance of rangoli, you can learn more about its history and variations on Wikipedia.
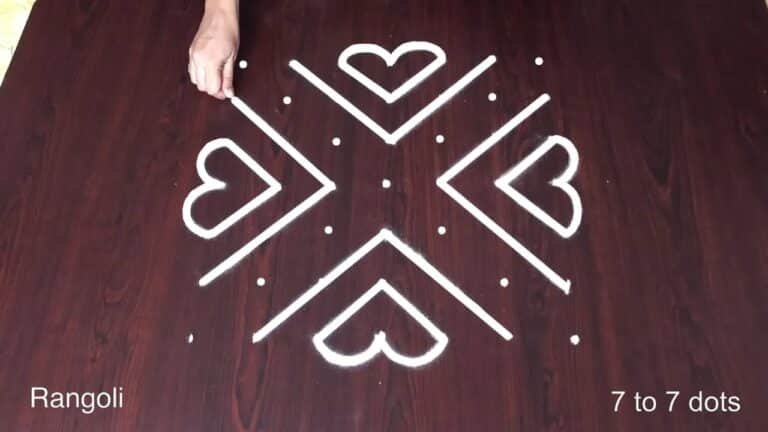
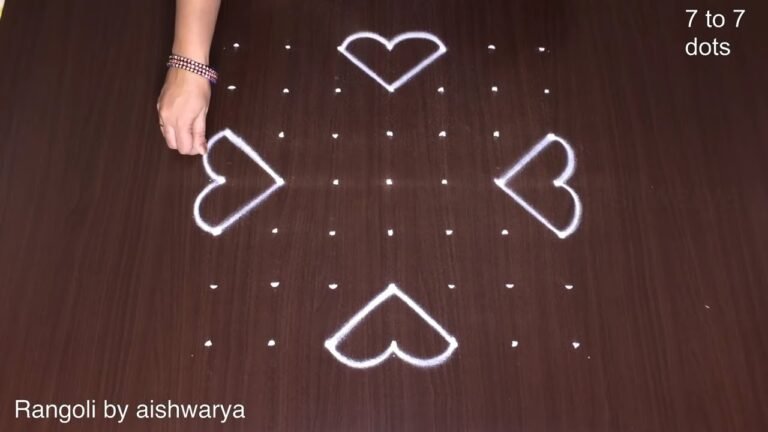
About this design: Designs For Competition is a beginner-friendly pattern that comes together in just a few minutes. Once you have practised the designs for competition dot grid, you can scale it up for festival mornings or scale it down for a daily doorstep. Many learners on our channel make this designs for competition their go-to design once they get the rhythm of the curves.
Designs For Competition — Step by Step Guide
Pace yourself through the steps — kolam rewards patience more than speed.
- Clear a flat surface and set down your dot grid using rice flour or chalk.
- Confirm the dot spacing is even — uneven dots are the biggest cause of wobbly curves.
- Begin tracing from the centre outward, following the curves shown in the video above.
- Fill the petals and sections with your chosen colours, working one area at a time.
- Finish the edges with a fine line for a sharp, photograph-ready result.
What You Will Learn
- Simple Rangoli Designs
- Rangoli
- Muggulu
- Rangoli Designs
- Rangoli Kolam
- Kolam
Frequently Asked Questions
How do I draw this rangoli?
Start by marking an even dot grid on a flat, clean surface. Once the grid is in place, connect the dots following the curves shown in the video. Even spacing between dots is the single biggest factor for a clean finish.
Is this suitable for beginners?
Yes — this design is shaped specifically with newcomers in mind. The dot grid is small enough to manage, and the curves are gentle. Most learners get it right by the second try.
What materials do I need?
White rice flour for the outline, coloured powders for the fill, and a clean dry floor. That is the essentials list — you can add a stencil if you prefer.
How long does it take?
Plan for roughly 7 min 11 sec to watch and 15 minutes to draw. The second attempt is always cleaner than the first — that is the nature of dot kolam.
Drawing kolam is as much about the practice as the result. Set aside ten minutes, follow the video, and enjoy the process.
Leave a Reply