Creative Diya Modern Art is the kind of design that looks intricate but is genuinely beginner-friendly once you follow the dot grid.

For another beginner-friendly variation, try Birds Kolam Design Simple Steps.
Learn more about the tradition of Rangoli on Wikipedia.
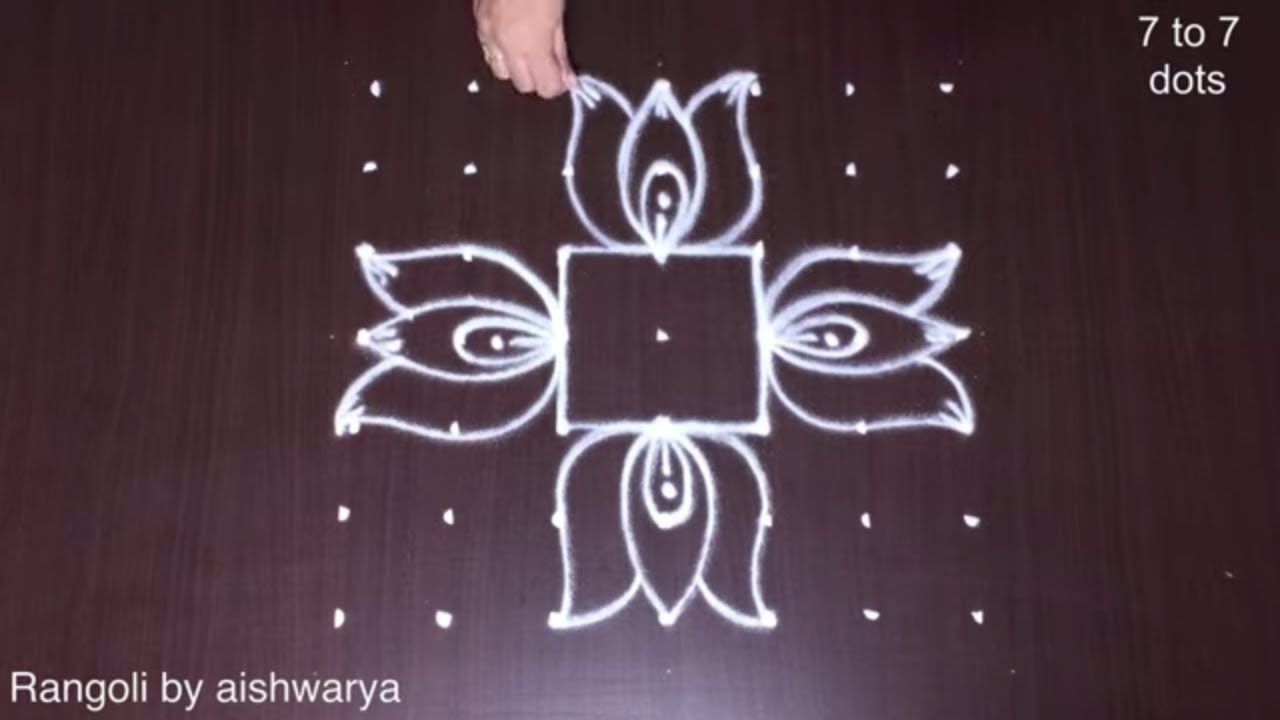
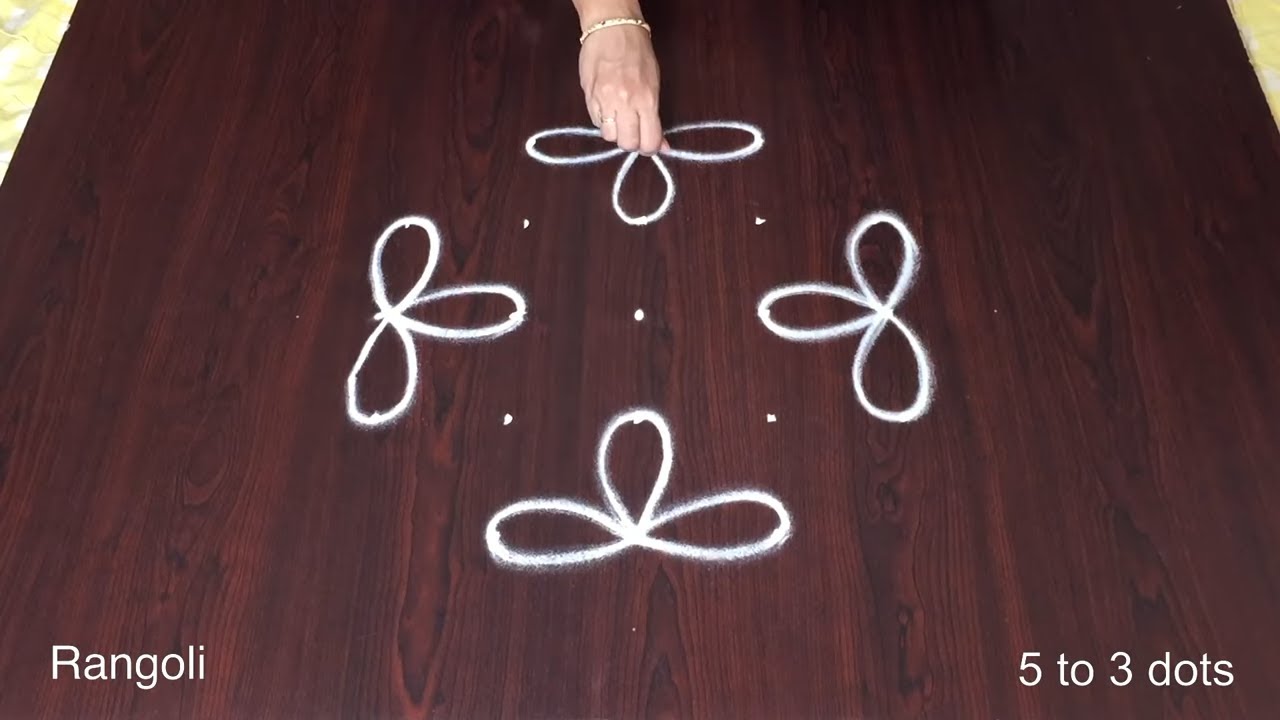
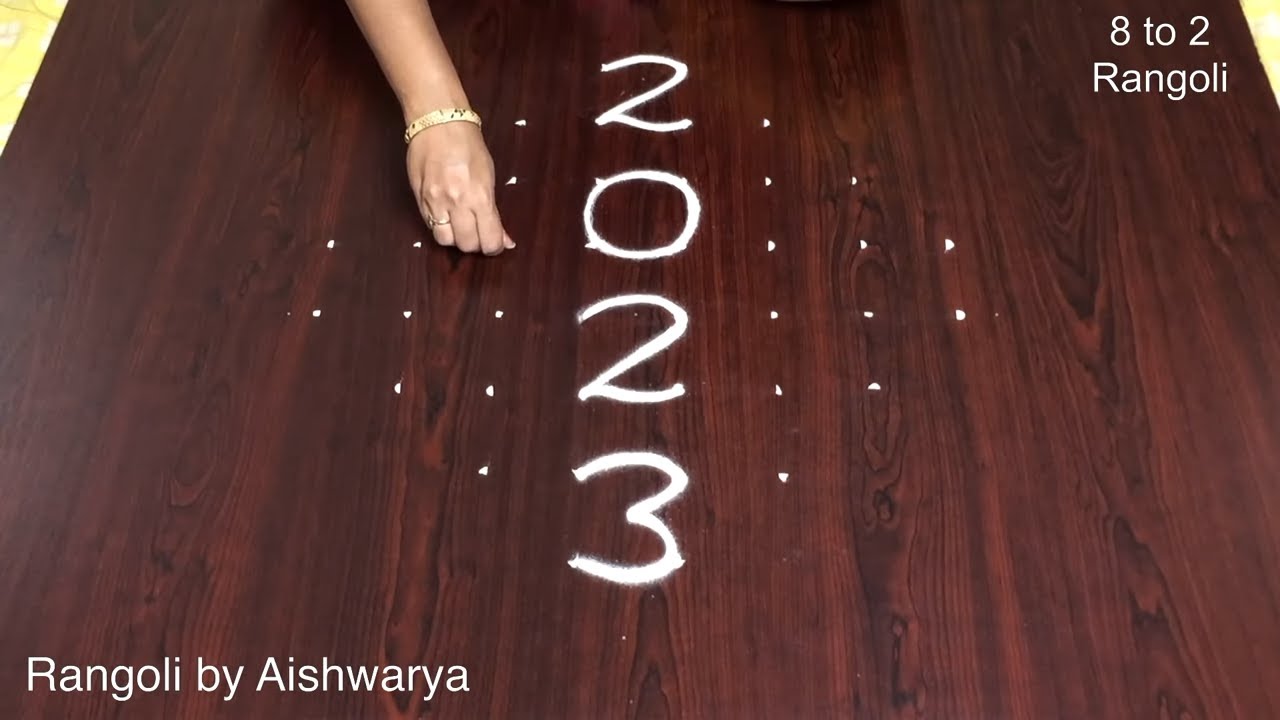
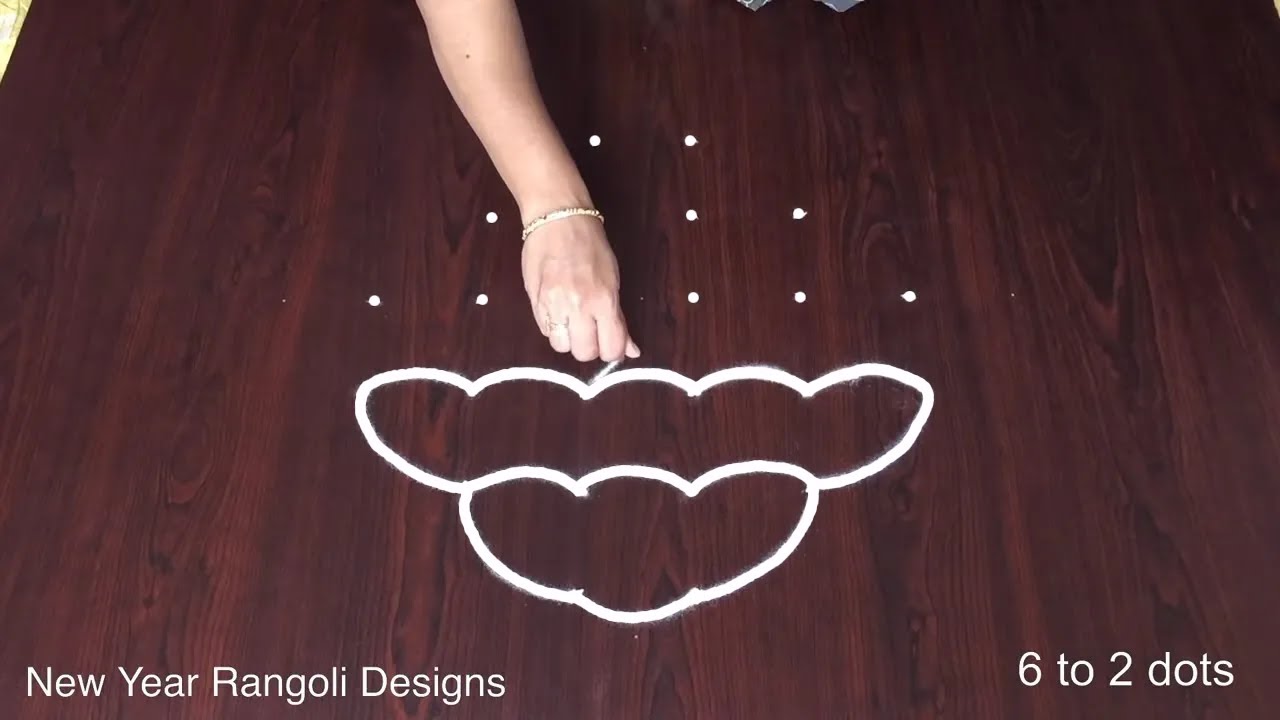
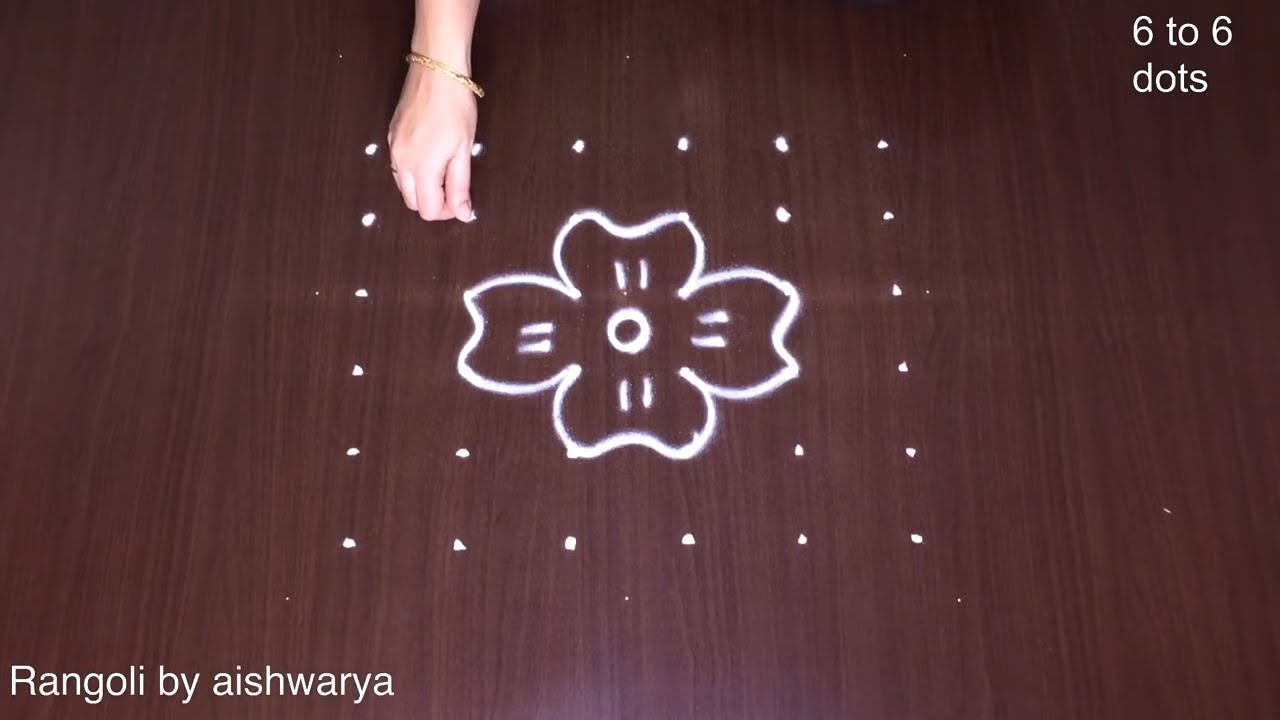
Learn how to create Creative Diya Kolam Modern Art Rangoli | Designs for Diwali 6×6 Dots Chinna Muggulu step by step in this easy tutorial! Perfect for beginners, this simple rangoli with dots uses everyday materials like dry rice flour, colored sand, or vibrant flower petals. Designed by Aishwarya, this kolam pattern is ideal for decorating your living room floor, courtyard, or doorstep. Follow along as we guide you through drawing the lines effortlessly to achieve an awesome rangoli result. Drawing kolam every morning is a cherished Indian tradition that invites positive energy and vibrations into your home. Rangoli, also known as kolam or muggulu (in Andhra Pradesh and Telangana), is a timeless part of Indian culture, handed down through generations. Crafted with kolam powder (muggu pindi or crushed limestone), rice flour, or a blend of both, these designs come in various styles like dots kolam, sikku kolam, padi kolam, and Margazhi kolam. Elevate your celebrations with special festival rangoli! Create deepam kolam for Diwali (Deepavali), large Dhanurmasam muggulu for Sankranthi (Pongal), or intricate patterns for Vijaya Dashami (Dasara). It's believed that drawing muggulu at your doorstep brings good luck and prosperity to your family. Enhance your designs with fresh flowers for any occasion. For more #simplerangolidesigns freehand and dotted rangoli tutorials, including creative kolam ideas for all skill levels. Watch now and master beautiful rangoli designs today! My Simple Rangoli Designs Channel Contains :
1. Rangoli 2. Muggulu 3. Rangoli Designs
4. Kolam 5. Simple Rangoli 6. Chukkala Muggulu
7. Simple Rangoli Designs 8. Muggulu Designs 9. Kolam Designs
10. Sankranthi Muggulu 11. Rangoli Design 12. Tipkyanchi Rangoli
13. Pongal Kolam 14. New Year Muggulu 15. Kolangal
Tip: Keep your powder bowl close to your dominant hand. Small movements give cleaner curves.
This design belongs to the broader tradition of rangoli and kolam art practised across South India. Explore more in our 6 to 6 dots Rangoli Designs collection.
About this design: Creative Diya Modern Art is a beginner-friendly pattern that comes together in just a few minutes. Once you have practised the creative diya modern art dot grid, you can scale it up for festival mornings or scale it down for a daily doorstep. Many learners on our channel make this creative diya modern art their go-to design once they get the rhythm of the curves.
Creative Diya Modern Art — Step by Step Guide
Read through the steps before you begin so the sequence feels familiar when you start drawing.
- Clear a flat surface and set down your dot grid using rice flour or chalk.
- Confirm the dot spacing is even — uneven dots are the biggest cause of wobbly curves.
- Begin tracing from the centre outward, following the curves shown in the video above.
- Fill the petals and sections with your chosen colours, working one area at a time.
- Finish the edges with a fine line for a sharp, photograph-ready result.
What You Will Learn
- Simple Rangoli Designs
- Rangoli
- Muggulu
- Rangoli Designs
- Rangoli Kolam
- Kolam
Frequently Asked Questions
How do I draw this rangoli?
The grid comes first. Use a soft chalk to dot the surface, count twice to confirm the spacing, then start connecting them following the video. Work from the centre outward.
Is this suitable for beginners?
Beginner-friendly is exactly the right description. The video walks through every line clearly and you can match the pace.
What materials do I need?
White rice flour for the outline, coloured powders for the fill, and a clean dry floor. That is the essentials list — you can add a stencil if you prefer.
How long does it take?
Roughly 8 min 29 sec to watch end-to-end, and 10–20 minutes to draw yourself depending on grid size and how careful you are with the curves.
Drawing kolam is as much about the practice as the result. Set aside ten minutes, follow the video, and enjoy the process.

Leave a Reply