Dot Rangoli Patterns For is a beautiful kolam pattern you can draw right at your doorstep — perfect for beginners and seasoned rangoli artists alike.
Dot Rangoli Patterns for All Occasions 🌹 3 Dots Kolam Pongal Thank you so much for watching Channel
Chapters: 0:00 Intro 0:05 Dot Rangoli Patterns for All Occasions
2:41 3 Dots Kolam Pongal My Simple Rangoli Designs Channel Contains : Rangoli designs
Sankranthi muggulu Diwali rangoli Kolam designs
Simple rangoli Easy rangoli designs Pongal kolams
New year rangoli designs Ratham muggulu Muggulu designs
Tip: Work from the centre outward. It keeps the symmetry honest and prevents the design from drifting off-balance.
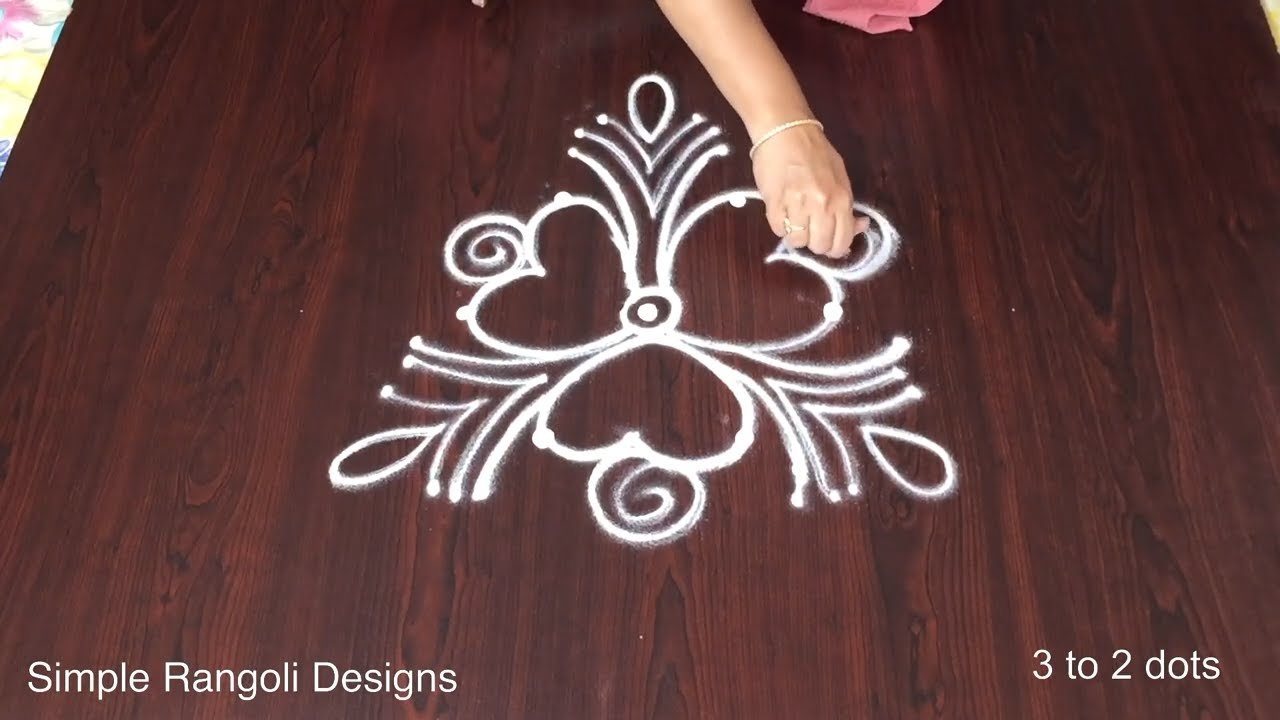
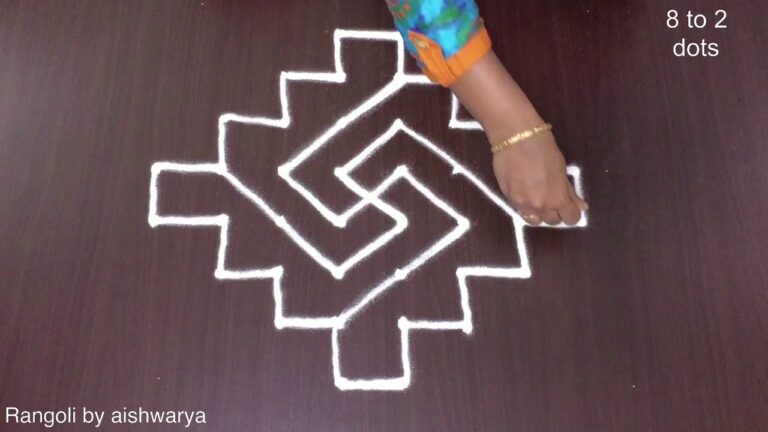
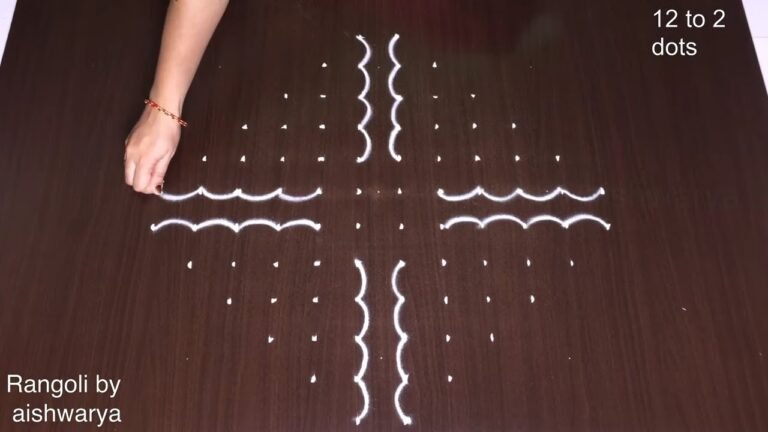
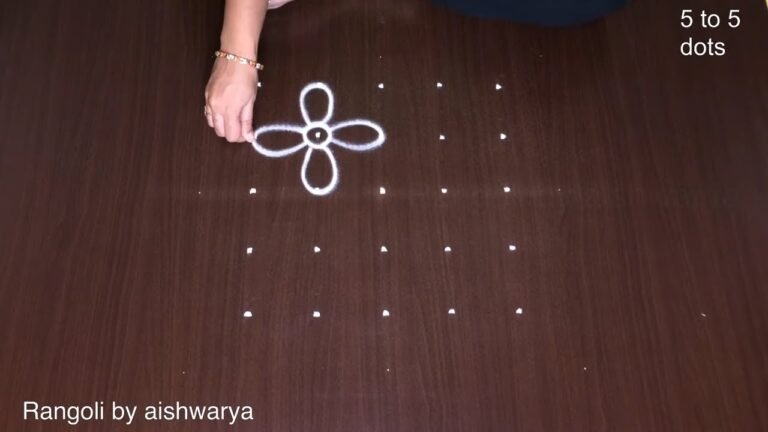
This design belongs to the broader tradition of rangoli and kolam art practised across South India. Explore more in our 3 to 2 dots Rangoli Designs collection.
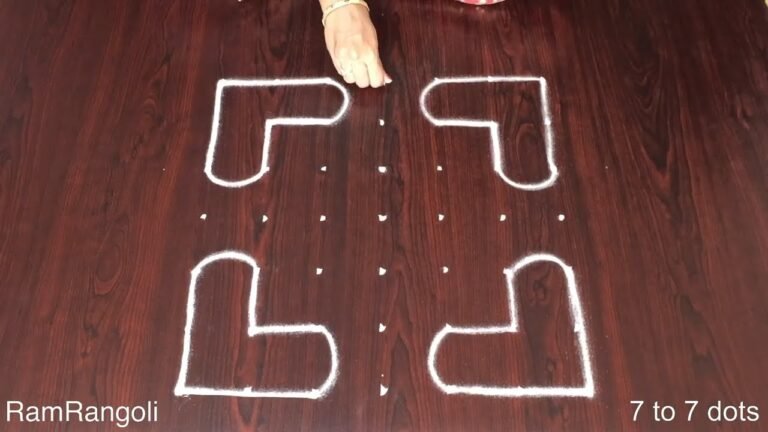
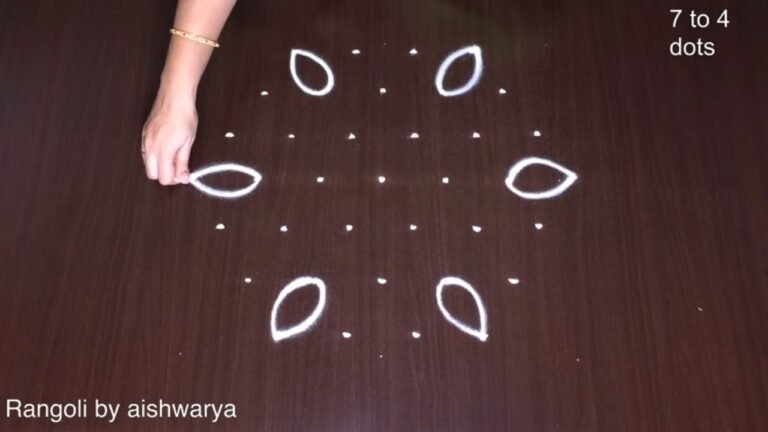
Dot rangoli patterns, especially those with 3 to 2 dots, are perfect for beginners looking to embrace this beautiful art form. These designs are often simple yet elegant, making them ideal for various occasions, including festivals like Pongal and Diwali. A well-crafted kolam not only enhances the festive spirit but also serves as a warm welcome to guests. For more inspiration, you can explore How to Draw 12×2 Deepam Rangoli Designs or check out Very Easy Super Flower Poo Kolams Muggulu.
The beauty of these 3-dot designs lies in their versatility and the ease with which they can be created. As you practice, you will discover how to incorporate intricate patterns and vibrant colors to make your rangoli truly stand out. Remember, the joy of creating these artworks comes from the process itself, as well as their significance in Indian culture. To learn more about this traditional practice, you can visit this Wikipedia page.
Dot Rangoli Patterns — Step by Step Guide
Below is the step-by-step breakdown. The video covers the same sequence in real time.
- Clear a flat surface and set down your dot grid using rice flour or chalk.
- Confirm the dot spacing is even — uneven dots are the biggest cause of wobbly curves.
- Begin tracing from the centre outward, following the curves shown in the video above.
- Fill the petals and sections with your chosen colours, working one area at a time.
- Finish the edges with a fine line for a sharp, photograph-ready result.
What You Will Learn
- Simple Rangoli Designs
- Rangoli
- Muggulu
- Rangoli Designs
- Rangoli Kolam
- Kolam
Frequently Asked Questions
How do I draw this rangoli?
It looks complex but follows a simple rhythm: dots first, then loops. Mark the grid, take a breath, and trace the curves at a steady pace. The pattern emerges on its own.
Is this suitable for beginners?
It is one of the more forgiving designs in our collection. Beginners often pick it as a confidence-builder before moving on to larger grids.
What materials do I need?
White rice flour for the outline, coloured powders for the fill, and a clean dry floor. That is the essentials list — you can add a stencil if you prefer.
How long does it take?
About 6 min 41 sec on screen, perhaps 15 minutes for a relaxed first attempt. By the second try most people are noticeably quicker.
Pin this for later or share with a friend learning kolam — and let us know in the comments which design you would like next.
Leave a Reply