There is something timeless about Kolam With Dots Simple — the symmetry, the rhythm of the dots, and the soft curves it produces.

Want to learn how to draw a big yet simple dot kolam? This 12 to 2 dots rangoli is a clean and structured muggulu perfect for home decoration. In this video, I guide you step by step to create a 12 to 2 decreasing dot grid kolam that looks grand but is easy to follow. The structured layout ensures symmetry, while the smooth connecting curves give the design a neat and traditional appearance.
We begin by placing a clear 12 to 2 straight dot structure, carefully aligned to maintain proportion. Then, the outer framework is formed by connecting the dots gradually from top to bottom. As the design develops, you will see how a large grid transforms into a balanced and elegant kolam. How to construct a proper 12–2 decreasing dot grid How to maintain symmetry in larger kolams
How to connect dots smoothly for a clean pattern Tips to keep big designs neat and proportionate This muggulu is ideal for entrances, verandas, and traditional decoration. Even though the grid is large, the step-by-step method makes it manageable for learners.
Watch till the end to see the complete transformation from simple dots to a fully finished kolam — the final reveal highlights a bold and symmetrical design. If you enjoy large dot kolams, explore more 12 to 2 dots rangoli, structured muggulu designs, and easy step-by-step patterns on the channel.
Tip: Use chalk to lightly mark your dot grid first — it wipes away cleanly once your rangoli is finished.
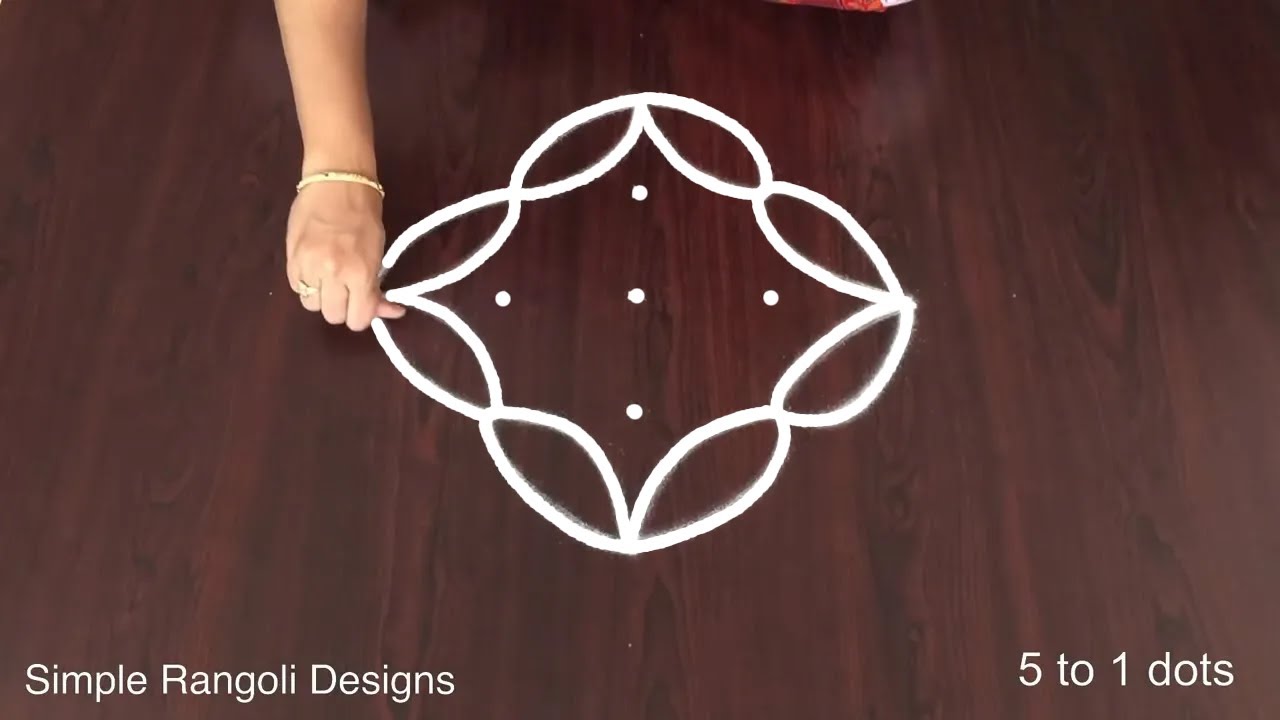
This kolam with dots simple design features a structured 12 to 2 dot grid, making it an excellent choice for beginners. The step-by-step guidance provided in the video helps learners grasp the technique of forming a balanced and elegant pattern. By connecting the dots gradually, one can achieve symmetry and neatness, essential elements in creating beautiful Perfect Geometrical Shapes Rangoli. This design is particularly suited for festive occasions and enhances the entrance of homes with its traditional charm.
The smooth curves and clean lines of this 12 to 2 dots rangoli evoke a sense of harmony and elegance. As the design unfolds, it showcases how a simple dot structure can transform into an ornate kolam that stands out. For those interested in exploring more intricate designs, the 12 to 4 Dots Flower Pot Rangoli offers another engaging project. To learn more about the rich cultural significance of rangoli, you can visit this informative page.
About this design: Kolam With Dots Simple is a beginner-friendly pattern that comes together in just a few minutes. Once you have practised the kolam with dots simple dot grid, you can scale it up for festival mornings or scale it down for a daily doorstep. Many learners on our channel make this kolam with dots simple their go-to design once they get the rhythm of the curves.
Kolam With Dots Simple — Step by Step Guide
Below is the step-by-step breakdown. The video covers the same sequence in real time.
- Clear a flat surface and set down your dot grid using rice flour or chalk.
- Confirm the dot spacing is even — uneven dots are the biggest cause of wobbly curves.
- Begin tracing from the centre outward, following the curves shown in the video above.
- Fill the petals and sections with your chosen colours, working one area at a time.
- Finish the edges with a fine line for a sharp, photograph-ready result.
What You Will Learn
- 12 To 2 Dots Kolam
- 12 To 2 Dots Rangoli Design
- Simple Big Dot Muggulu
- Rangoli Banana 12 To 2 Dots
- 12 2 Chukkala Muggulu
- Decreasing Dot Grid Kolam
Frequently Asked Questions
How do I draw this rangoli?
It looks complex but follows a simple rhythm: dots first, then loops. Mark the grid, take a breath, and trace the curves at a steady pace. The pattern emerges on its own.
Is this suitable for beginners?
Yes, and it is one we recommend to first-timers. The small grid keeps the design manageable while still teaching the core technique.
What materials do I need?
White rice flour for the outline, coloured powders for the fill, and a clean dry floor. That is the essentials list — you can add a stencil if you prefer.
How long does it take?
Plan for roughly 4 min 1 sec to watch and 15 minutes to draw. The second attempt is always cleaner than the first — that is the nature of dot kolam.
We rotate festival designs through the year — bookmark the homepage and you will find a new pattern every morning.


Leave a Reply