This designs new 9 dots tutorial walks you through every step from the dot grid to the final pattern.

Muggulu Designs New 9 has become a favourite among learners on our channel — and once you try it, you will see why.
Muggulu Designs New 9*1 Perfect | Rangoli Daily Diya Small Kolam With Dots Thank you so much for watching Channel
My Rangoli Channel Contains : Rangoli Designs Sankranthi Muggulu
Diwali Rangoli Ratham Muggulu Kolam Designs
Muggulu Designs Chukkala Muggulu Easy Rangoli
Simple Rangoli Easy Rangoli Designs Dhanurmasam Muggulu
Melikala Muggulu Geethala Muggulu Sivarathri Muggulu
Tip: A slightly damp brush along the edges gives a sharper finish, especially for festival photographs.
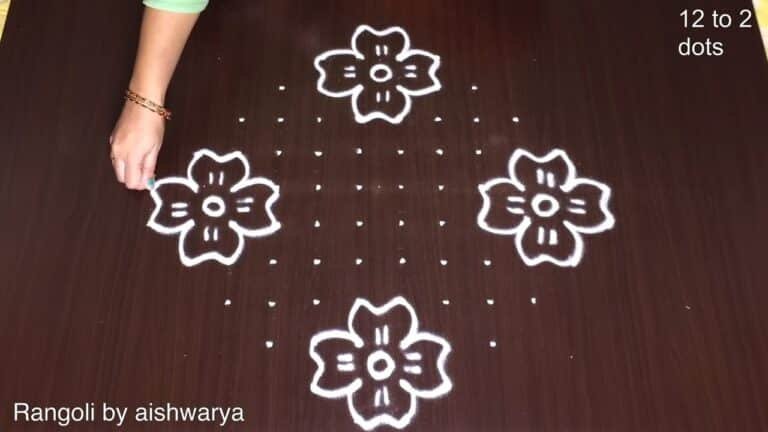
The muggulu design with 9 dots arranged in a straight line is a wonderful choice for beginners looking to explore the traditional art of kolam. This design is simple yet elegant, making it perfect for daily use or festive occasions. It can be adorned with vibrant colors or left in its natural white form using rice flour. During festivals like Diwali, a Diwali Festival Muggulu Rangoli can incorporate such designs for a festive touch, symbolizing the spirit of joy and togetherness.
When creating a muggulu with 9 dots, the possibilities are endless as you can experiment with variations and patterns. This design serves as a great base for intricate designs, allowing you to add your personal touch. For instance, during Pongal, enhancing a basic 9-dot design with traditional motifs can elevate its charm, as seen in the Happy Pongal Kolam. To learn more about the rich history and variations of this beautiful art form, you can visit this informative page.
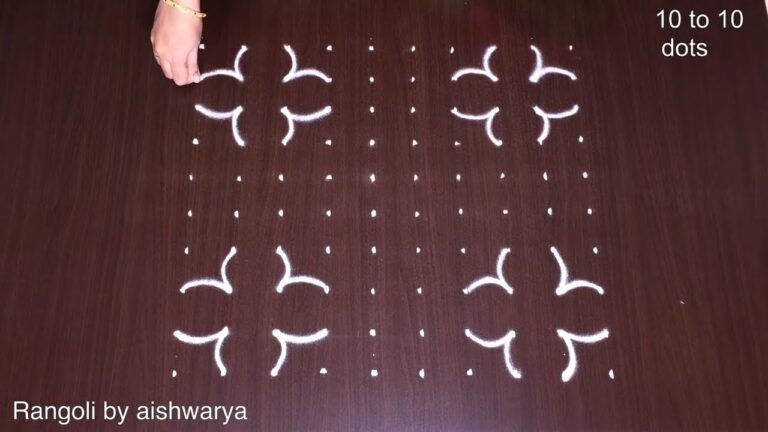
About this design: Designs New 9 Dots is a beginner-friendly pattern that comes together in just a few minutes. Once you have practised the designs new 9 dots dot grid, you can scale it up for festival mornings or scale it down for a daily doorstep. Many learners on our channel make this designs new 9 dots their go-to design once they get the rhythm of the curves.
Designs New 9 Dots — Step by Step Guide
If you have drawn dot rangoli before, this will feel familiar. If you have not, the dot grid will guide you.
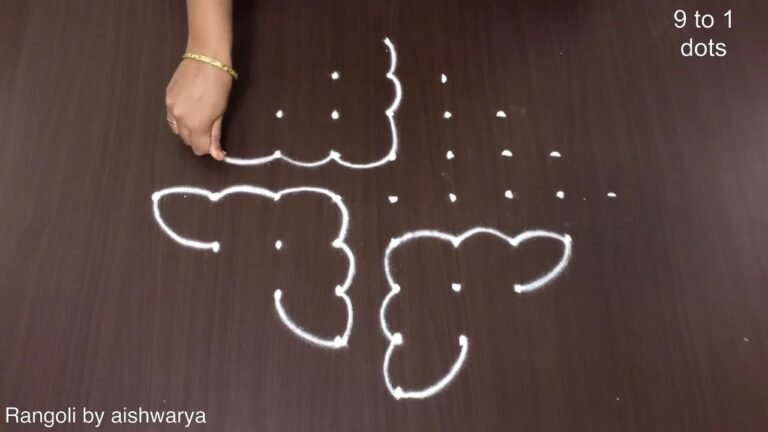
- Mark the 9-to-1 dot grid.
- In the centre draw a four-petal woven knot, looping four curved lines through the central dots so they interlace into a flower-knot.
- From the top and bottom draw a pointed leaf-petal along the vertical axis.
- On each diagonal draw a bud on a curved stem with a pair of leaves, a small sprig reaching toward the corner.
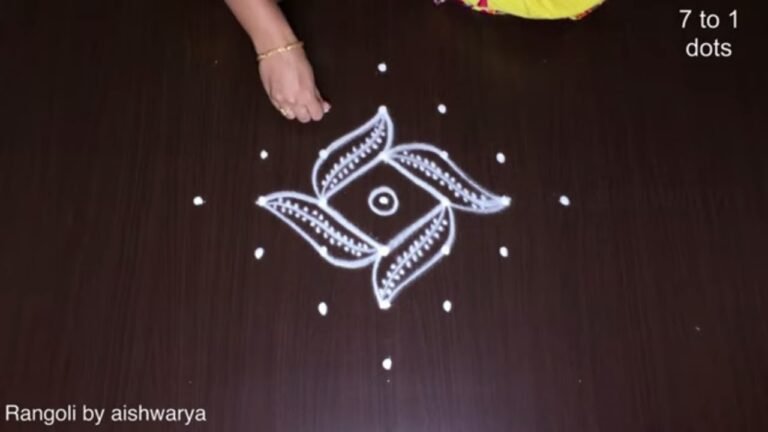
- Curl the tip of each stem into a small spiral.
- Dot the leaf tips and the centre with small accents.
- Trace the muggulu cleanly in white.
What You Will Learn
- 9X1 Dots Rangoli
- Daily Diya Rangoli With Dots
- Small Kolam With Dots
- 9*1 Dots Kolam
- Muggulu Designs New With Dots
- Rangoli With Dots
Frequently Asked Questions
How do I draw this rangoli?
It looks complex but follows a simple rhythm: dots first, then loops. Mark the grid, take a breath, and trace the curves at a steady pace. The pattern emerges on its own.
Is this suitable for beginners?
Absolutely. You can pause and rewind the video at every step. The pattern is straightforward once you have the grid down.
What materials do I need?
You will need rice flour or rangoli powder (white, plus your choice of colours), a flat surface like a clean floor or courtyard, and optionally a dot stencil if you are new to grid-drawing.
How long does it take?
You will see a 8 min 40 sec walkthrough above. Drawing it yourself is usually a 12–18 minute affair, slightly slower the first time.
When you draw this, focus on the first three dots — get those right and the whole pattern follows. The rest is just patience and a steady hand.


Leave a Reply