Whether you are decorating for a festival or your daily morning ritual, 9 Pulli Flower Pot is an excellent design to keep handy.
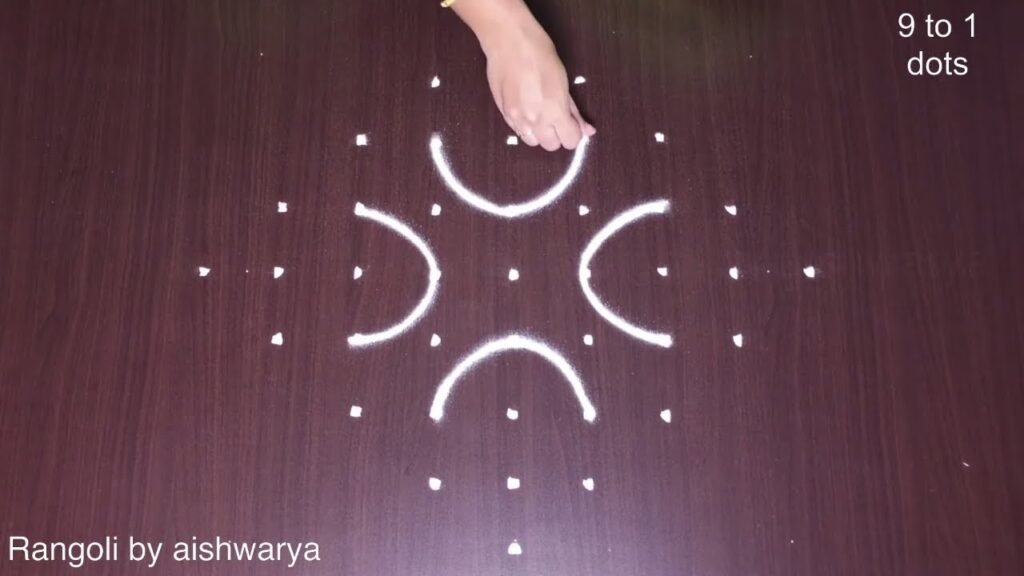
9 Pulli Flower Pot Kolam 4 Puvvula Kundi | Muggulu traditional Rangoli for Festival. This tutorial will show you how to draw Beautiful Indian traditional art Diwali Rangoli patterns using materials such as dry rice flour, colored sand or flower petals Rangoli designs by Aishwarya. Simple rangoli Kutti Kolam pattern is created on the floor in living rooms or courtyards. Draw the Lines step by step as it is shown in this video and will be awesome Rangoli Design. 😲 The Diwali rangoli pattern here is one of the amazing latest kolam designs. Simple Rangoli Designs and easy rangoli designs by Aishwarya with dots for beginners and intermediate.
1. Diwali Rangoli 2. Pongal kolams 3. Easy rangoli designs
4. Rangoli design 5. Chukkala muggulu 6. Dot rangoli designs
7. Dots rangoli 8. Easy rangoli 9. Easy rangoli designs
10. Kolam designs 11. Kolam with dots 12. Muggulu designs
13. Muggulu designs with dots 14. Small rangoli designs 15. Muggulu chukkala muggulu
Tip: Keep your powder bowl close to your dominant hand. Small movements give cleaner curves.
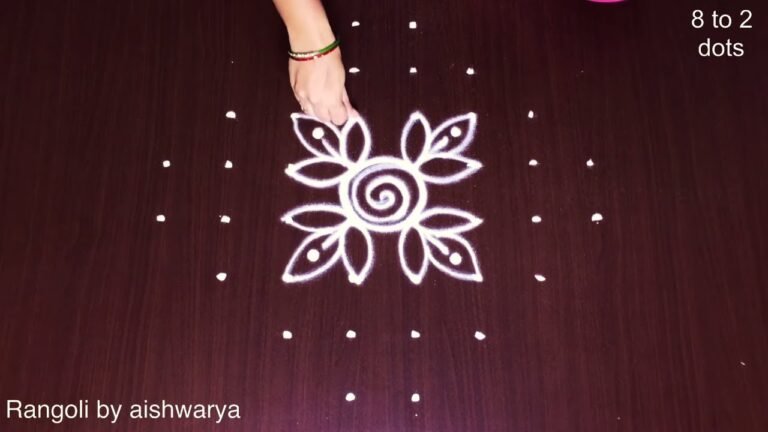
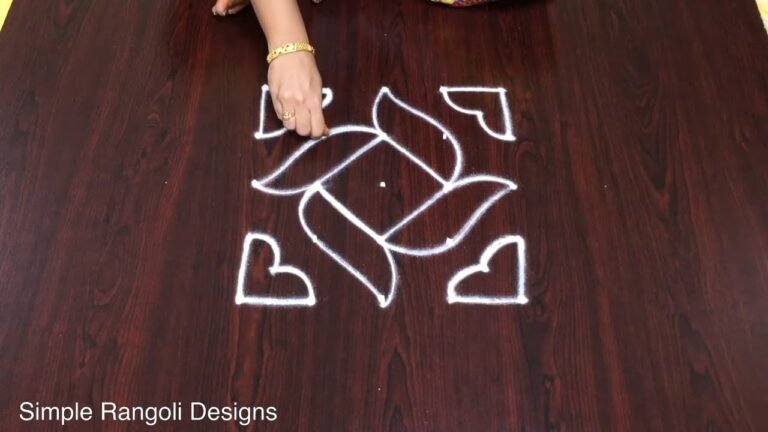
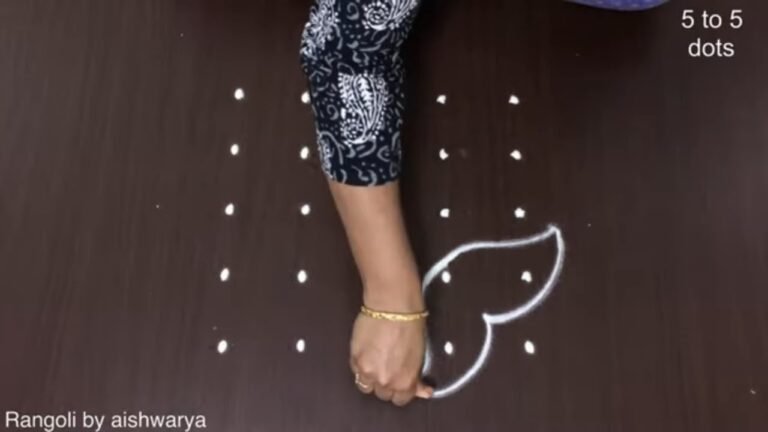
The 9 Pulli Flower Pot Kolam is a delightful design that beautifully captures the essence of traditional Indian art. This kolam features a simple yet striking flower pot pattern created with nine dots, making it an excellent choice for beginners. Perfect for festivals like Diwali, this rangoli can be enhanced with vibrant colors using materials like rice flour or colored sand. For more inspiration, you might explore the Sankranthi Special Bhogi Kundala Muggulu and discover how different patterns can complement your festive decorations.
This design not only adds charm to your living space but also serves as a creative outlet for self-expression. The step-by-step approach makes it accessible for anyone looking to try their hand at rangoli. As you create your own flower pot kolam, consider experimenting with different colors or floral motifs to personalize your design. If you enjoy exploring various styles, you may also find the Beautiful Rangoli With 7 Dots post helpful. For more details about the cultural significance of rangoli, you can visit this link.
9 Pulli Flower Pot — Step by Step Guide
The video above shows the full sequence; the steps below summarise each stage so you can glance back as you draw.
- Clear a flat surface and set down your dot grid using rice flour or chalk.
- Confirm the dot spacing is even — uneven dots are the biggest cause of wobbly curves.
- Begin tracing from the centre outward, following the curves shown in the video above.
- Fill the petals and sections with your chosen colours, working one area at a time.
- Finish the edges with a fine line for a sharp, photograph-ready result.
What You Will Learn
- Simple Rangoli Designs
- Rangoli
- Muggulu
- Rangoli Designs
- Rangoli Kolam
- Kolam
Frequently Asked Questions
How do I draw this rangoli?
The grid comes first. Use a soft chalk to dot the surface, count twice to confirm the spacing, then start connecting them following the video. Work from the centre outward.
Is this suitable for beginners?
Yes — this design is shaped specifically with newcomers in mind. The dot grid is small enough to manage, and the curves are gentle. Most learners get it right by the second try.
What materials do I need?
Just three things: powder (white plus any colours you want), a flat dry surface, and a few minutes of focus. A small bowl per colour helps keep things tidy.
How long does it take?
About 2 min 41 sec on screen, perhaps 15 minutes for a relaxed first attempt. By the second try most people are noticeably quicker.
Roll up your sleeves, grab a handful of rice flour, and give this design ten quiet minutes. The result is worth the small effort.
Leave a Reply