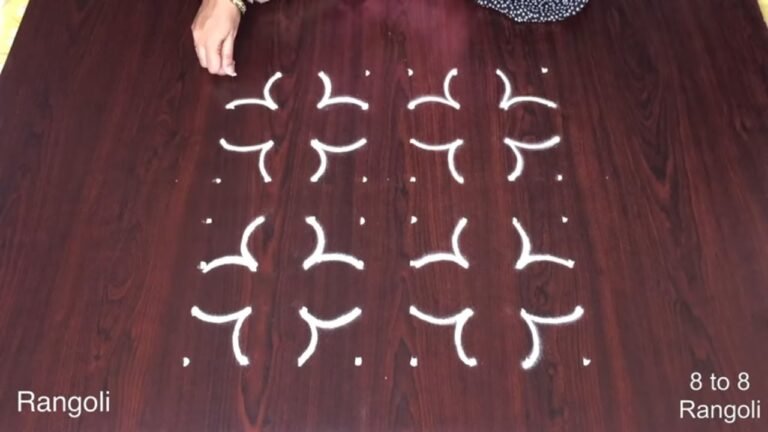
Dotted Kolam For Learners is the kind of design that looks intricate but is genuinely beginner-friendly once you follow the dot grid.
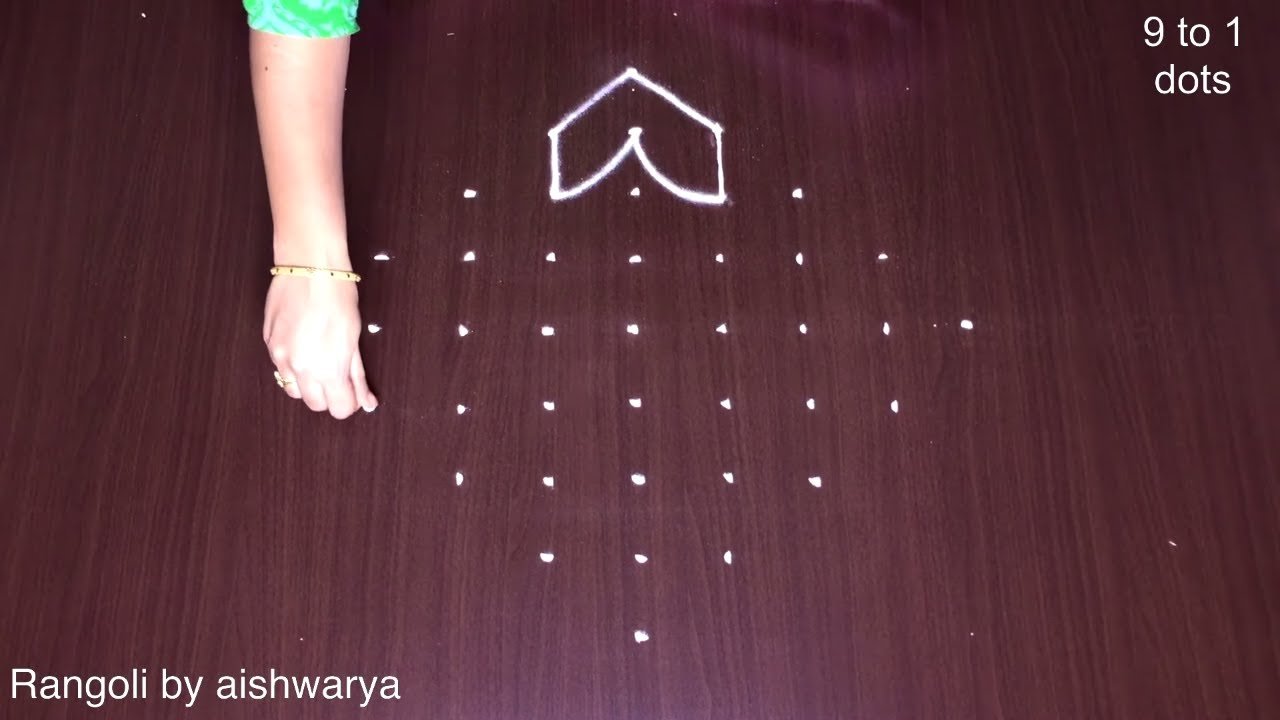
Dotted Kolam for Learners 9 * 1 Easy | Rangoli for Door Entrance Kotha Muggulu Designs | RamRangoli Thank you so much for watching Channel
My Ram Rangoli Channel Contains : Rangoli Designs Sankranthi Muggulu
Diwali Rangoli Ratham Muggulu Kolam Designs
Muggulu Designs Chukkala Muggulu Easy Rangoli
Simple Rangoli Easy Rangoli Designs Dhanurmasam Muggulu
Melikala Muggulu Geethala Muggulu Sivarathri Muggulu
Tip: Practice on paper first if you are new to dot kolam. The grid is the same; only the surface changes.
The 9×1 dotted kolam design is a wonderful choice for beginners, offering a simple yet elegant way to enhance your home entrance. This design incorporates a linear arrangement of dots, which makes it easy to follow and perfect for practicing your kolam skills. Typically drawn during festivals like Pongal or Diwali, it can add a festive touch to any space. For more inspiration, check out our Pongal Pot Kolam Special Rangoli Designs to see how you can creatively incorporate traditional elements.
This particular kolam style emphasizes the beauty of simplicity while allowing room for creativity through color and pattern. As you gain confidence, you might explore more complex designs, but starting with the 9×1 format helps build your foundational skills. If you are interested in more festive designs, our post on Diwali Festival Muggulu Rangoli showcases various patterns that can elevate your rangoli artistry. For more information about the cultural significance of rangoli, visit this page.
About this design: Dotted Kolam For Learners is a beginner-friendly pattern that comes together in just a few minutes. Once you have practised the dotted kolam for learners dot grid, you can scale it up for festival mornings or scale it down for a daily doorstep. Many learners on our channel make this dotted kolam for learners their go-to design once they get the rhythm of the curves.
Dotted Kolam For Learners — Step by Step Guide
Here is how to draw it, line by line. Take your time on the corners and the symmetry will take care of itself.
- Mark the 9-to-1 dot grid (rows tapering from 9 down to 1 into a diamond).
- In the centre draw a small diamond and fill it with a woven net of criss-cross kambi lines to form the central knot.
- At the top, bottom, left and right draw a five-petal flower, each with a tight spiral curl at its centre.
- Loop a continuous curling scroll (sikku line) out of each flower, sweeping it around the central knot without lifting the hand.
- Slip a slim pointed leaf into each gap between the flowers.
- Keep every line looping smoothly around the dots with no sharp breaks for the beginner sikku-kolam effect.
What You Will Learn
- Simple Rangoli Designs
- Rangoli
- Muggulu
- Rangoli Designs
- Rangoli Kolam
- Kolam
Frequently Asked Questions
How do I draw this rangoli?
Set down the dot grid in pencil or chalk, then follow the loops one petal at a time. If a curve goes off, wipe it and retry — kolam is forgiving.
Is this suitable for beginners?
Absolutely. You can pause and rewind the video at every step. The pattern is straightforward once you have the grid down.
What materials do I need?
Powder (white for outlines, colours for filling), a flat surface, and a dot stencil if you want absolute precision. Beyond that, just your hand and a steady pace.
How long does it take?
About 7 min 24 sec on screen, perhaps 15 minutes for a relaxed first attempt. By the second try most people are noticeably quicker.
Practice this design a few times and you will find your own variations emerging. That is half the joy of kolam — every artist leaves a fingerprint on the pattern.
Leave a Reply