Muggulu Designs With 5 has become a favourite among learners on our channel — and once you try it, you will see why.
Simple Kolam Rangoli 🌹 Muggulu Designs with 5 dots Thank you so much for watching Channel
Chapters: 0:00 Intro 0:05 Simple Kolam Rangoli
2:55 Muggulu Designs with 5 dots My Simple Rangoli Designs Channel Contains : Rangoli designs
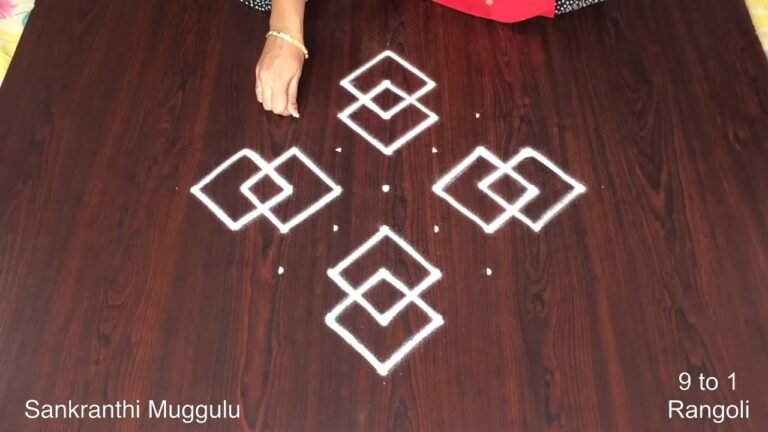
Sankranthi muggulu Diwali rangoli Kolam designs
Simple rangoli Easy rangoli designs Pongal kolams
New year rangoli designs Ratham muggulu Muggulu designs
Tip: Use chalk to lightly mark your dot grid first — it wipes away cleanly once your rangoli is finished.
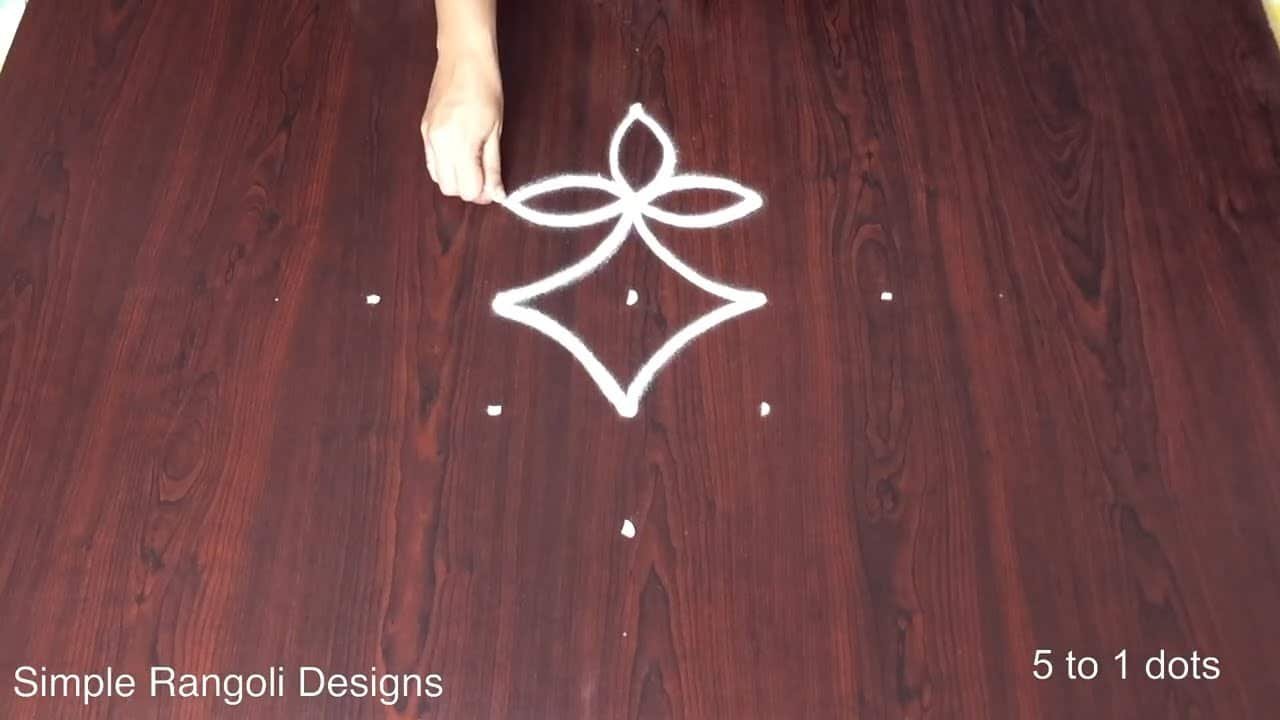
This design belongs to the broader tradition of rangoli and kolam art practised across South India. Explore more in our 5 to 1 dots Rangoli Designs collection.
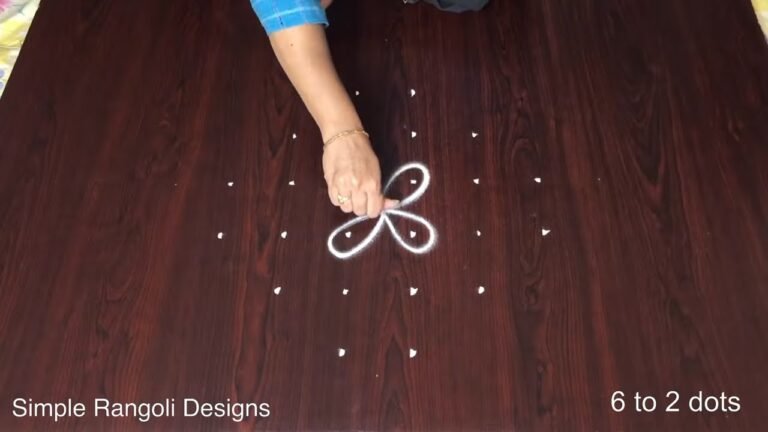
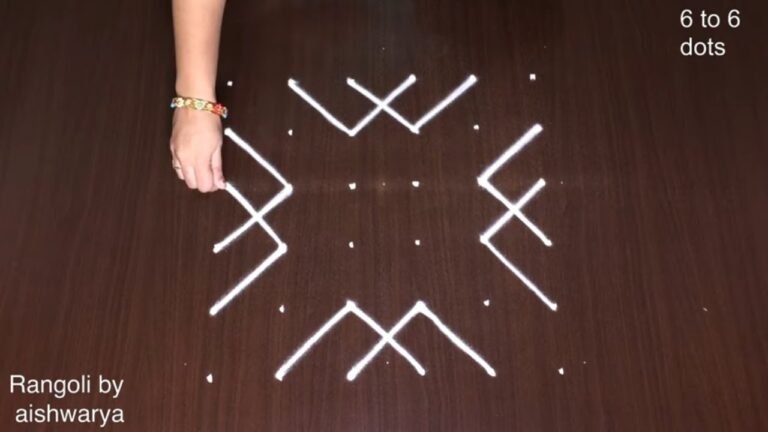
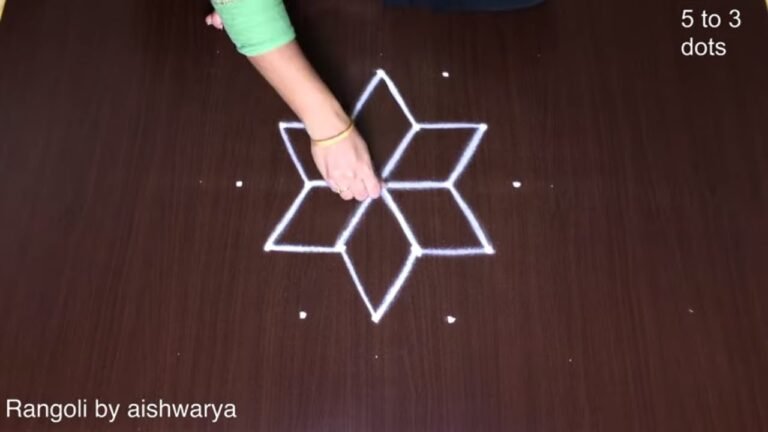
Muggulu designs with 5 dots are a delightful way to start your journey into the world of traditional Indian art. Known for their simplicity yet elegance, these designs can be created easily by beginners. The 5-dot arrangement allows for numerous patterns, which can be enhanced with vibrant colors and intricate detailing. They serve as beautiful decorations during festivals such as Sankranti and Diwali, where the artistic expressions of rangoli bring joy and celebration to homes. For more ideas, check out Very Easy Super Flower Poo Kolams Muggulu.
These muggulu designs can be adapted for various occasions, showcasing creativity and festive spirit. The symmetrical patterns created with 5 dots can be combined with elements like flowers, peacocks, or geometric shapes, giving each design a unique touch. As you practice these designs, you’ll develop an appreciation for the art of rangoli, which has a rich history in Indian culture. For inspiration on other festive designs, you might enjoy Beautiful Deepam Rangoli Designs 7. To learn more about the tradition of rangoli, visit this link.
Muggulu Designs With 5 — Step by Step Guide
If you have drawn dot rangoli before, this will feel familiar. If you have not, the dot grid will guide you.
- Clear a flat surface and set down your dot grid using rice flour or chalk.
- Confirm the dot spacing is even — uneven dots are the biggest cause of wobbly curves.
- Begin tracing from the centre outward, following the curves shown in the video above.
- Fill the petals and sections with your chosen colours, working one area at a time.
- Finish the edges with a fine line for a sharp, photograph-ready result.
What You Will Learn
- Simple Rangoli Designs
- Rangoli
- Muggulu
- Rangoli Designs
- Rangoli Kolam
- Kolam
Frequently Asked Questions
How do I draw this rangoli?
The grid comes first. Use a soft chalk to dot the surface, count twice to confirm the spacing, then start connecting them following the video. Work from the centre outward.
Is this suitable for beginners?
Yes, and it is one we recommend to first-timers. The small grid keeps the design manageable while still teaching the core technique.
What materials do I need?
You will need rice flour or rangoli powder (white, plus your choice of colours), a flat surface like a clean floor or courtyard, and optionally a dot stencil if you are new to grid-drawing.
How long does it take?
A 6 min 23 sec video shows the complete sequence. On paper or floor, expect to spend around a quarter of an hour from grid to finished pattern.
Practice this design a few times and you will find your own variations emerging. That is half the joy of kolam — every artist leaves a fingerprint on the pattern.
Leave a Reply