Whether you are decorating for a festival or your daily morning ritual, Pongal Paanai Rangoli Designs is an excellent design to keep handy.
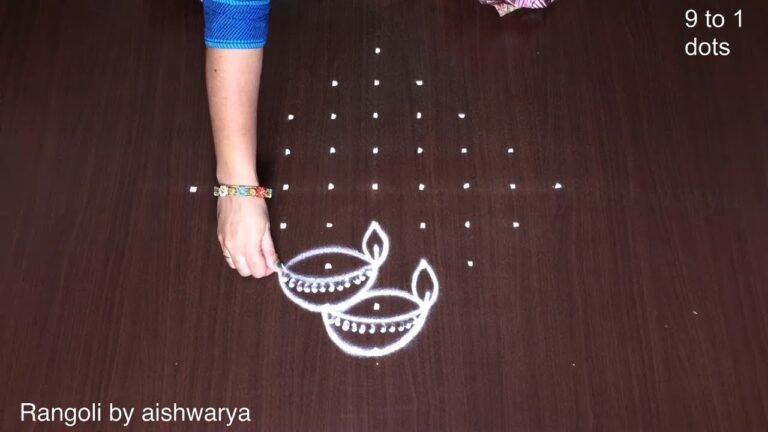
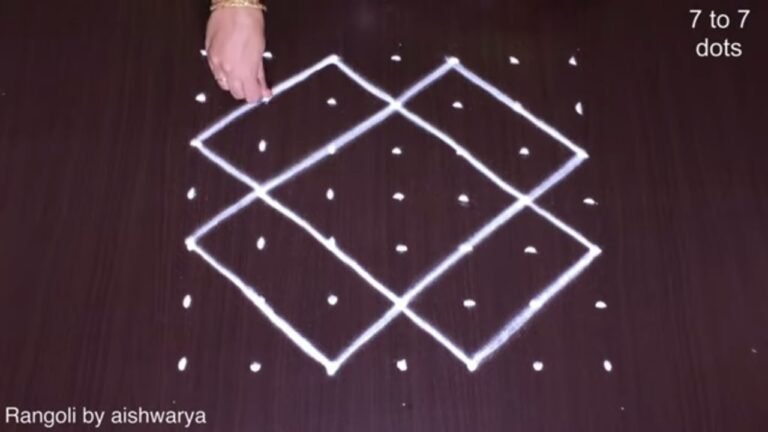
Looking for a long and elegant Pongal pot kolam using a 15×1 dot grid? This Sankranthi Bhogi special paanai design creates a bold and meaningful festive entrance. In this video, we create a 15×1 dots Pongal pot kolam, structured on a straight decreasing line grid that forms a beautifully elongated layout. The 15-1 format is perfect for narrow entrances and pathways, allowing the traditional paanai motif to stand out clearly.
🌾 What You’ll Learn Step by Step: Proper placement of the 15×1 decreasing dot line Forming the Pongal pot outline smoothly and proportionately
Maintaining symmetry along the central axis Simple festive detailing for a polished finish The Pongal paanai symbolizes prosperity, gratitude, and abundance during Sankranthi and Bhogi celebrations. Drawing a pot-themed kolam at your entrance reflects the joyful spirit of the harvest season.
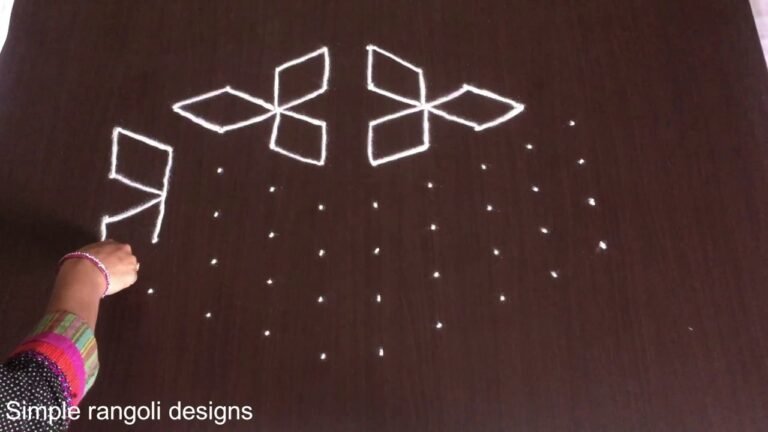
Even though the grid is elongated, the structured dot alignment makes the design easy to follow. The line-based format naturally guides spacing and balance, helping you achieve a clean and refined result. Watch till the end to see the complete symmetrical reveal — the final alignment highlights how the 15-1 dot structure transforms into a striking Pongal kolam. If you enjoy elongated harvest grids, explore other formats like 13-1 and 11-1 to expand your Sankranthi rangoli collection.
Save this design and recreate it for a vibrant Pongal celebration.
Tip: Use chalk to lightly mark your dot grid first — it wipes away cleanly once your rangoli is finished.
The Pongal paanai rangoli design is a beautiful representation of the festive spirit during Sankranthi and Bhogi celebrations. Using a 15×1 dot grid, this elongated kolam creates an inviting entrance that symbolizes abundance and gratitude. The structured decreasing line format is not only visually appealing but also makes it easier for beginners to follow. For those looking for inspiration, you might also enjoy exploring the Attractive Simple Kolam Design and its straightforward approach.
Incorporating the traditional paanai motif into your rangoli adds a layer of cultural significance to your celebrations. As you create this design, you’ll appreciate how the symmetry along the central axis enhances its elegance. The clean lines and simple festive details allow for a polished finish that captures the essence of the harvest season. For further exploration, consider checking out the Trendy Creative Kolam Designs that showcase a variety of styles. You can learn more about the history and significance of this art form by visiting Wikipedia.
About this design: Pongal Paanai Rangoli Designs is a beginner-friendly pattern that comes together in just a few minutes. Once you have practised the pongal paanai rangoli designs dot grid, you can scale it up for festival mornings or scale it down for a daily doorstep. Many learners on our channel make this pongal paanai rangoli designs their go-to design once they get the rhythm of the curves.
Pongal Paanai Rangoli Designs — Step by Step Guide
Below is the step-by-step breakdown. The video covers the same sequence in real time.
- Clear a flat surface and set down your dot grid using rice flour or chalk.
- Confirm the dot spacing is even — uneven dots are the biggest cause of wobbly curves.
- Begin tracing from the centre outward, following the curves shown in the video above.
- Fill the petals and sections with your chosen colours, working one area at a time.
- Finish the edges with a fine line for a sharp, photograph-ready result.
What You Will Learn
- 15X1 Dots Pongal Kolam
- Sankranthi Bhogi Paanai Muggulu
- Pongal Pot Rangoli 15-1
- 15-1 Dots Kolam Design
- Harvest Festival Pot Kolam
- 15X1 Pulli Kolam
Frequently Asked Questions
How do I draw this rangoli?
Set down the dot grid in pencil or chalk, then follow the loops one petal at a time. If a curve goes off, wipe it and retry — kolam is forgiving.
Is this suitable for beginners?
Absolutely. You can pause and rewind the video at every step. The pattern is straightforward once you have the grid down.
What materials do I need?
White rice flour for the outline, coloured powders for the fill, and a clean dry floor. That is the essentials list — you can add a stencil if you prefer.
How long does it take?
The tutorial is 3 min 31 sec long. With practice the actual drawing settles around 10 minutes; the first time will likely take twice that.
Try this design tomorrow morning at your doorstep. The compact grid makes it ideal for a daily ritual, not just festival days.

Leave a Reply