
Drawing Shivaratri Rangoli is a relaxing, almost meditative practice. The dots guide your hand and the design unfolds naturally.

For another beginner-friendly variation, try Draw Beautiful Deepam Deepala Simple Kolam.
Learn more about the tradition of Rangoli on Wikipedia.
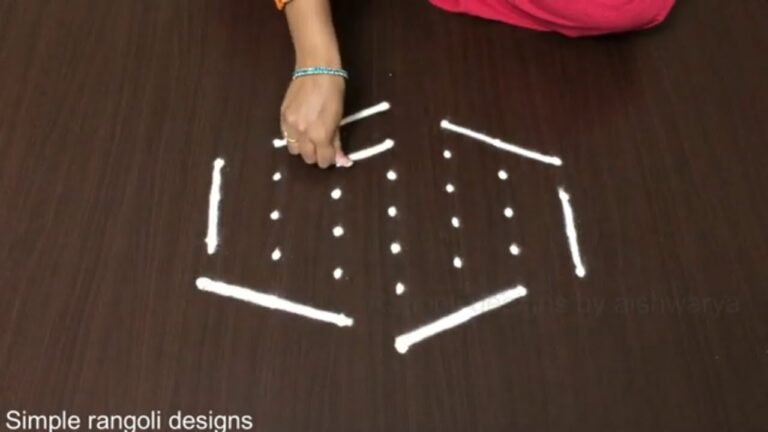
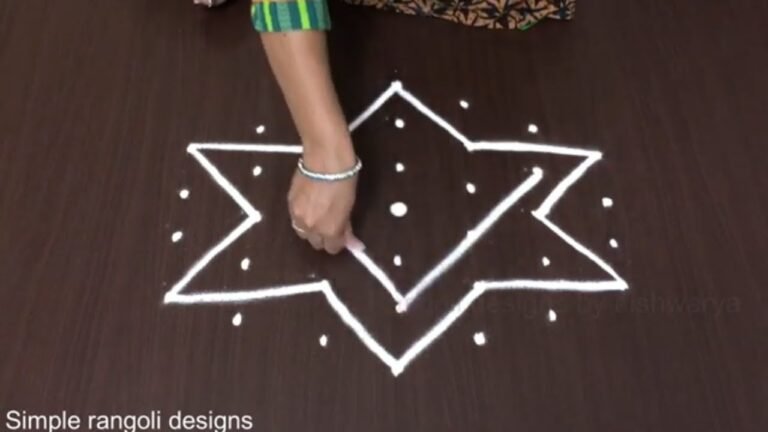
Looking for a simple Shanku kolam that beginners can draw easily? This 7 by 4 dots traditional rangoli is neat, balanced, and perfect for small spaces. In this video, I guide you step by step to create a 7×4 straight dot grid Shanku kolam designed especially for beginners. The small rectangular layout makes it easy to manage, while the sacred conch shape adds a traditional and auspicious touch to your entrance.
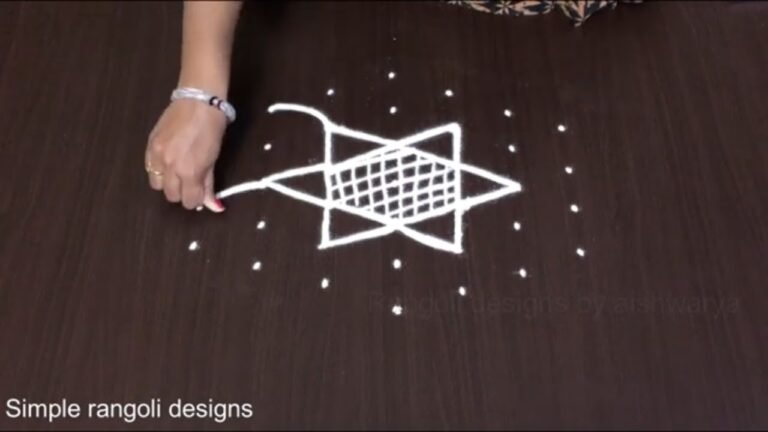
We begin by placing a neat 7 by 4 straight dot structure, carefully aligned to maintain proper spacing and symmetry. Then, the Shanku outline is formed by smoothly connecting the dots into simple curved lines. Inner detailing enhances the conch shape and gives the kolam a clean and complete finish. Because of the compact grid, the entire design remains easy and quick to complete. How to construct a proper 7–4 straight dot grid How to create a balanced Shanku pattern using dots
How to maintain symmetry in small kolams Tips to keep beginner kolams neat and proportionate This traditional Shanku muggulu is ideal for house entrances, pooja rooms, and apartment doorsteps. The structured grid ensures a clean result while making the design approachable for new learners.
Watch till the end to see the full transformation from simple dots to a complete Shanku kolam — the final reveal highlights a beautifully balanced traditional design. If you enjoy small dot kolams, explore more 7 by 4 dots rangoli, simple Shanku muggulu, and traditional beginner-friendly patterns on the channel.
Tip: A slightly damp brush along the edges gives a sharper finish, especially for festival photographs.
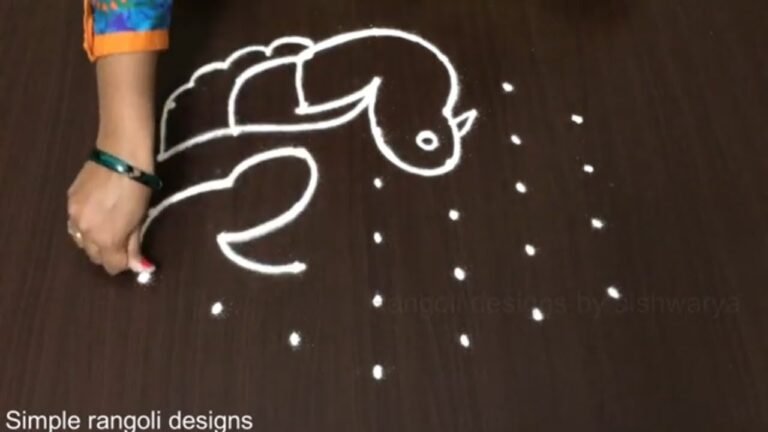
About this design: Shivaratri Rangoli is a beginner-friendly pattern that comes together in just a few minutes. Once you have practised the shivaratri rangoli dot grid, you can scale it up for festival mornings or scale it down for a daily doorstep. Many learners on our channel make this shivaratri rangoli their go-to design once they get the rhythm of the curves.
Shivaratri Rangoli — Step by Step Guide
The video above shows the full sequence; the steps below summarise each stage so you can glance back as you draw.
- Clear a flat surface and set down your dot grid using rice flour or chalk.
- Confirm the dot spacing is even — uneven dots are the biggest cause of wobbly curves.
- Begin tracing from the centre outward, following the curves shown in the video above.
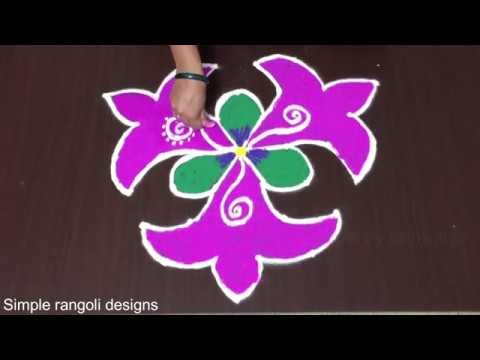
- Fill the petals and sections with your chosen colours, working one area at a time.
- Finish the edges with a fine line for a sharp, photograph-ready result.
What You Will Learn
- 7 By 4 Dots Shanku Kolam
- Beginner 7X4 Rangoli Design
- Traditional Shanku Muggulu 7 4
- Simple 7 By 4 Dots Kolam
- 7 4 Chukkala Muggulu
- Straight Dot Grid Shanku Rangoli
Frequently Asked Questions
How do I draw this rangoli?
Set down the dot grid in pencil or chalk, then follow the loops one petal at a time. If a curve goes off, wipe it and retry — kolam is forgiving.
Is this suitable for beginners?
Beginner-friendly is exactly the right description. The video walks through every line clearly and you can match the pace.
What materials do I need?
Powder (white for outlines, colours for filling), a flat surface, and a dot stencil if you want absolute precision. Beyond that, just your hand and a steady pace.
How long does it take?
You will see a 1 min 39 sec walkthrough above. Drawing it yourself is usually a 12–18 minute affair, slightly slower the first time.
We rotate festival designs through the year — bookmark the homepage and you will find a new pattern every morning.

Leave a Reply